Halloween's just around the corner, and what better way to celebrate than by dressing up your feline friend? This year, skip the pricey pet stores and unleash your inner crafter with a DIY bat costume that's both easy to make and undeniably adorable. Your cat will be the cutest, creepiest creature on the block, guaranteed to win hearts (and maybe a few treats!). Forget complicated patterns and expensive materials; this project uses simple supplies you likely already have at home, transforming your everyday cat into a miniature, furry vampire in no time.
Imagine your cat, perched proudly in their spooky bat costume, ready for trick-or-treating (or at least, a healthy dose of Halloween cuddles). This guide provides a step-by-step tutorial with clear instructions and photos, ensuring even the most novice DIYer can create this charming costume. Let's get started and turn your kitty into the cutest bat in the neighborhood!
Preparation and Safety Guidelines
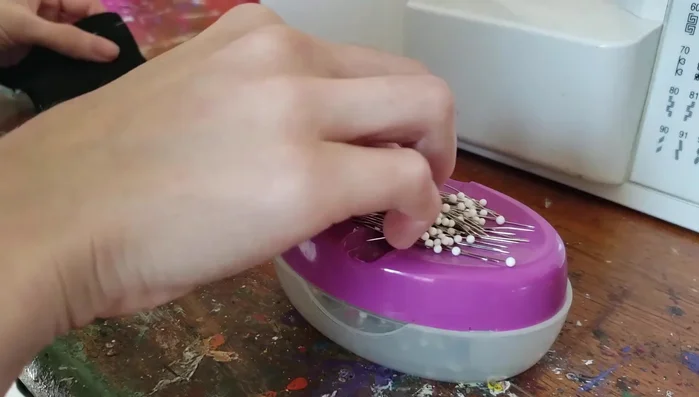
- Fabric (polyester denim, velvet), Sewing machine, Pattern paper, Pencil, Sharpie, Scissors, Pins, Foam, Velcro
- Ensure all materials are non-toxic and won't pose a choking hazard if ingested. Avoid small, detachable parts.
- The costume should be loose enough for your cat to move comfortably and easily use their litter box. Avoid anything restrictive.
- Supervise your cat closely while wearing the costume. Remove it immediately if they show signs of stress, discomfort, or excessive scratching.
Step-by-Step Instructions
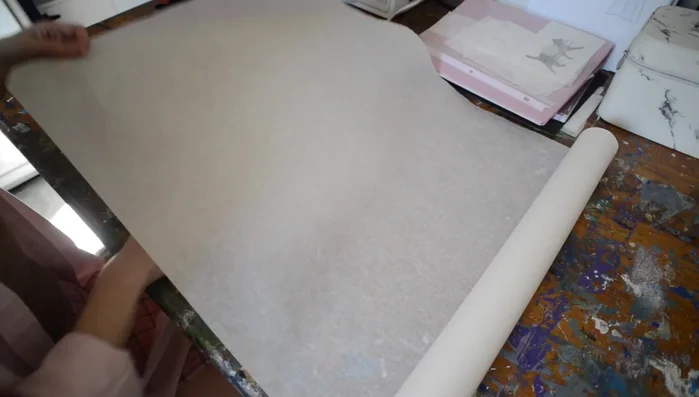
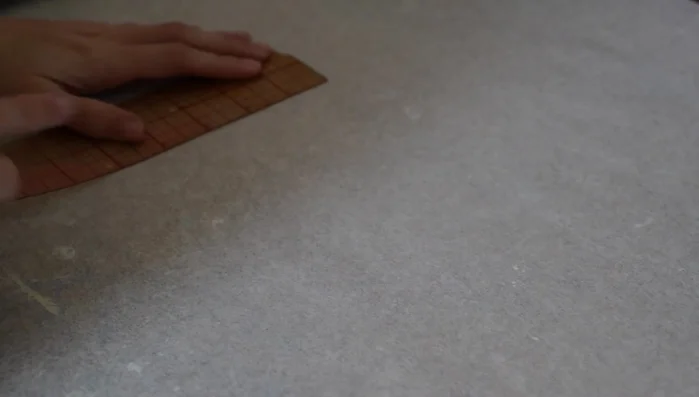
Pattern Creation and Adjustment
- Trace an existing cat harness pattern to create a larger, single-piece pattern for easier sewing.
- Measure your cat and adjust the pattern size as needed. Add about an inch or more to each side to accommodate your cat's body.
- Draw the bat wing shapes onto the pattern, including lines for decorative stitching and seam allowance.

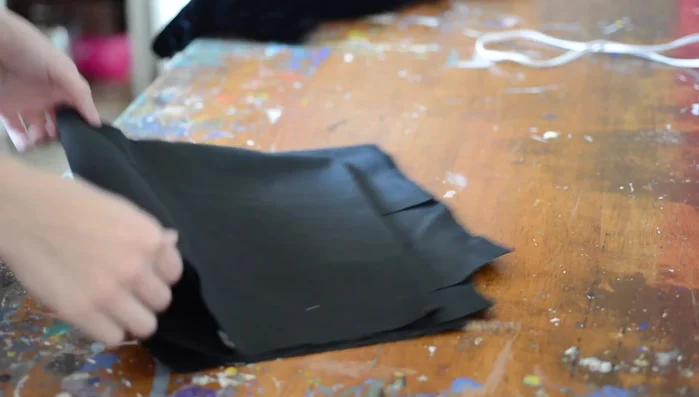
Pattern Creation and Adjustment Fabric Cutting
- Cut out two wing pieces from both the polyester denim and the velvet fabric, plus two wing pieces from foam for structure.
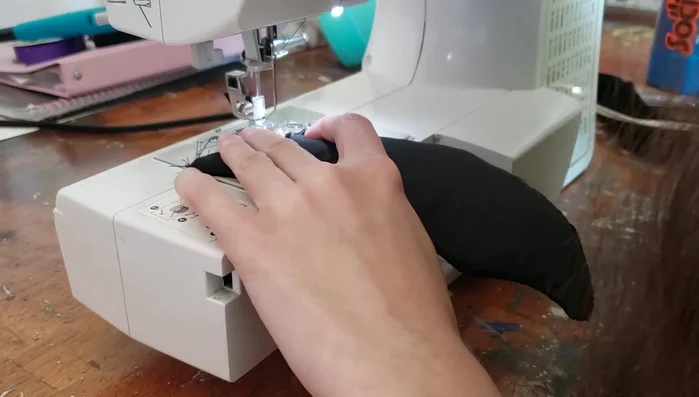
Fabric Cutting Wing Construction
- Sew the velvet and denim wing pieces together, right sides facing. Use plenty of pins to prevent fabric slippage. Trim as necessary after sewing one side.
- Insert the foam piece into the sewn wing layers, trimming it to fit if needed.
- Do decorative stitching to secure the foam and enhance the wing's appearance.
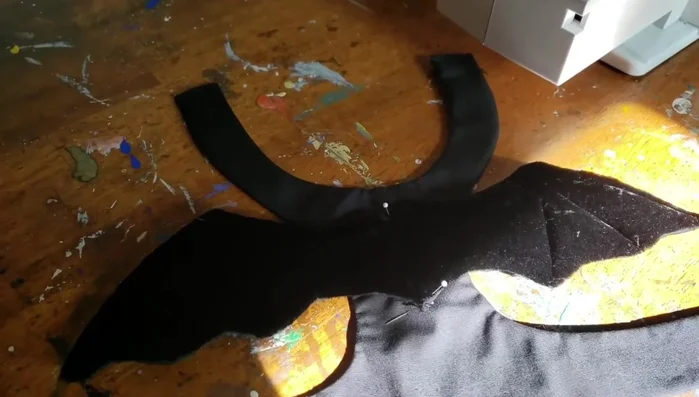
Wing Construction Harness Construction
- Sew the harness pieces together, right sides facing, then turn right side out and iron flat.
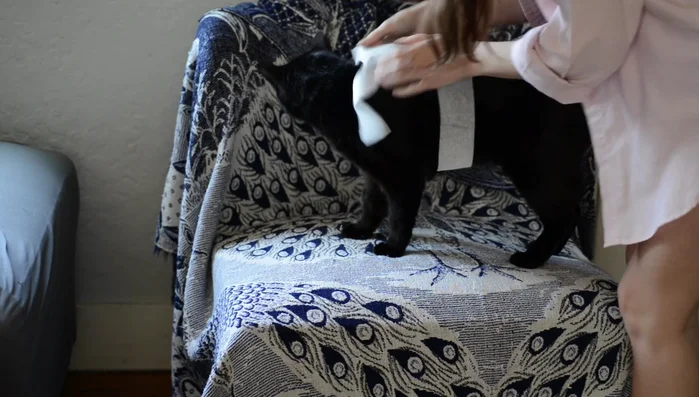
Harness Construction Assembly and Finishing
- Attach the wings to the harness using top stitching.
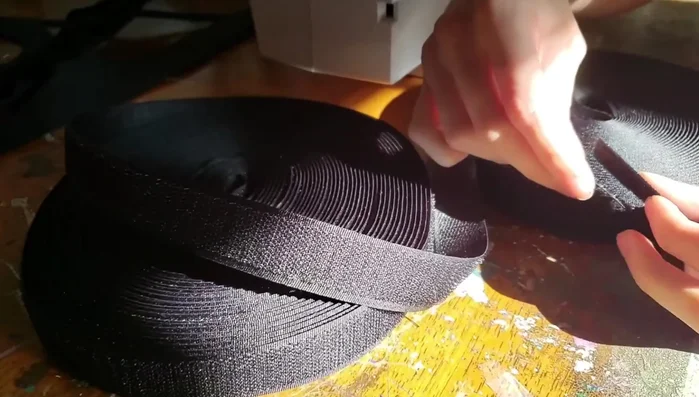
- Attach Velcro to the harness for closure. Hand-tack the wings to prevent excessive flopping.
Assembly and Finishing

Read more: No-Sew DIY Pet Tank Top: Easy Leggings Upcycle!
Tips
- Use a pre-existing pattern as a base to save time. Modify it to your needs.
- Use plenty of pins to keep fabric from shifting during sewing, especially with slippery fabrics.
- Adding foam to the wings provides structure and helps them hold their shape.
- Hand-tacking the wings helps to keep them from flopping around excessively while the cat is wearing the costume.