Spoil your furry friend with homemade treats and the perfect vessel to carry them in – a handcrafted leather dog treat bag! This comprehensive guide dives into the rewarding world of leather crafting, showing you how to create a durable and stylish treat bag for your canine companion. Forget mass-produced, flimsy pouches; learn to fashion a truly unique accessory that reflects your love for your dog and your passion for creating beautiful, lasting objects. We'll explore the tools and materials needed, guiding you through each step with detailed instructions and helpful tips for achieving professional results.
From selecting the right type of leather to mastering essential stitching techniques, we’ll equip you with the knowledge and confidence to complete this project successfully. Ready to embark on this exciting leather crafting journey? Let's get started with our step-by-step process to making your own personalized DIY dog treat bag.
Safety Guidelines
- Always supervise children around leatherworking tools and materials. Sharp tools and small parts pose a choking hazard.
- Use appropriate safety glasses and a well-ventilated area when working with leather dyes and finishes. Some chemicals can be harmful if inhaled or come into contact with skin.
- Ensure all edges of the finished dog treat bag are smooth and free of sharp points or rough patches to prevent injury to your dog.
Methods: Creating a Dog Treat Bag with a Slotted Top
Tools Needed
- Lightweight cardboard
- Leather
- Utility knife
- Grooving tool
- Diamond chisel
- Two-prong chisel
- Leather dye
- Rivets
- Sewing needle and thread
Step-by-Step Instructions
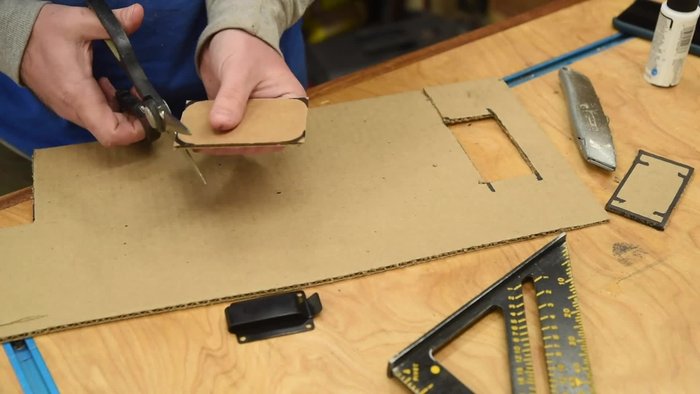
Template Creation
- Make cardboard templates for the side and top pieces.

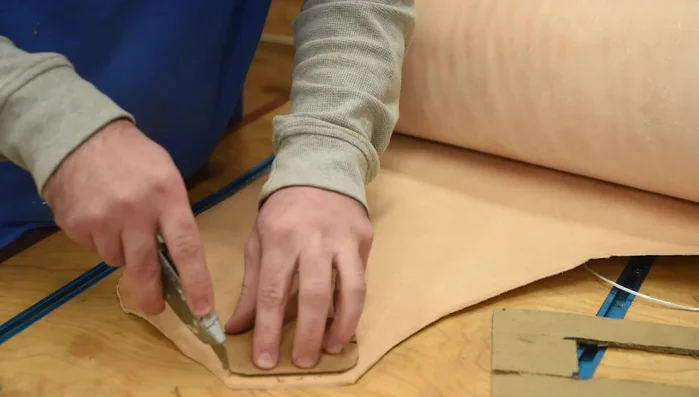
Template Creation Leather Cutting
- Cut out the leather pieces using the templates.
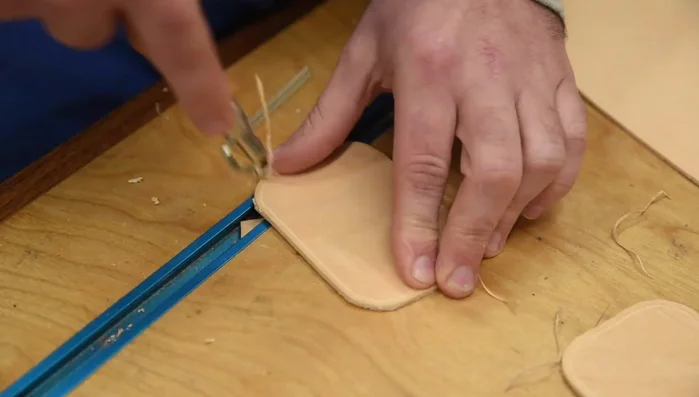
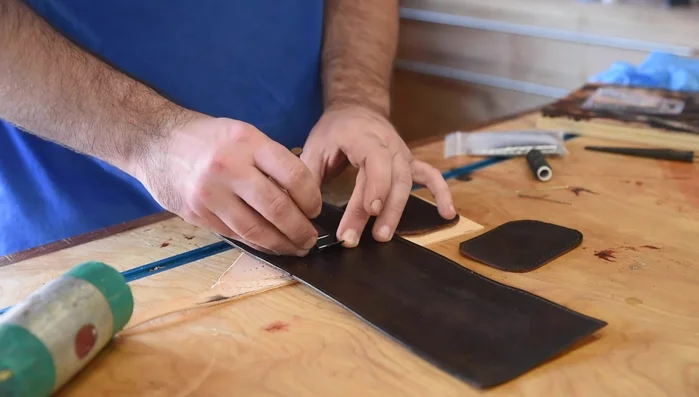
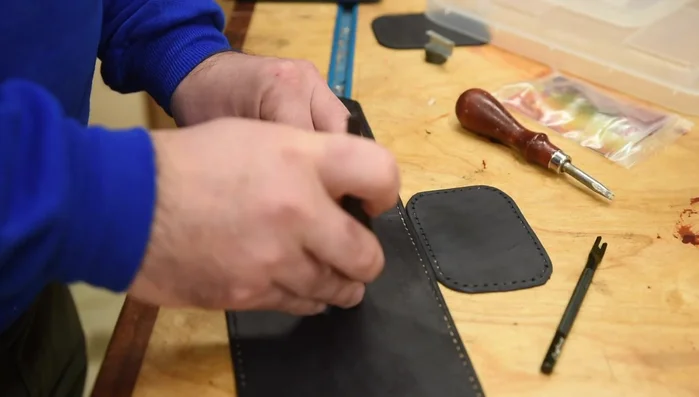
Leather Cutting Stitching Preparation
- Use a grooving tool to create a stitching guide.
- Punch holes along the grooved line using a diamond chisel.
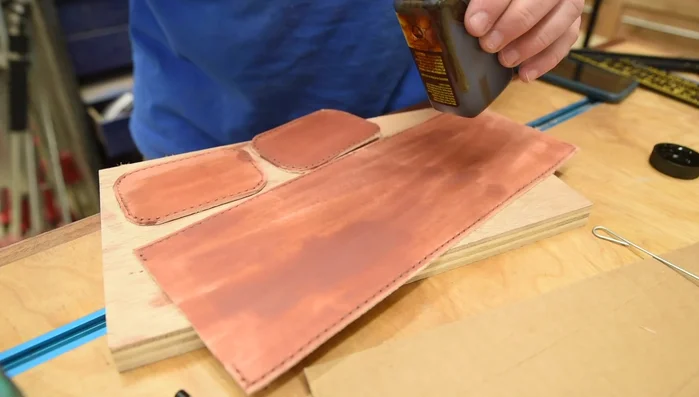
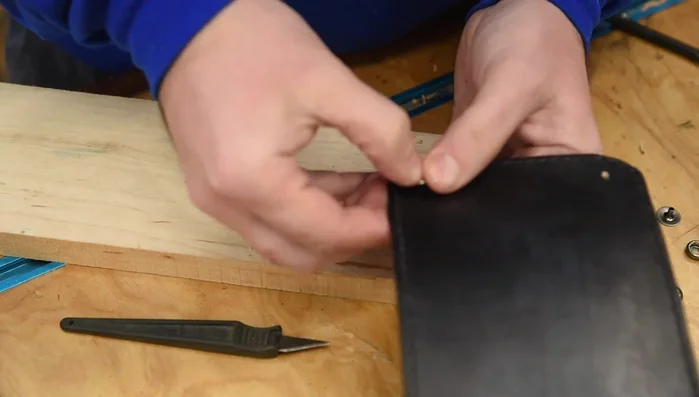
Stitching Preparation Dyeing and Belt Clip Attachment
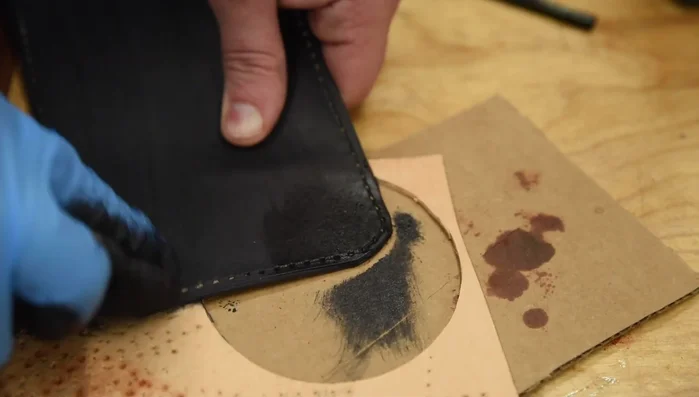
- Apply leather dye and wipe off excess.
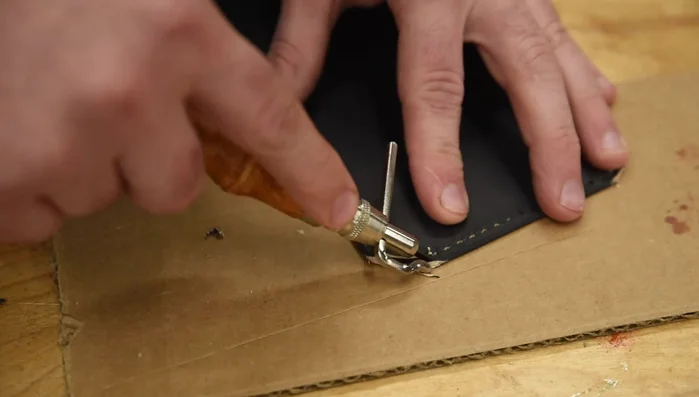
- Rivet the belt clip onto the bag before stitching.
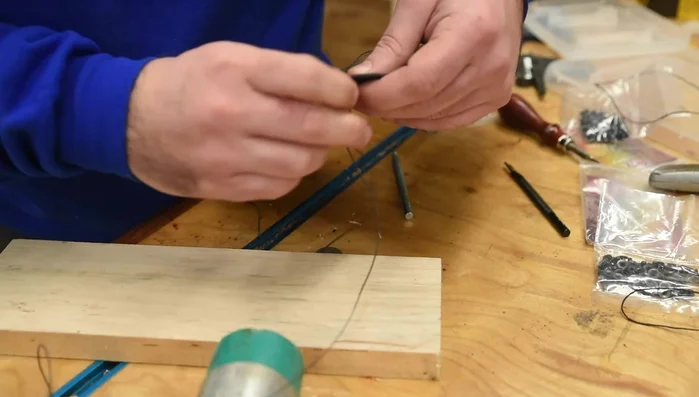
Dyeing and Belt Clip Attachment Stitching and Reinforcing
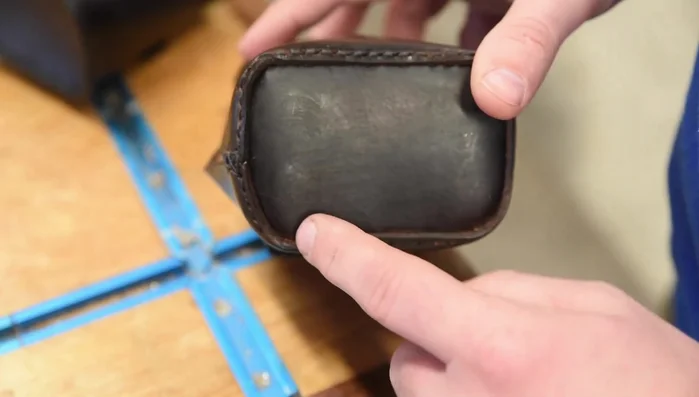
- Saddle stitch the leather pieces together, starting with the side pieces and then the top.
- Reinforce the edges to prevent tearing.
Stitching and Reinforcing

Tips
- Use an inside-to-inside stitch for easier closure.
- Do both sides simultaneously while access is easy.
Methods: Creating a Dog Treat Bag with Snaps
Tools Needed
- Lightweight cardboard
- Leather
- Utility knife
- Grooving tool
- Diamond chisel
- Two-prong chisel
- Leather dye
- Snaps
- Rivets
- Sewing needle and thread
Step-by-Step Instructions
Prepare the Leather
- Use the same templates as before, adjusting the wraparound piece.
- Round off the corners of the flap where the snaps will go.
Prepare the Leather Attach the Belt Clip
- Install the belt clip.
Attach the Belt Clip Stitch the Bag
- Saddle stitch the leather pieces together, using an inside-to-inside stitch.
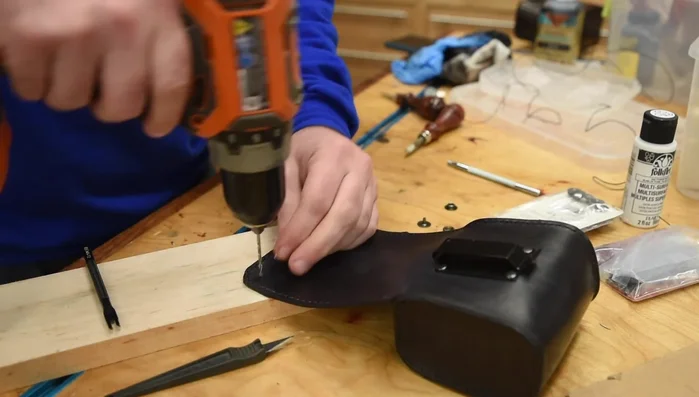
Stitch the Bag Install Snaps
- Drill holes for snaps, precisely locating them.
- Install the snaps.
Install Snaps
Tips
- Count punch holes to ensure the belt clip is in the right place.
- Use blocking inside the bag to support it while attaching snaps.