Unleash your inner crafter and prepare for cuteness overload! This no-sew sock cat tutorial is the perfect project for anyone looking for a quick, easy, and utterly adorable DIY creation. Forget fiddly needles and complicated patterns; this project utilizes only readily available materials – socks, buttons, and a little bit of stuffing – to bring a charming feline friend to life. Whether you're a seasoned DIY enthusiast or a complete beginner, this project is accessible and rewarding, producing a delightful handmade toy that's perfect for gifting, decorating, or simply enjoying yourself.
Forget complicated patterns and hours of stitching! This guide provides a simple, step-by-step process to craft your very own adorable sock cat, perfect for beginners. We’ll walk you through each stage, from preparing your materials to adding those final, charming finishing touches that truly bring your little creation to life. Let's get started and make some purrfectly cute sock cats!
Preparation and Safety Guidelines
- Socks
- Needle
- Thread
- Cotton Filling
- Black Beads (for eyes, nose, mouth)
- Scissors
- Adult supervision is required, especially for younger children handling small objects like buttons and beads.
- Use clean, dry socks to avoid mold or mildew issues. Ensure the socks are free of any sharp objects before starting.
- Dispose of any stuffing materials responsibly. Avoid letting small stuffing pieces become choking hazards for pets or young children.
Step-by-Step Instructions
Prepare the Sock Body
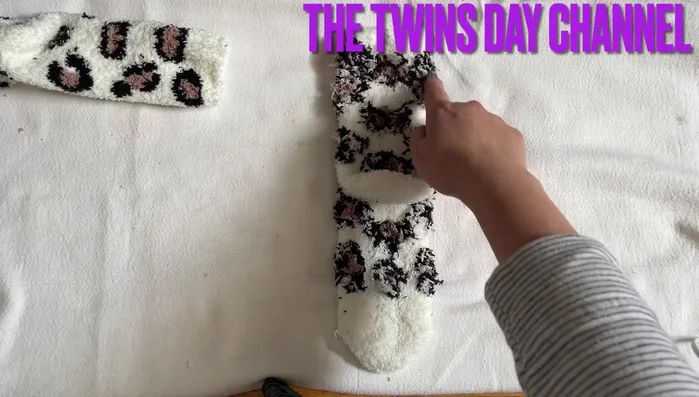
- Prepare the socks. Take out one sock and lay it flat.

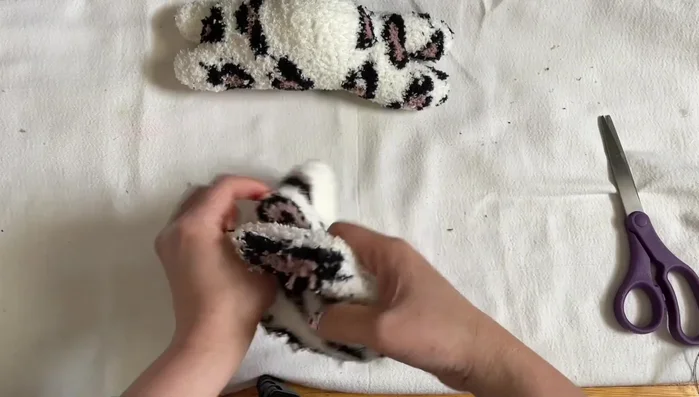
Prepare the Sock Body Shape the Legs
- Shape the legs. Curl the sock's toe area to form the cat's feet. Do this for both sides of the sock.
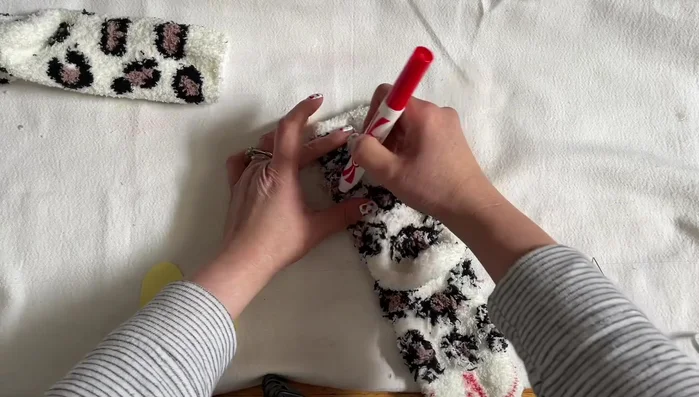
Shape the Legs Sew the Legs
- Sew the leg seams. Sew the curled sections to secure the feet shape.
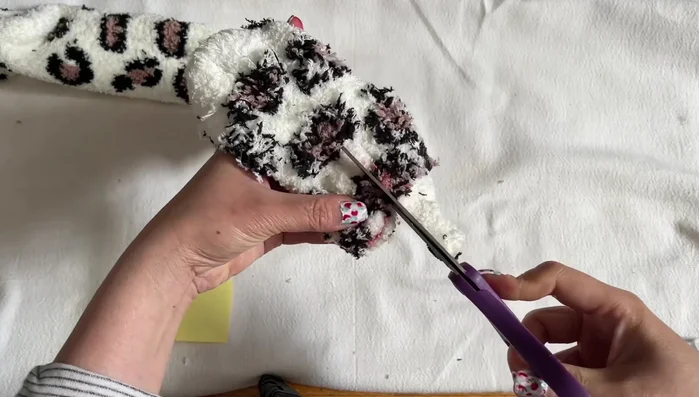
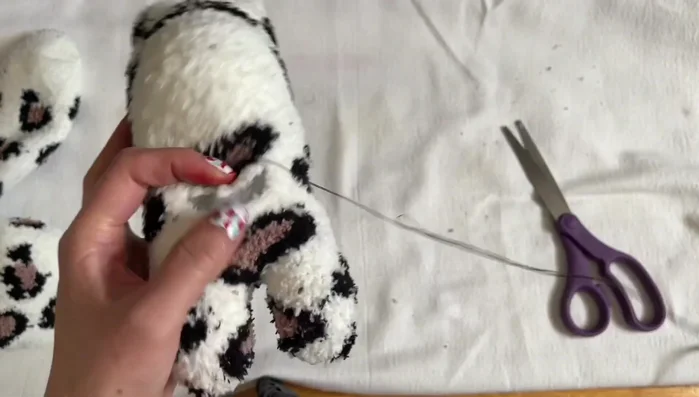
Sew the Legs Separate the Legs
- Cut and separate the leg pieces. Cut around the beige section to separate the legs.
Separate the Legs Stuff the Body
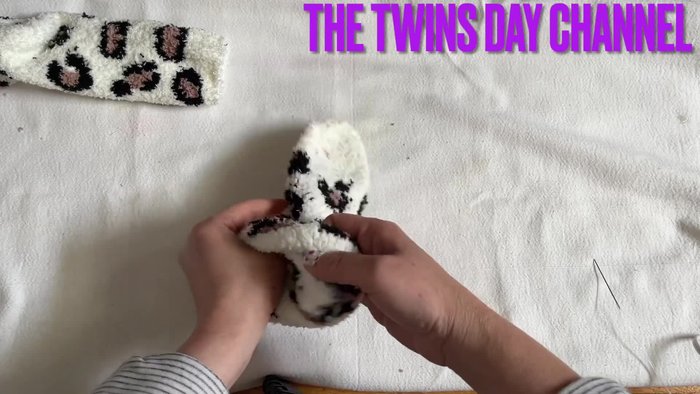
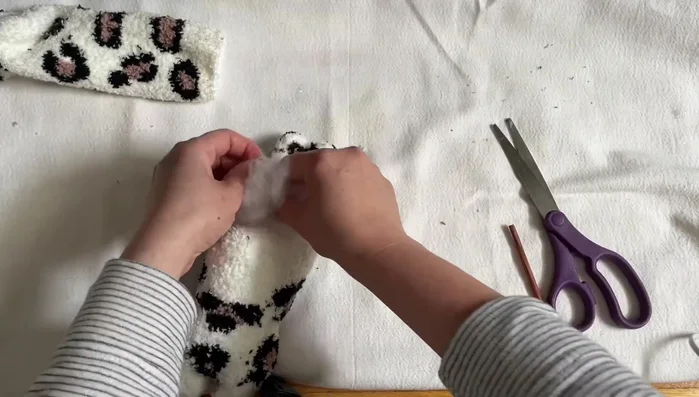
- Stuff the body. Turn the sock inside out and fill the body with cotton.
Stuff the Body Close the Body
- Sew the body seam. Sew the opening at the top of the sock body to close the cat's body.
Close the Body Prepare the Head and Tail
- Prepare the head and tail. Use another sock to make the head and tail by turning it inside out.
Prepare the Head and Tail Attach Head and Tail
- Sew the head and tail to the body. Sew the head and tail onto the main body.
Attach Head and Tail Shape the Head
- Refine the head. Cut and sew the top of the heel area to shape the head.
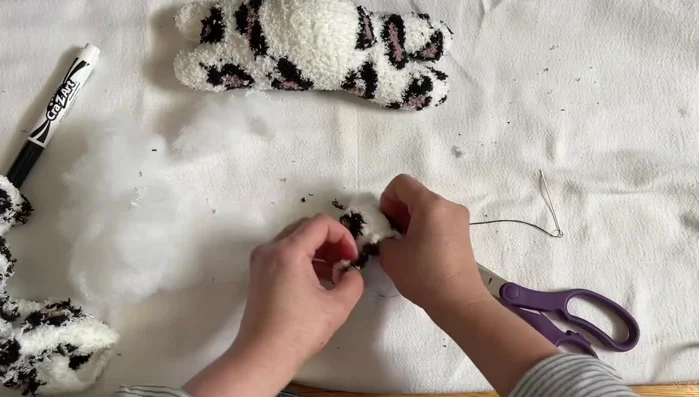
Shape the Head Stuff the Head
- Add the cotton filling to the head. Fill the head with cotton.
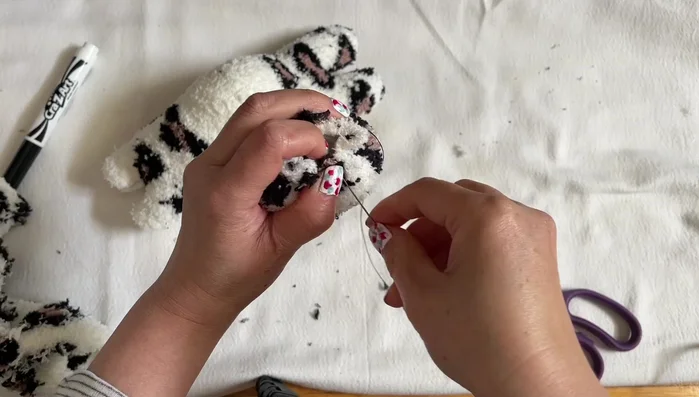
Stuff the Head Close the Head
- Sew the head opening. Securely sew the opening of the head.
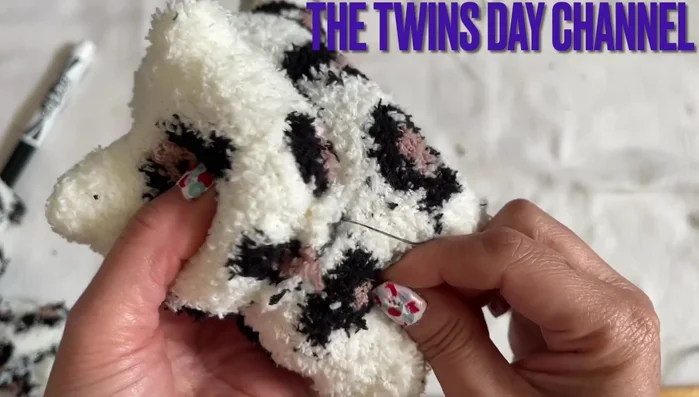
Close the Head Attach the Head
- Attach the head to the body. Sew the head to the front of the body, between the legs.
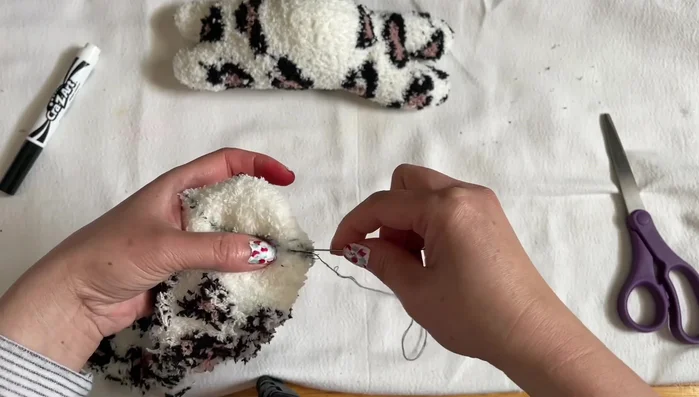
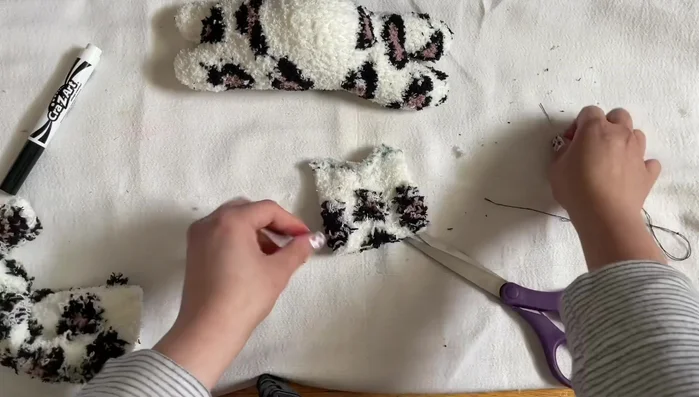
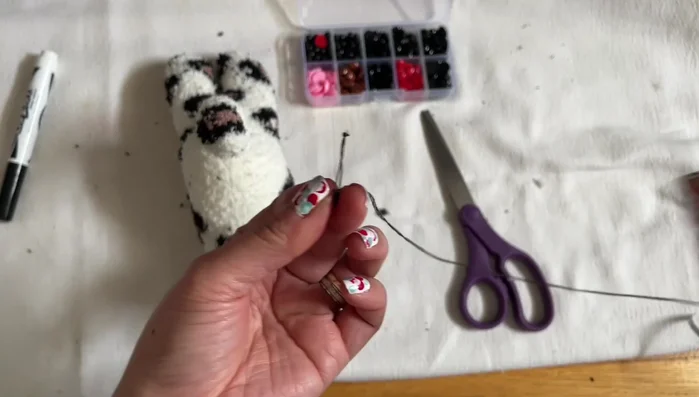
Attach the Head Add Facial Features
- Add finishing touches. Attach the black beads for eyes, nose, and mouth. Sew on the whiskers.
Add Facial Features
Read more: No-Sew Felt Catnip Toy: A Simple DIY Cat Toy Tutorial
Tips
- Use a contrasting color sock for better visibility during the sewing process.
- Don't be afraid to let the cat's bum stick up a bit; it adds to the charm.
- For a more complete look, add whiskers to the cat's face.