Rainbow loom bands offer a fantastic way to create adorable, miniature animal toys, and today we're tackling a charming rainbow dog! These tiny creations are perfect for keychains, bag charms, or simply as delightful little desk companions. They're surprisingly easy to make, even for beginners, requiring only a few basic loom band techniques and a burst of creative energy. The vibrant colors of the rainbow loom bands allow for endless customization, letting you personalize your pup to your exact liking.
This tutorial will guide you through each step of making your very own rainbow dog, from preparing the bands to adding the final, finishing touches. Get ready to unleash your inner artisan and discover the simple joy of crafting with rainbow loom bands; let's dive into the step-by-step instructions and create a colorful, lovable canine companion!
Preparation and Safety Guidelines
- Loom bands (4, any color)
- Hook
- Adult supervision is required, especially for younger children. Loom bands can be a choking hazard if swallowed.
- Be mindful of stretching the loom bands too tightly, as this can cause them to snap and potentially injure eyes or skin.
- Always keep loom bands and small parts away from pets to prevent ingestion or entanglement.
Step-by-Step Instructions
Prepare Materials
- Prepare four loom bands. Any color combination works, even multicolored.

Prepare Materials Create Base Ring
- Create the base ring with one loom band (in this example, pink).
Create Base Ring Add First Color Loop
- Using the hook, attach one loom band (purple). Make a slip knot and hook it onto the base ring.
Add First Color Loop Add Remaining Loops
- Repeat step 3 four more times (for a total of five loom bands) creating a series of loops on the hook.
Add Remaining Loops Attach Base to First Loop
- Grab the base ring (pink) with the hook and pull it over the first loop.
Attach Base to First Loop Add Remaining Colors
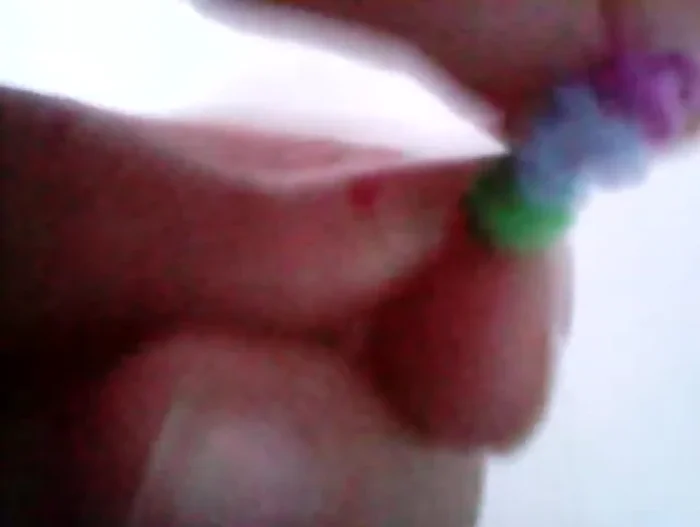
- Repeat steps 3-5 with different colored loom bands (blue, green, etc.), adding each one next to the previous. Make sure to keep the loops tight.
Add Remaining Colors Address Construction Challenges
- Once all colors are added, there will be a sort of tubular shape. At this point, the instruction notes some difficulties which are shown in the video and addressed with slight adjustment.
Address Construction Challenges Final Assembly and Removal
- Take the initial base ring (pink), and pull it over the final loop. Carefully remove the toy from the hook.
Final Assembly and Removal

Tips
- Keep the loops tight throughout the process for a more compact and sturdy toy.
- If you have difficulty with the last step, refer to the video at [timestamp of the specific struggle in the video for visual aid] for assistance.
- The finished product can be delicate; handle with care.