Spoil your furry friend with a luxurious, glamorous pet bed without breaking the bank! This isn't your average pet store purchase; we're talking about transforming discarded furniture into stunning, bespoke sleeping spaces for your beloved canine or feline companion. Forget mass-produced pet beds – let's unleash your inner designer and upcycle old chairs, dressers, or even suitcases into unique, stylish havens that will complement your home décor perfectly. Imagine the envious glances you'll receive from fellow pet owners when your pampered pup or cat curls up in their handcrafted, one-of-a-kind bed.
This guide will walk you through the entire process of creating a DIY glamorous pet bed, from selecting the perfect piece of upcycled furniture to adding the finishing touches of plush comfort. Get ready to discover how easy it is to turn trash into treasure – and give your pet the ultimate sleeping experience – as we embark on this exciting step-by-step journey together!
Preparation and Safety Guidelines
- Old end table (or similar furniture piece)
- 60 grit sandpaper
- Primer (Kilz all-purpose primer recommended)
- Flat white paint
- Paint brush
- Paint roller
- 120 grit sandpaper
- Polycrylic sealant
- Pillow (either thrifted or homemade)
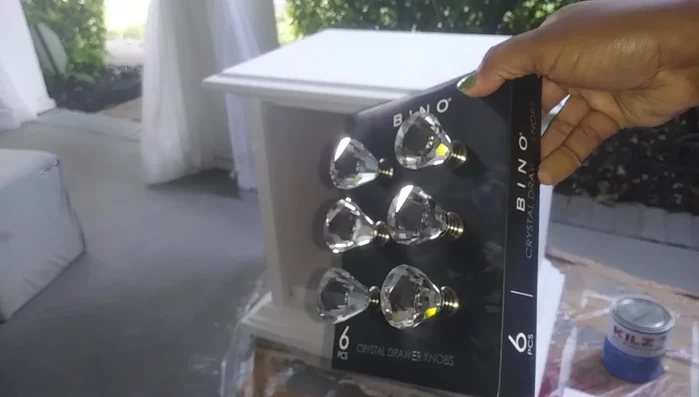
- Optional: New doorknobs
- Always remove any hardware or sharp edges from the upcycled furniture before upholstering. Thoroughly sand down any rough surfaces to prevent injury to your pet.
- Use pet-safe fabrics and stuffing materials. Avoid anything that could be toxic if ingested or that might cause skin irritation. Choose durable fabrics that can withstand scratching and clawing.
- Ensure the finished pet bed is sturdy and won't collapse under your pet's weight. Reinforce any weak points in the upcycled furniture before adding the new upholstery.
Step-by-Step Instructions
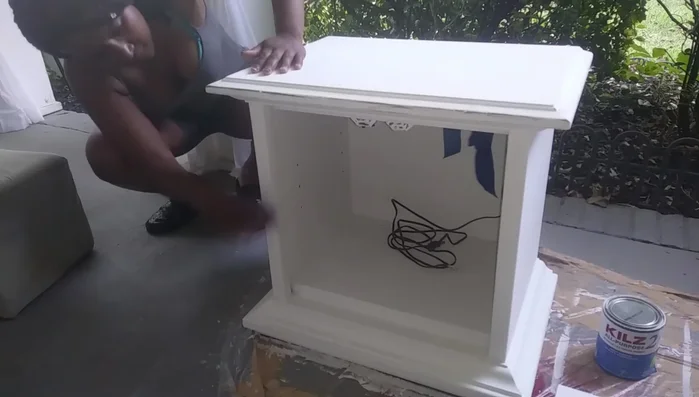
Preparation
- Sand down any imperfections on the furniture piece.
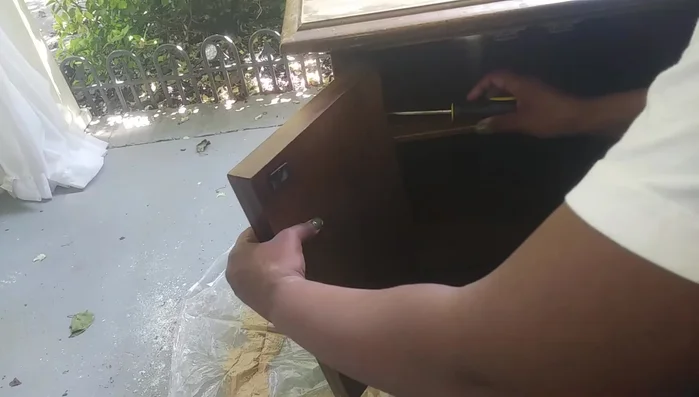
- Remove the hardware.

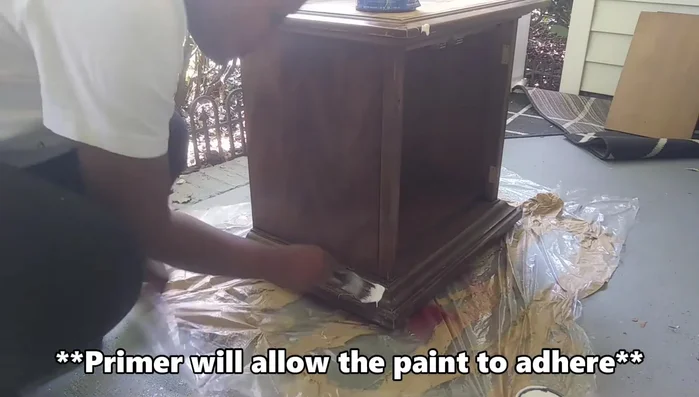
Preparation Priming
- Prime the furniture piece with an all-purpose primer. It doesn't need to be perfect, just a base coat.
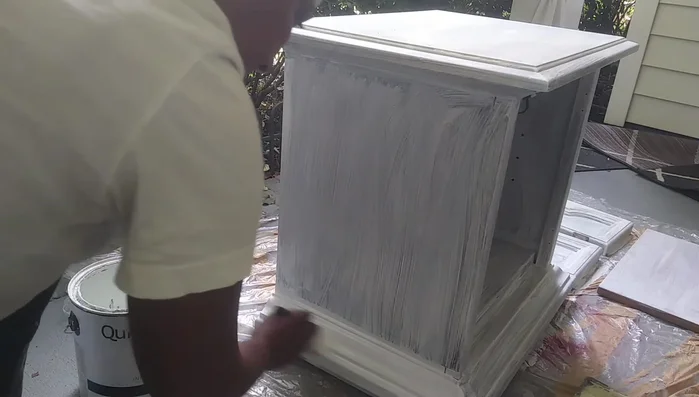
Priming Painting
- Paint the furniture piece with flat white paint. Use a brush for edges and corners, and a roller for flat surfaces. Apply at least two coats.
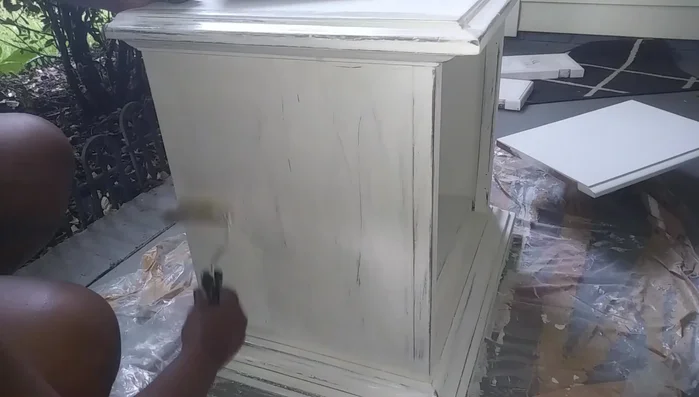
Painting Distressing
- Distress the furniture piece by scuffing it with 120 grit sandpaper, focusing on edges and corners.
Distressing Sealing
- Seal the entire piece (inside and out) with polycrylic sealant.
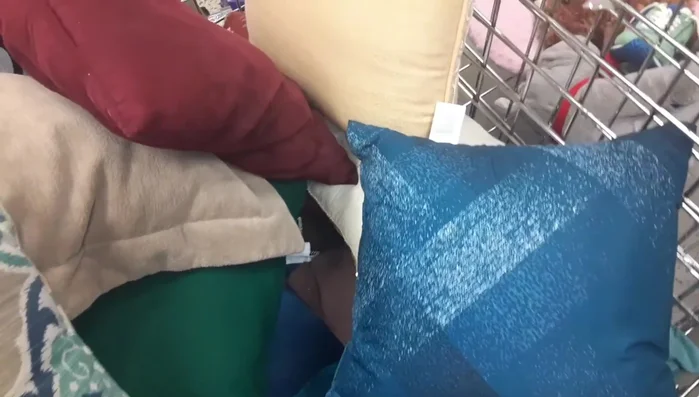
Sealing Adding the Pillow
- Add a pillow. You can either thrift one or make your own.
Adding the Pillow Optional: Reattaching Doors
- Reattach doors with new hardware.
Optional: Reattaching Doors
Tips
- Use a fan to speed up drying time.
- Thrift store furniture pieces can be found for under $10.
- Thrift store pillows are also an inexpensive option.
- Consider leaving the doors off for easier pet access.