Give your furry friend a touch of handmade elegance with this easy-to-follow crochet tutorial! Learn how to create a charming lacy dog collar adorned with delicate crocheted flowers. This project is perfect for beginner crocheters, requiring only basic stitches and a little patience. You’ll be amazed at how quickly you can transform simple yarn into a beautiful and unique accessory that your canine companion will adore. Imagine the compliments you'll receive on your pet's stylish new collar, handcrafted with love.
This delightful project uses readily available materials and provides clear instructions, making it ideal for crafting enthusiasts of all skill levels. Whether you're a seasoned crocheter looking for a quick and rewarding project or a beginner eager to expand your skills, this tutorial offers a fun and satisfying experience. Ready to get started? Let's dive into the step-by-step instructions to crochet your own lacy dog collar with flowers!
Preparation and Safety Guidelines
- Worsted weight #4 yarn (off-white and bright yellow)
- H/5mm crochet hook
- Needle
- Scissors
- Always supervise your dog while wearing the crocheted collar. Ensure it's not too tight and that they can't easily chew through it.
- Use only pet-safe yarn and avoid any materials that could be toxic if ingested. Wash the collar before first use.
- Check the collar regularly for wear and tear and replace it if damaged to prevent injury.
Step-by-Step Instructions
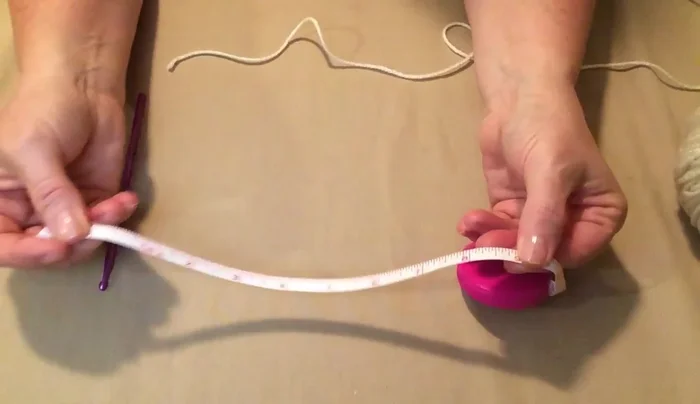
Measure and Calculate
- 3 chains per inch * neck measurement + 1 chain

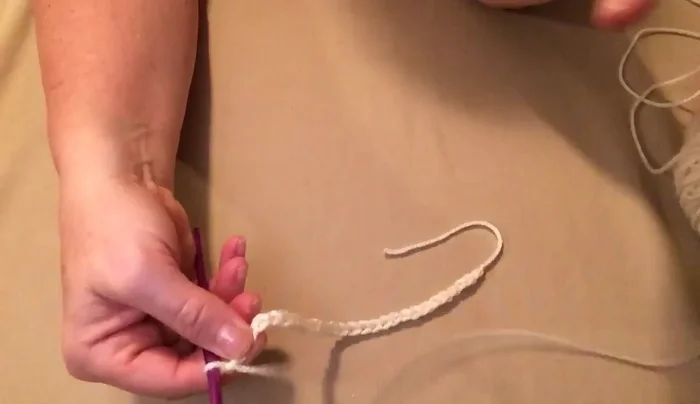
Measure and Calculate Create Collar Base
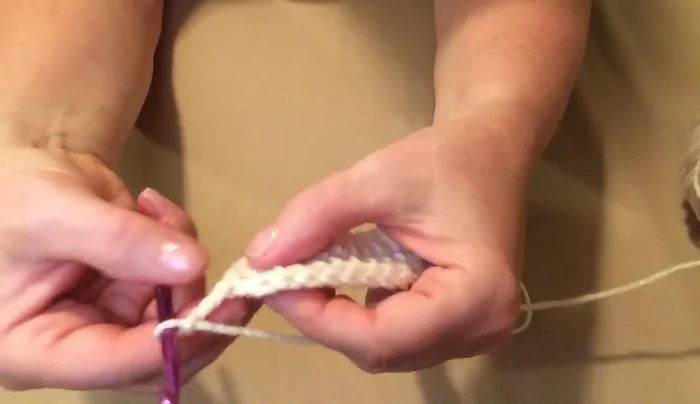
- Chain the calculated number and begin working in half double crochets. The first and last chains have two half double crochets, all others have one.
- Turn and stitch down the opposite side of the chain with half double crochets, two in the first and last chains, one in the others.
Create Collar Base Add Lacy Detail
- chain three, skip the next stitch, single crochet in the next stitch, repeat around. Join to the first chain.
Add Lacy Detail Make Ties
- Chain 25 for each tie, fasten off, and weave in the ends.
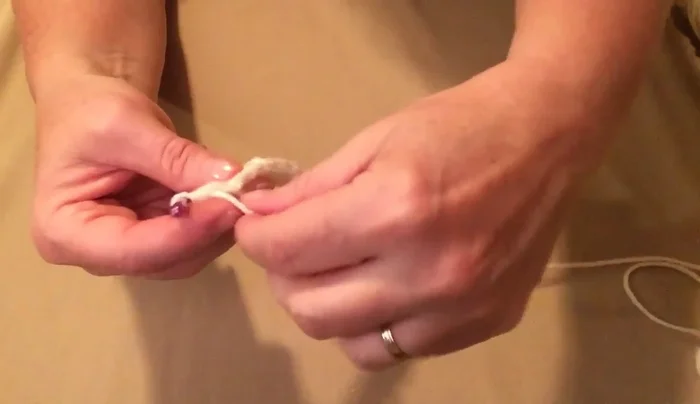
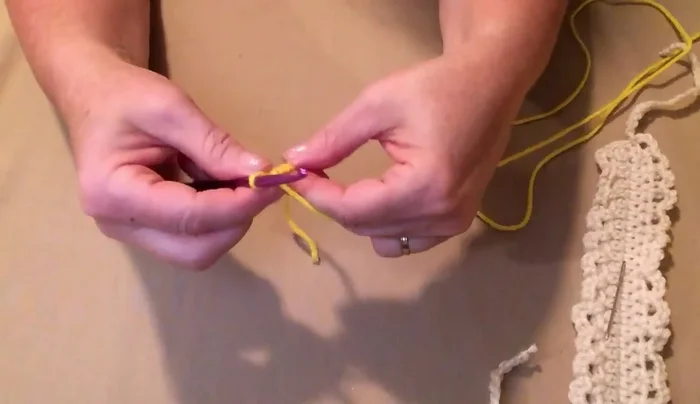
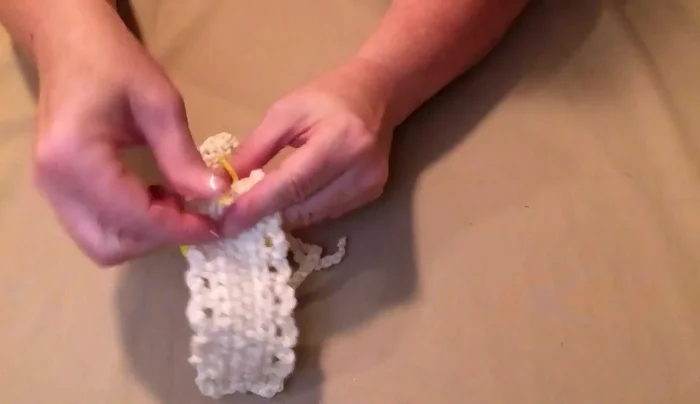
Make Ties Make Flower Center
- Chain 3, work 6 single crochets in the second chain from the hook. Join, chain 1.
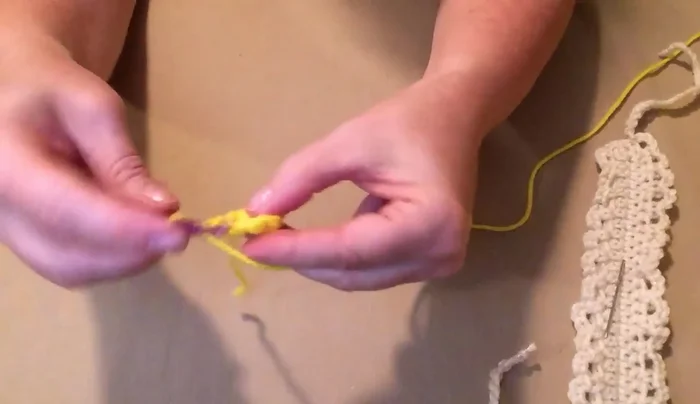
Make Flower Center Create Flower Petals
- Single crochet, chain 2, single crochet in the next single crochet. Repeat 6 times around. Join.
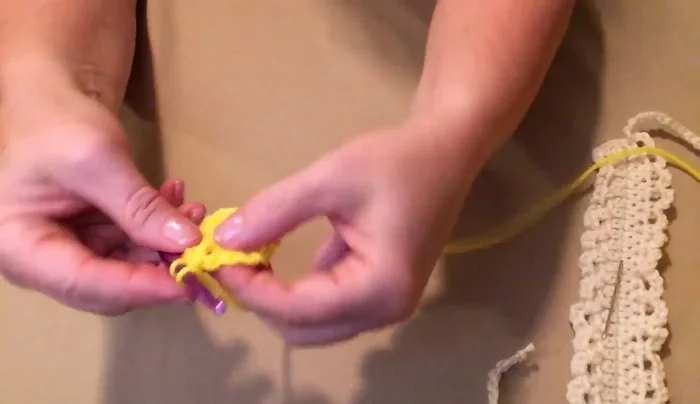
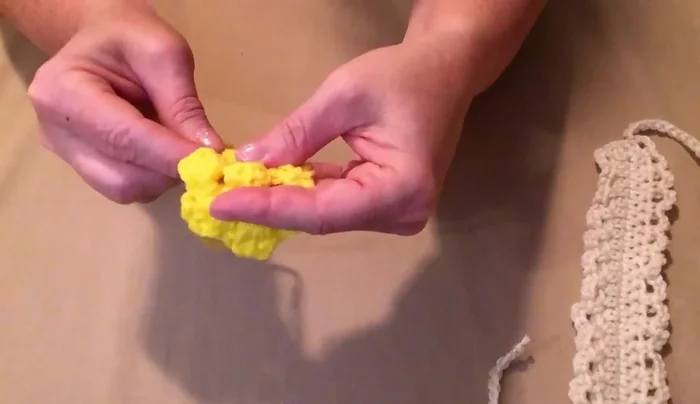
Create Flower Petals Complete the Flower
- Single crochet, 2 double crochets, single crochet in each chain-2 space. Repeat around. Fasten off, leaving a tail for sewing.
Complete the Flower Attach Flower
- Gather the center of the flower, sew to the collar center, and gently gather the petals to create a 3D effect.
Attach Flower Finish Up
- Weave in all ends.
Finish Up

Read more: DIY Studded Dog Collar with Reflective Piping: A Comprehensive Guide
Tips
- Don't make the ties too long to prevent them from getting caught on your dog's nails or teeth.
- When sewing the flower, ensure you sew it on securely to prevent your dog from chewing it off and potentially choking.