Want to create a stylish and safe collar for your canine companion? This comprehensive guide will walk you through the process of crafting a DIY studded dog collar complete with reflective piping. Forget expensive, generic options; learn how to personalize your dog's accessories with a unique, handmade piece that reflects your pet's personality and ensures their safety during nighttime walks. This project is perfect for intermediate crafters, blending fashion with functionality. We'll explore choosing the right materials, from durable leather to vibrant studs and highly visible reflective tape. The end result will be a tough, eye-catching collar that's both comfortable for your dog and a testament to your crafting skills.
This guide provides a detailed, step-by-step approach, ensuring even beginners can achieve professional-looking results. From measuring your dog's neck to securely attaching the studs and integrating the reflective piping, we cover every aspect of the process with clear instructions and helpful images. Get ready to unleash your creativity and learn how to make a truly one-of-a-kind dog collar!
Preparation and Safety Guidelines
- D-ring
- Buckle
- Conical studs
- Reflective tape
- 2 mil filler
- Leather strip
- Stitching thread
- Padding
- 0.8 mil leather
- Set square
- Dividers
- Creaser
- Edge beveler
- Stitching groover
- Stitch marker
- Leather splitter
- Sharp awl/Screwdriver
- Tack hammer
- Glue
- Scissors
- Bone folder
- Always supervise your dog while wearing the collar. Ensure the studs are securely fastened and cannot be easily removed or swallowed.
- Check the collar regularly for wear and tear. Replace the collar immediately if any damage is found to prevent injury.
- Ensure the collar fits comfortably but not too loosely. A collar that's too tight can restrict breathing or cause injury, while one that's too loose can easily come off.
Step-by-Step Instructions
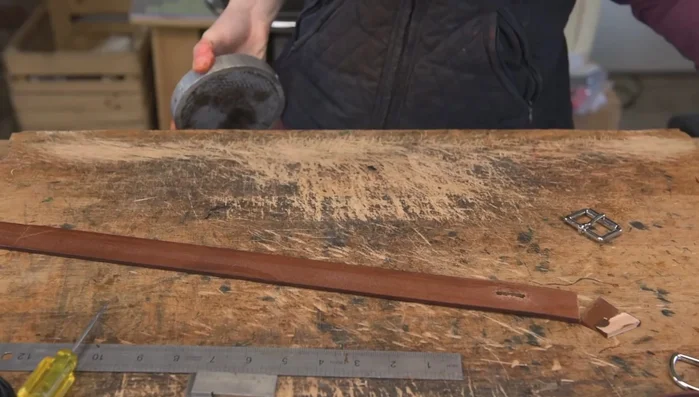
Prepare the Leather
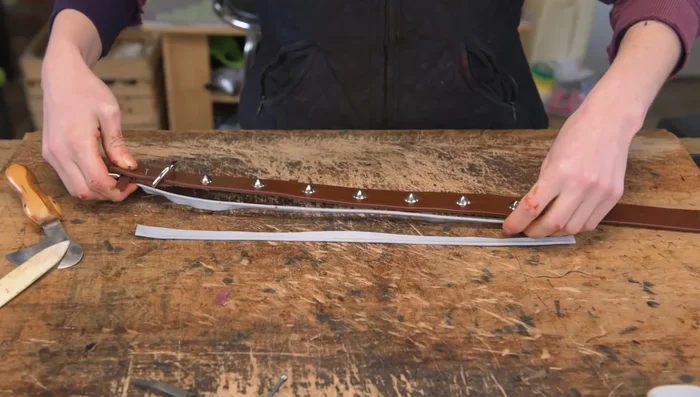
- Square the end, cut the point (egg-shaped point in this example), and mark holes for stitching.

Prepare the Leather Mark Stitching and Buckle
- Mark stitching positions, including the buckle end.
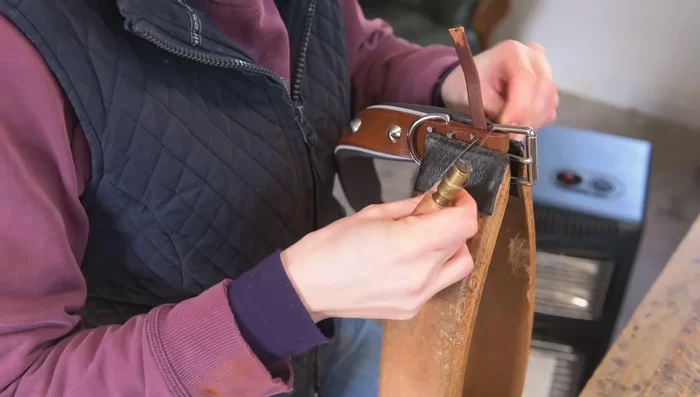
Mark Stitching and Buckle Prepare D-ring
- Skive two leather wedges to cover the raw ends near the d-ring.
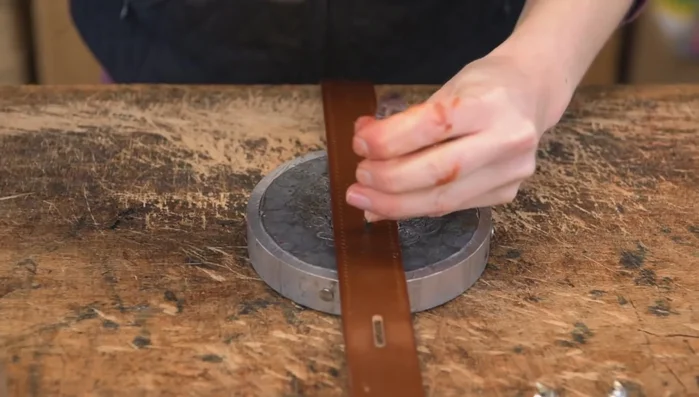
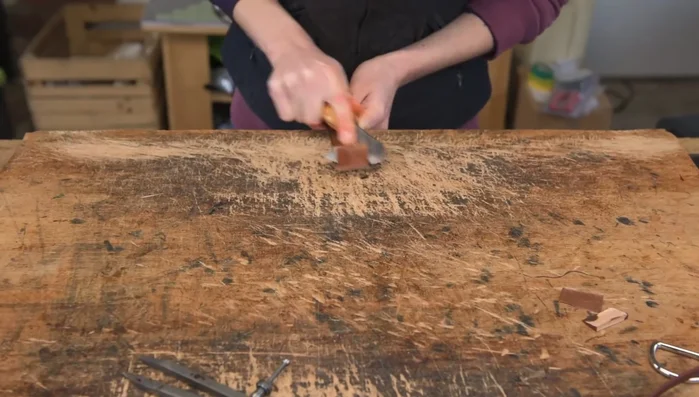
Prepare D-ring Stain and Crease
- Stain and crease the leather.
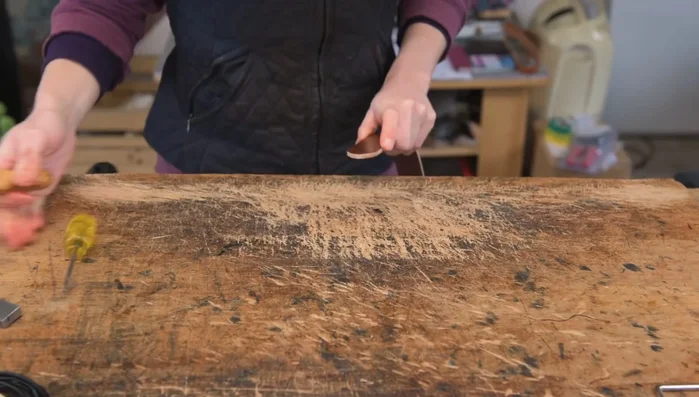
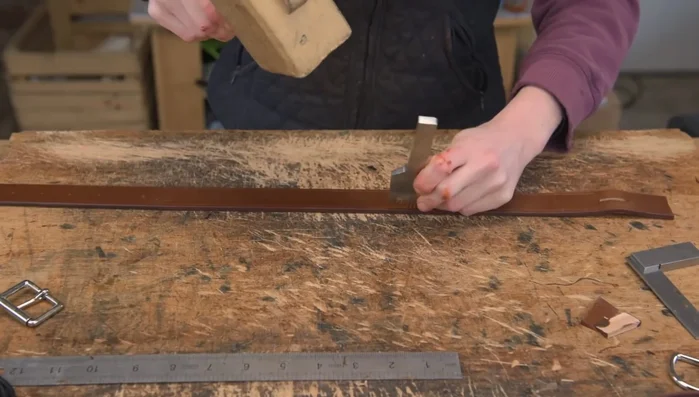
Stain and Crease Prepare Stitching Holes
- Even out holes with dividers, mark tram lines, and punch the holes for stitching.
- Edge the back of the holes using a number six edged tool.
Prepare Stitching Holes Prepare Buckle End
- Wet the leather if necessary to prevent cracking, position the buckle, and mark stitching lines.
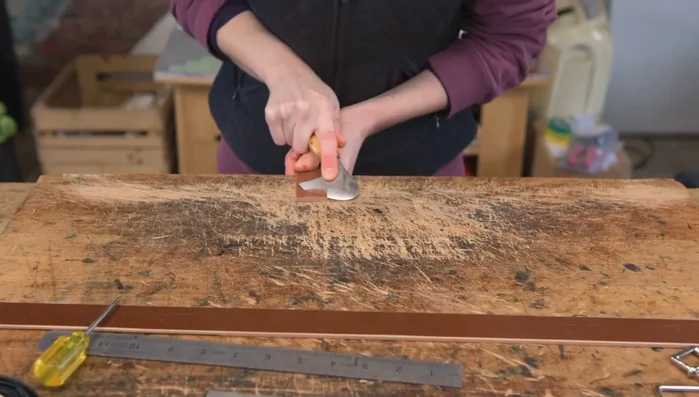
Prepare Buckle End Stitch Mark
- Stitch mark the collar using a stitch marker.
Stitch Mark Prepare for Studs
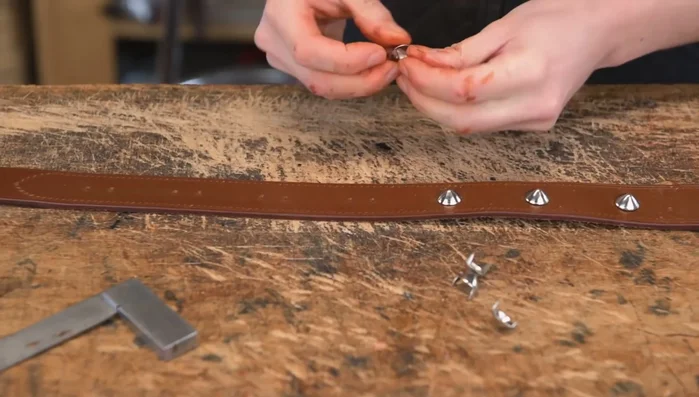
- Mark and split the leather to accommodate the stud legs.
Prepare for Studs Mark and Punch Stud Holes
- Mark stud positions, ensuring even spacing.
- Punch holes for studs using a sharp awl or screwdriver.
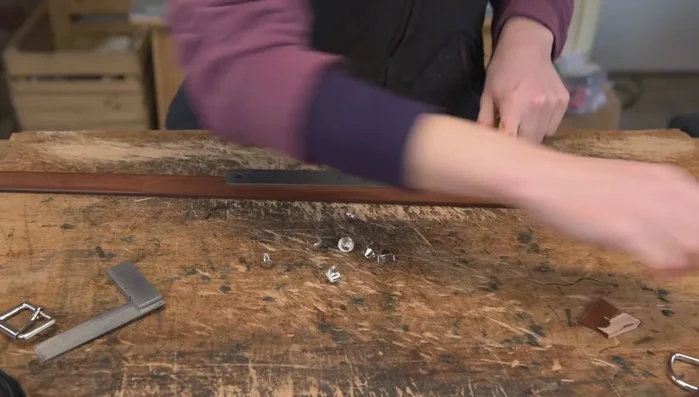
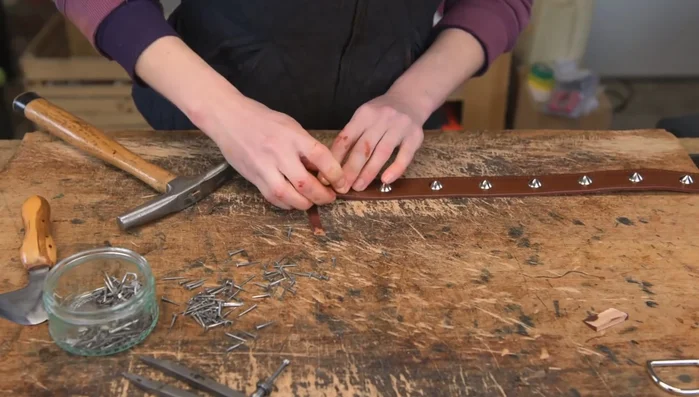
Mark and Punch Stud Holes Attach Studs
- Insert studs, fold the legs over, and tap them flat using a tack hammer.
Attach Studs Assemble Buckle End
- Cut looping to size, and attach it.
- Attach the wedges to the d-ring.
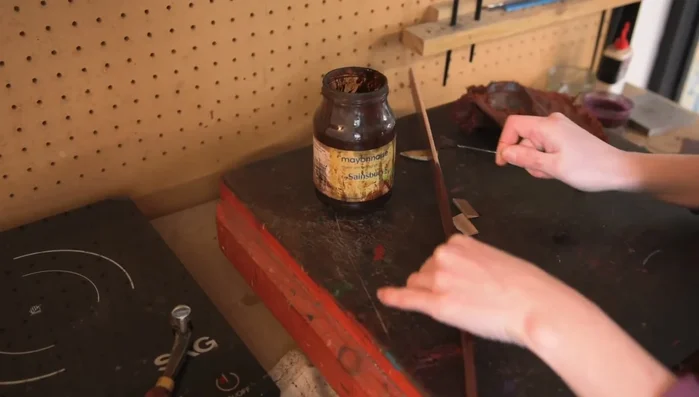
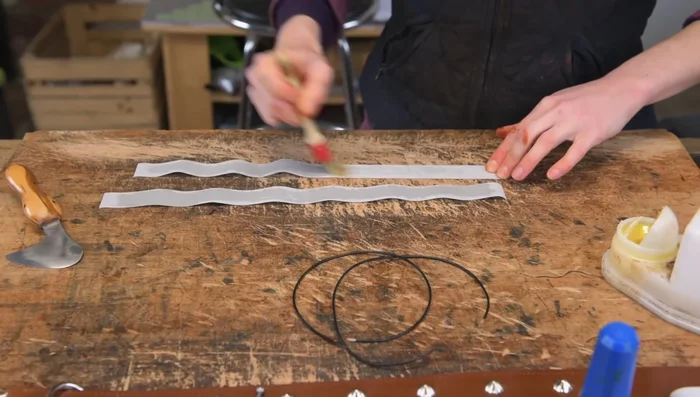
Assemble Buckle End Prepare Reflective Piping
- Cut reflective tape to length (two strips needed).
- Glue and fold reflective piping onto filler (2mm belting in this example).
Prepare Reflective Piping Attach Reflective Piping
- Securely glue piping to the collar edge. Trim excess and make adjustments as needed.
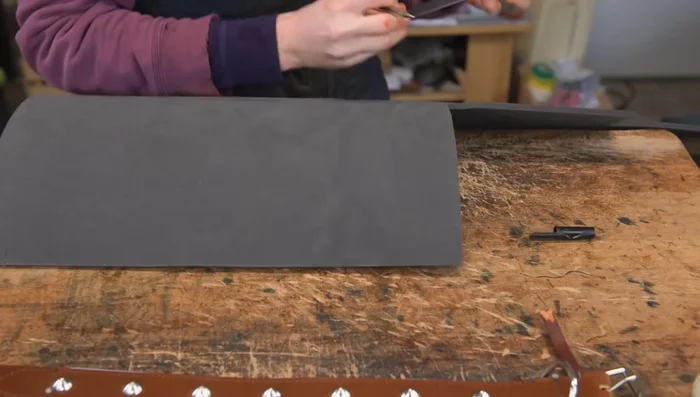
Attach Reflective Piping Prepare and Attach Padding
- Measure and cut foam padding, taper the ends, and glue to the lining.
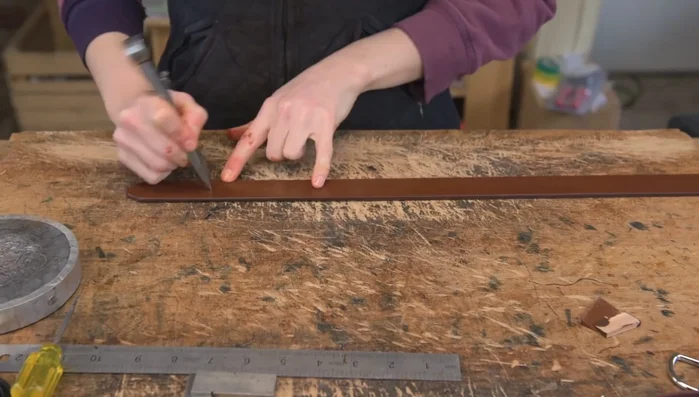
Prepare and Attach Padding Stitch Collar
- Double hand-stitch the collar, paying attention to securing the d-ring and buckle ends.
Stitch Collar Finishing Touches
- Re-stain and polish edges; punch holes in the point end.
Finishing Touches


Read more: Crochet a Lacy Dog Collar with Flowers: Easy DIY Tutorial
Tips
- Use a set square to ensure accurate measurements and straight lines.
- Wet stiff leather before stitching to prevent cracking.
- Don't hit studs too hard with the hammer to avoid damaging them.
- Use a bone folder to create a sharp crease in the reflective piping.
- Make sure piping is tight to the collar before stitching to get a clean look.