Tired of generic pet vests that just don't capture your furry friend's unique personality? Wish you could create a custom, stylish vest without the hassle of complex design software or expensive printing services? Then get ready to unleash your creativity! ThisNew.com offers a revolutionary way to design personalized pet vests in mere minutes, all without needing any prior design experience or specialized software. Imagine a vest perfectly tailored to your pet's breed, size, and your own artistic vision – vibrant colors, playful patterns, even a custom photo! The possibilities are endless.
Forget complicated downloads and steep learning curves. Our intuitive online design tool empowers you to create the perfect vest with ease, using simple drag-and-drop features and a vast library of pre-designed templates and graphics. Ready to transform your pet's wardrobe and create a vest they'll love? Let's dive into the simple step-by-step process of designing your custom pet vest with ThisNew.com.
Preparation and Safety Guidelines
- Computer with internet access
- Always double-check your measurements before placing your order. Inaccurate measurements can result in a vest that doesn't fit properly.
- Choose fabrics and materials appropriate for your pet's activity level and the climate. Consider breathability and durability.
- Supervise your pet while wearing the vest, especially initially, to ensure a comfortable and safe fit. Remove the vest immediately if your pet shows signs of discomfort.
Step-by-Step Instructions
Access ThisNew.com and Select Product
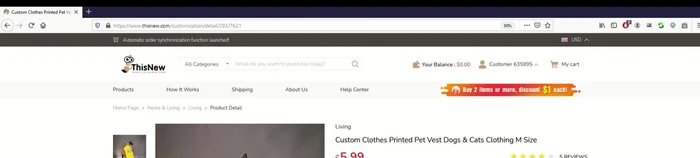
- Go to ThisNew.com and navigate to 'Products' then 'Home and Living' then 'Living'.
- Select 'Custom Clothes Printed Vest' ($6 USD).

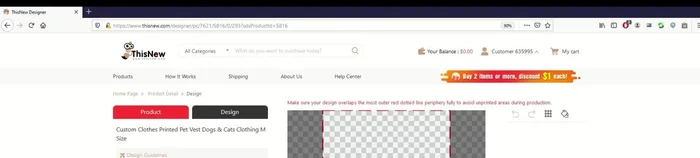
Access ThisNew.com and Select Product Open Design Portal
- Click the 'Design' tab to open the design portal.
Open Design Portal Customize Background
- Customize the background color using the color palette.
Customize Background Add and Customize Text
- Add text using the text box. Adjust font, color, size, and position as needed. Remember to use the backspace key instead of delete to edit text.
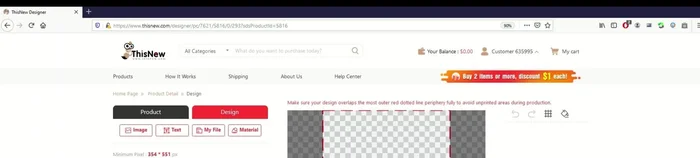
Add and Customize Text Add and Position Image
- Import an image from ThisNew.com's material library or upload your own.
- Adjust image size and position using anchor points. Use the bottom-right anchor point to maintain aspect ratio.
Add and Position Image Arrange Layers
- Manage layers to control the order of elements (text and image).
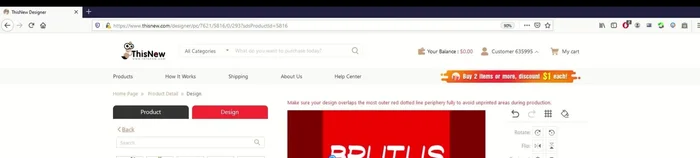
Arrange Layers Preview Design
- Use the mockup to preview your design.
Save and Sell/Purchase
- Save your design and choose to purchase or list it for sale via Shopify, WooCommerce, or Etsy.
Save and Sell/Purchase


Read more: No-Sew DIY Pet Tank Top: Easy Leggings Upcycle!
Tips
- Use the backspace key instead of the delete key when editing text within the design tool.
- The material library search function is not very effective. Browse through the pages instead of relying on the search bar.
- Utilize the layering function to create depth and visual interest in your design.
- Regularly check your design in the mockup to ensure proper alignment and sizing.