Is your furry friend shivering through those chilly nights? Don't let your beloved cat or dog suffer from the cold! This tutorial will guide you through creating a cozy and super-warm bed for your pet, all with materials readily available and a minimal amount of effort. Forget expensive pet store options – you can craft a personalized, adorable haven for your companion, tailored perfectly to their size and shape, and all without breaking the bank. Plus, the satisfaction of creating something special for your pet is unparalleled.
This DIY project requires only basic sewing skills and common household items, making it perfect for beginners. We’ll walk you through each step, from choosing the right fabric to finishing those adorable seams. Ready to transform old blankets or fabric scraps into a luxurious, cuddly sleeping space? Let's dive into the step-by-step instructions and start crafting that purrfect (or paw-some!) pet bed!
Preparation and Safety Guidelines
- Fabric (main and lining)
- Insulbright (optional)
- Sewing machine
- Pins
- Ruler
- Scissors
- Iron (optional)
- Always supervise pets when they are using their new bed, especially during the initial introduction period. Remove any loose threads or embellishments that could be chewed off and swallowed.
- Choose filling materials carefully. Avoid anything that could be toxic if ingested (e.g., certain foams, stuffing made from recycled materials). Opt for pet-safe materials like hypoallergenic batting, recycled fibers specifically labeled for pet use, or old clean clothing.
- Ensure the bed is securely stitched and constructed to prevent stuffing from escaping and being a choking hazard. Regularly check the bed for any signs of wear and tear and replace it if necessary.
Step-by-Step Instructions
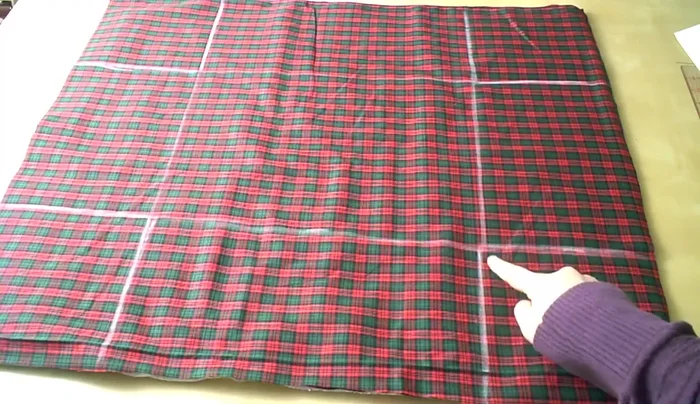
Prepare Fabric
- One 24" x 30" rectangle of main fabric, one 24" x 30" rectangle of lining fabric, and one 24" x 30" rectangle of Insulbright (optional). Adjust size for larger pets (30" x 36" for large cats, or larger for dogs). Remember gussets will reduce final size by ~14"

Prepare Fabric Attach Insulbright (Optional)
- Pin and sew Insulbright to the wrong side of the main fabric, creating a large 'X' to secure it.
Attach Insulbright (Optional) Prepare Gussets
- Mark 7" gusset squares on the lining fabric.
Prepare Gussets Sew Gussets
- Sew the gussets on both the lining and main fabric pieces, leaving one gusset on the lining fabric half-sewn to allow for turning.
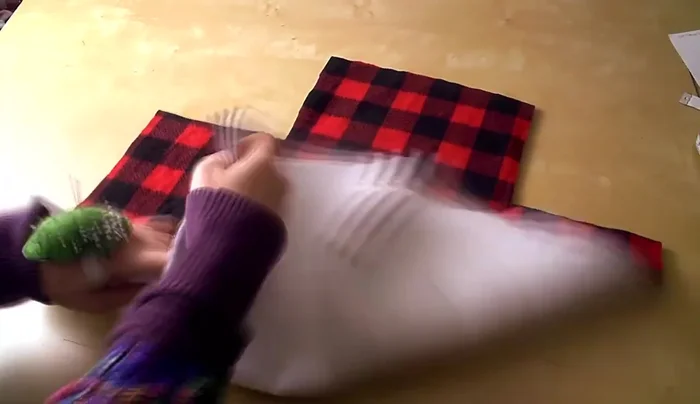
Sew Gussets Assemble the Layers
- Place the lining fabric inside the main fabric, matching gusset seams. Pin and stitch the top edge with a ½ inch seam allowance.
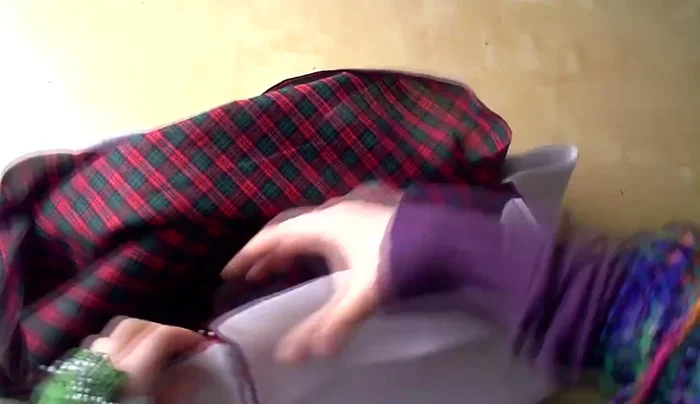
Assemble the Layers Turn and Close
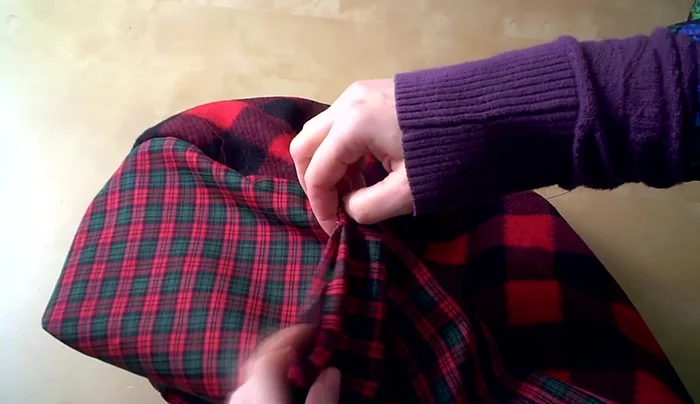
- Turn the bed right side out through the open gusset.
- Turn in the raw edges of the open gusset and topstitch it closed.
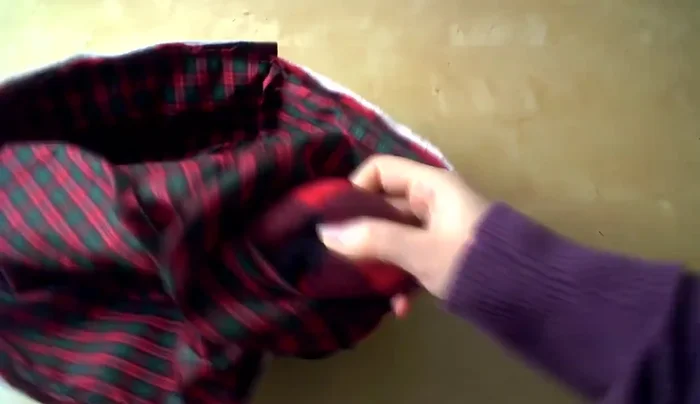
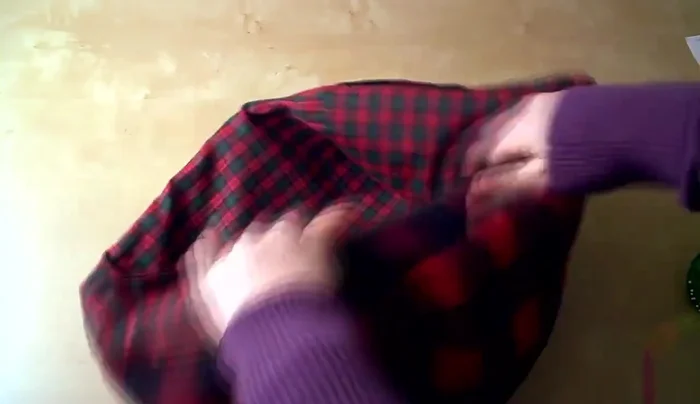
Turn and Close Finish Top Edge
- Press or carefully shape the top edge, and topstitch around the top edge about ½ inch from the edge.
Finish Top Edge


Read more: DIY Heated Cat House: A Cozy Winter Shelter for Outdoor Felines
Tips
- Adjust sizing based on pet size. Remember the gussets reduce the final dimensions.
- Insulbright adds warmth by reflecting heat back towards the pet. Alternative warm layers include fleece or batting.
- Hand-sewing the final gusset closure is neater but machine sewing is faster.