Do you adore your feline friend and want to give them a unique accessory that reflects their personality? Forget overpriced pet stores! Creating a custom cat collar is a surprisingly simple and rewarding DIY project. Not only will you save money, but you'll also have the satisfaction of crafting something special just for your beloved cat, ensuring a perfect fit and the ability to personalize it with their favorite colors, patterns, or even a small, safely attached charm. You can tailor the collar to your cat's specific needs, choosing materials that are comfortable and durable, avoiding potentially irritating or harmful elements often found in mass-produced collars.
This satisfying craft doesn't require advanced skills or specialized tools, making it accessible to even the most novice crafters. From selecting the perfect ribbon or fabric to securely attaching the buckle and bell (optional, of course!), we'll guide you through each step with clear instructions and helpful tips. Let's dive into our easy step-by-step guide to making a beautiful and functional DIY cat collar.
Preparation and Safety Guidelines
- Breakaway buckle
- Half-inch metal tri-glide slide
- 1/2 inch slit ring
- Jingle bell
- Polypropylene webbing
- Lighter or matches
- Sewing machine
- Always use breakaway buckles or quick-release clasps on your cat collar. This prevents strangulation if your cat gets their collar caught on something.
- Ensure the collar is snug but not too tight. You should be able to fit two fingers comfortably under the collar. Too tight a collar can restrict breathing and circulation.
- Avoid using small, loose, or detachable embellishments that could be swallowed by your cat. Choose durable, non-toxic materials.
Step-by-Step Instructions
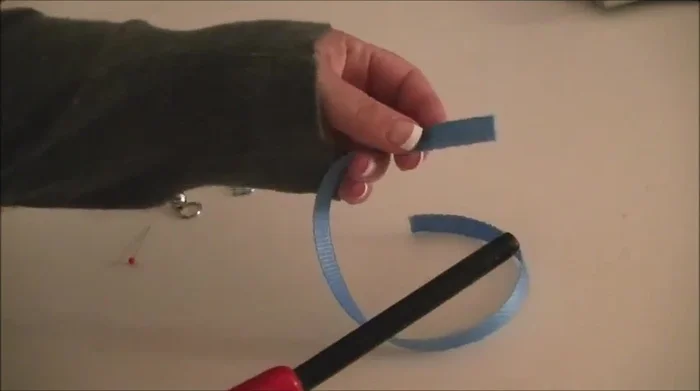
Prepare the Webbing and Ribbon
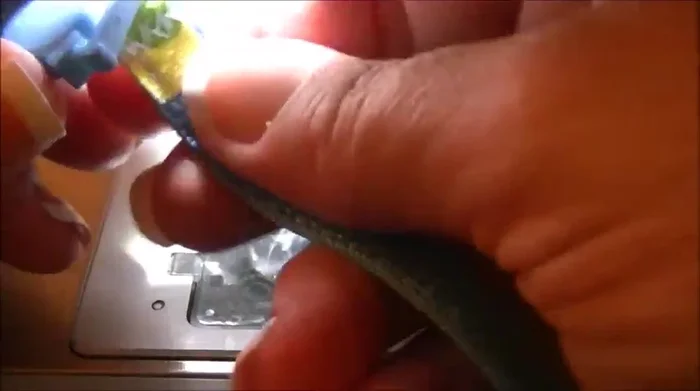
- Seal the ends of the polypropylene webbing using a lighter or matches to prevent fraying.
- Tack the ends of your ribbon (optional) and seal with a lighter to prevent fraying.

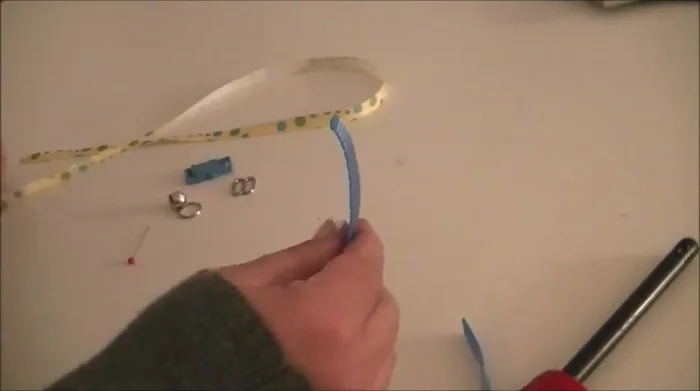
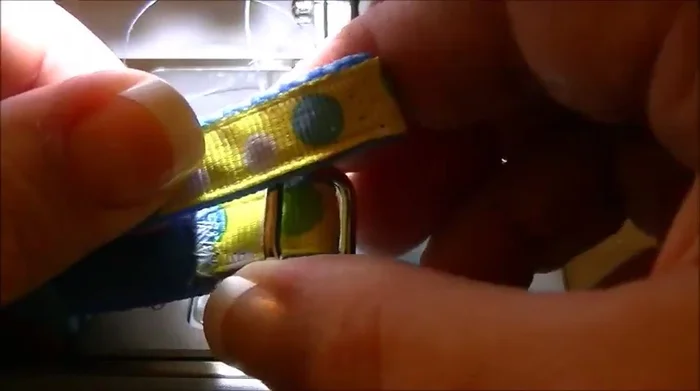
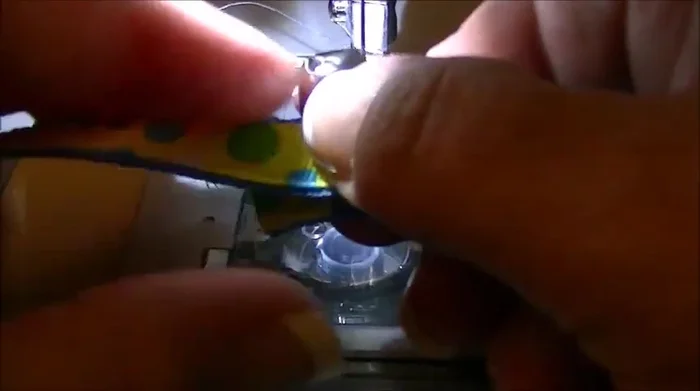
Prepare the Webbing and Ribbon Sew the Ribbon to the Webbing
- Fold over the ribbon and tack it in place. Sew it down using a quick zig-zag stitch, followed by a straight stitch all the way down, tucking the end of the ribbon under the webbing for a clean finish.
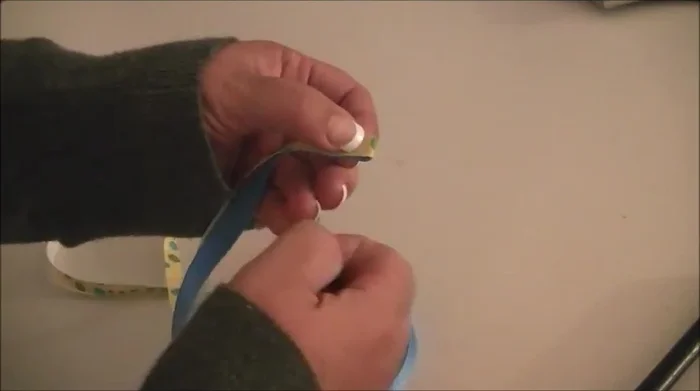
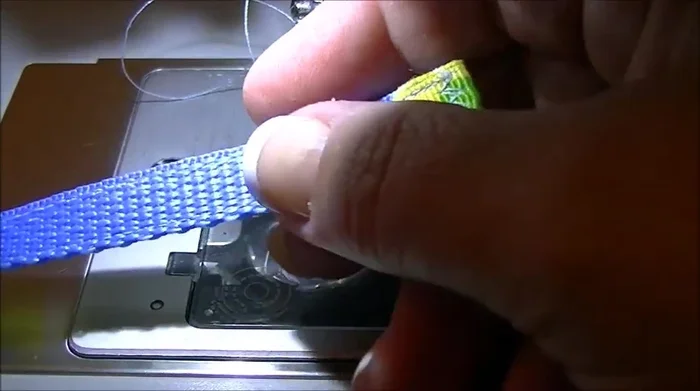
Sew the Ribbon to the Webbing Attach the Tri-Glide
- Insert the collar material through the tri-glide slide and sew it down with a zig-zag stitch, reinforcing the seam.
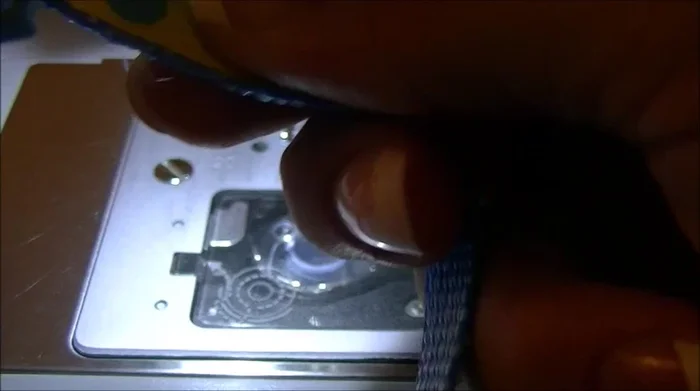
Attach the Tri-Glide Attach the Buckle
- Feed one end of the collar through the buckle, ensuring the kitty face is facing you. Pull the webbing through to reach the tri-glide.
- Insert the free end of the collar through the other side of the tri-glide.
Attach the Buckle Attach the Bell and Ring
- Attach the split ring and bell to the free end of the webbing.
- Slide the free end through the remaining end of the buckle.
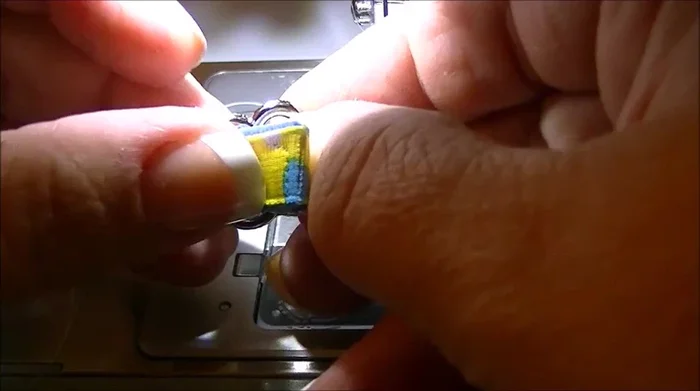
Attach the Bell and Ring Close and Secure the Collar
- Sew the two sides of the collar together using a zig-zag stitch, reinforcing the seam.
Close and Secure the Collar
Read more: DIY Cat Leash: Easy-to-Make Cat Harness for Safe Outdoor Adventures
Tips
- Do not use this sealing method on cotton webbing.
- Slow down when sewing near the ends to ensure a clean finish and secure the ribbon.