Does your dog love to play tug-of-war, but your wallet doesn't love replacing chewed-up toys every week? Then get ready to unleash your inner crafter and create durable, fun, and eco-friendly dog toys using recycled materials! This guide will show you how to transform old t-shirts, belts, or even jeans into engaging rope toys that your furry friend will adore. Not only will you save money, but you'll also reduce textile waste, making this a win-win for both your budget and the planet.
Making these DIY toys is surprisingly simple, even for beginners. We'll explore two straightforward methods, each requiring minimal tools and readily available materials. These techniques are perfect for crafting sturdy rope toys that can withstand even the most enthusiastic chewer. Ready to get started? Let's dive into the step-by-step instructions and create some fantastic, customized tug toys for your canine companion!
Safety Guidelines
- Always supervise your dog while playing with any homemade toy. Remove the toy if it becomes damaged or frayed to prevent ingestion of small pieces.
- Avoid using materials that could be toxic if chewed, such as painted wood or treated rope. Opt for natural, untreated materials.
- Choose rope thickness appropriate for your dog's size and chewing habits. A strong chewer needs a thicker, more durable rope.
Methods: Braided Rope Toy from Recycled T-shirts and Pants
Tools Needed
- Old t-shirt
- Old knit pants
- T-shirt yarn (optional)
Step-by-Step Instructions
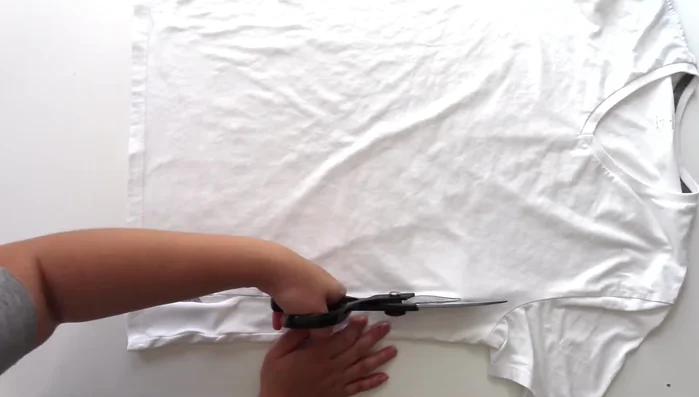
Prepare Fabric Strips
- Cut four strips from the t-shirt (removing sleeves first), about three-quarters of an inch wide. Keep the shoulder seam attached for longer strips, or cut it off for a cleaner look.
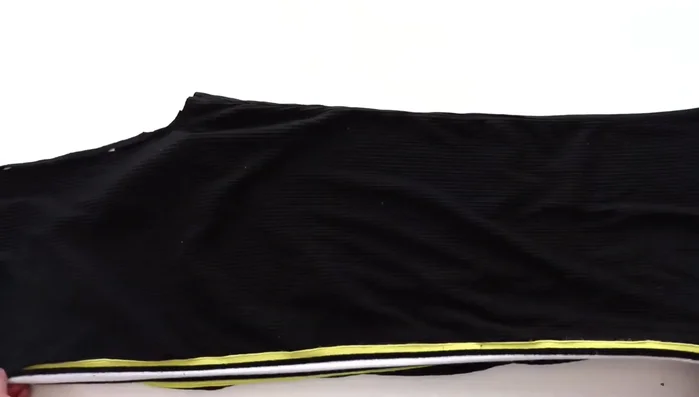
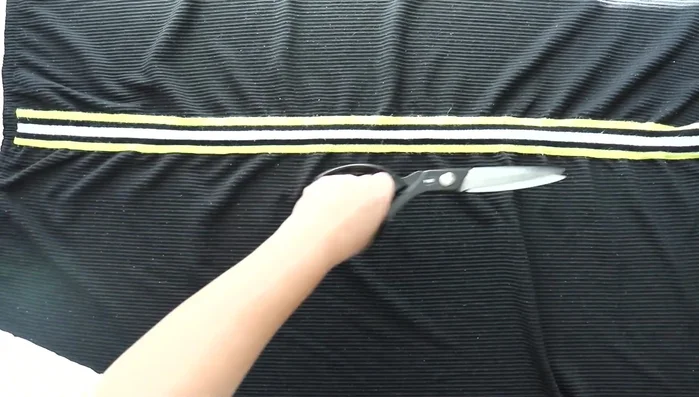
- Cut four similar strips from one pant leg, along the seam, about three-quarters of an inch wide.
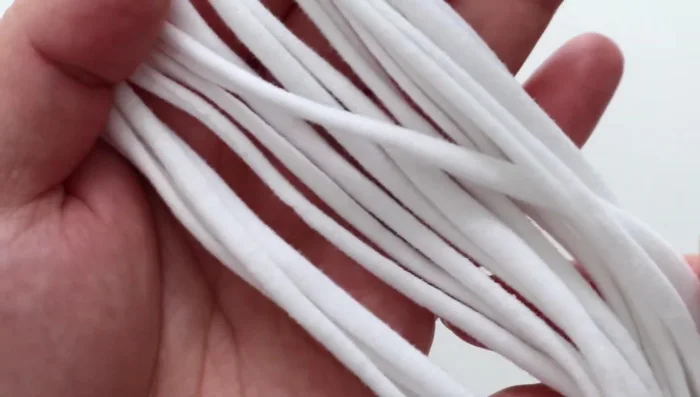
- Cut four strips of t-shirt yarn (or additional fabric) slightly longer than the shortest fabric pieces from steps 1 and 2.

Prepare Fabric Strips Create Rope Strings
- Stretch all 12 strips to create rope strings.
Create Rope Strings Braid Individual Rope Sections
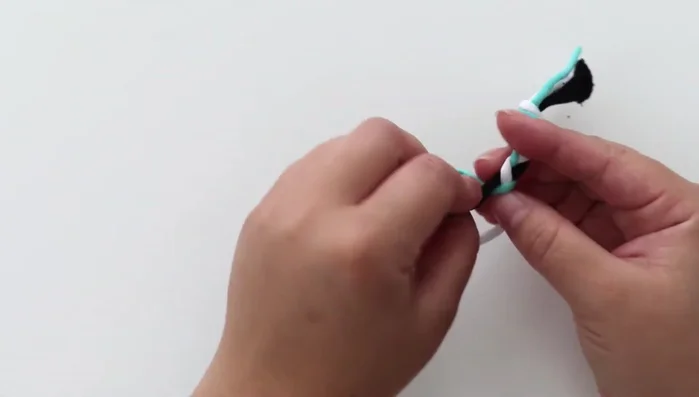
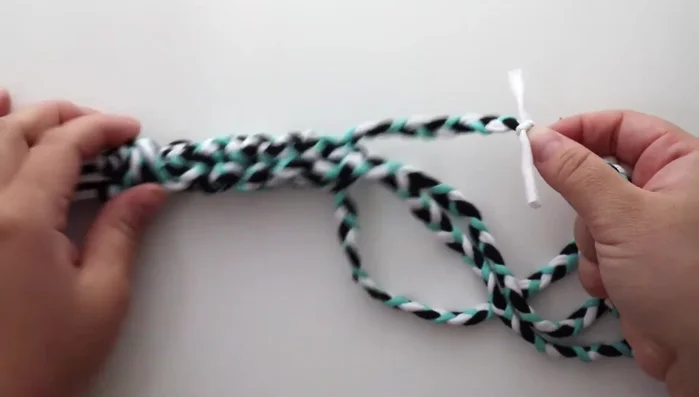
- Divide the strings into four groups of three different colors. Tie one end of each group together.
- Braid each group of three strings until you reach the end, and tie another knot.
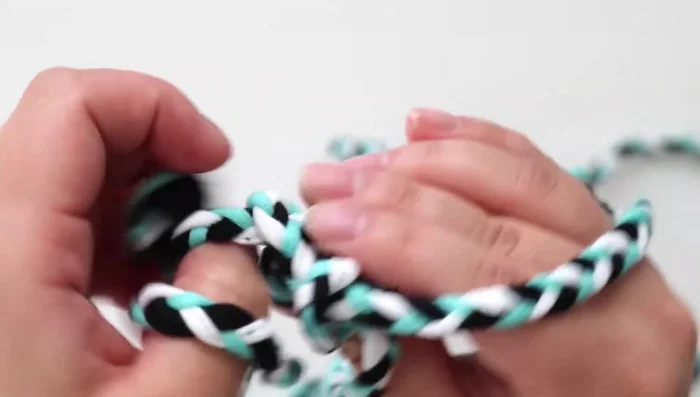
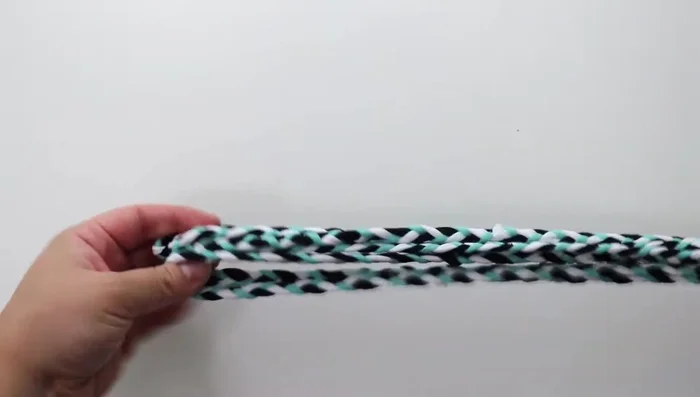
Braid Individual Rope Sections Combine Braided Ropes
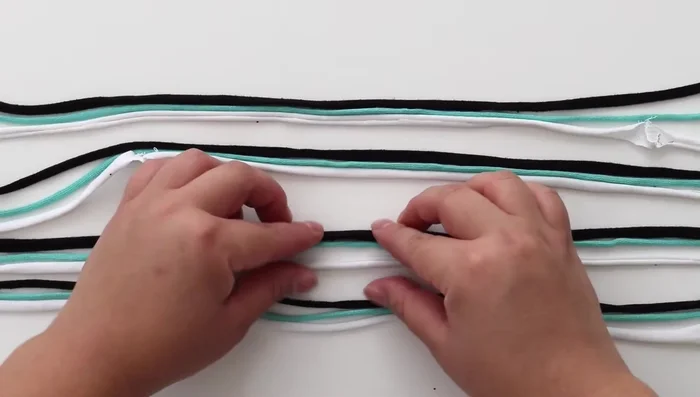
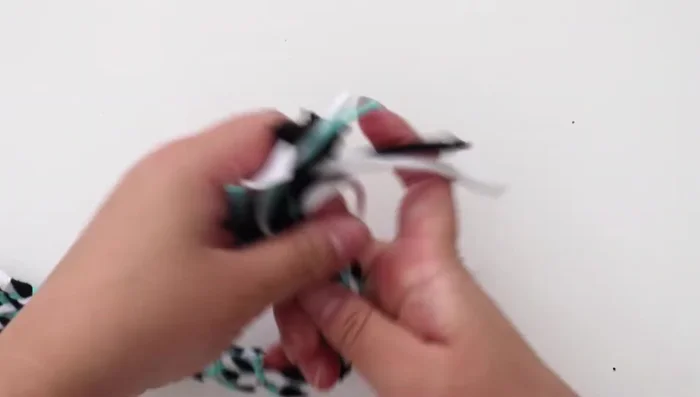
- Tie the four braided pieces together at one end, ensuring the original braid knots are visible and easily undone.
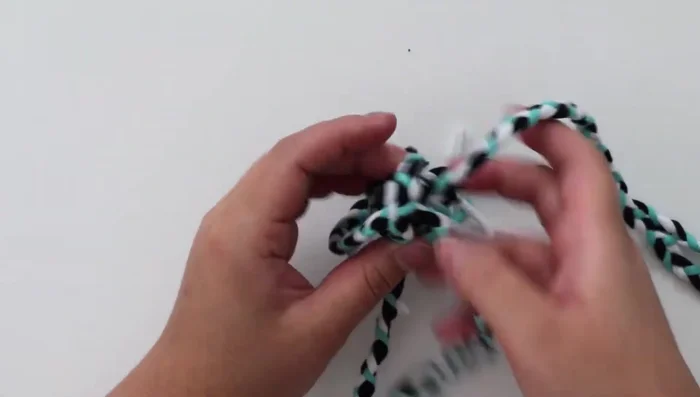
- Weave the four braids together, forming a square pattern by pulling and weaving over and under each braid.
- Continue weaving until you reach the end of the rope. Untie the individual braids and tie the entire rope together. Trim the rope edges.
Combine Braided Ropes
Tips
- Keeping the shoulder seam on the t-shirt strips makes them longer. You can cut it off if you want a cleaner look.
- The first weave may be the hardest, but once you establish the base, it gets easier.
Methods: Tennis Ball Rope Toy
Tools Needed
- Old tennis ball
- Four braided rope pieces (from previous method or similar)
- X-acto knife
- Safety pin
- Skewer
Step-by-Step Instructions
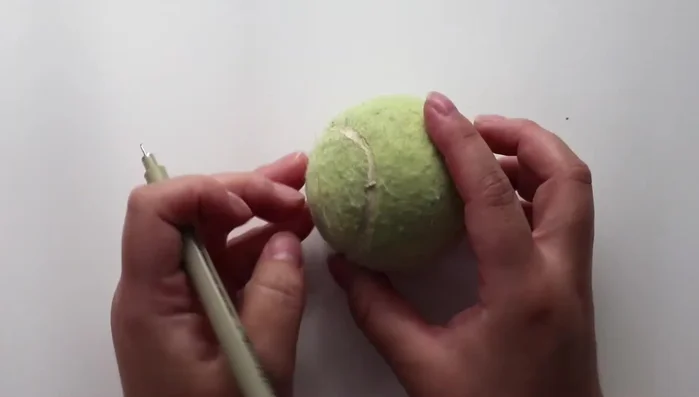
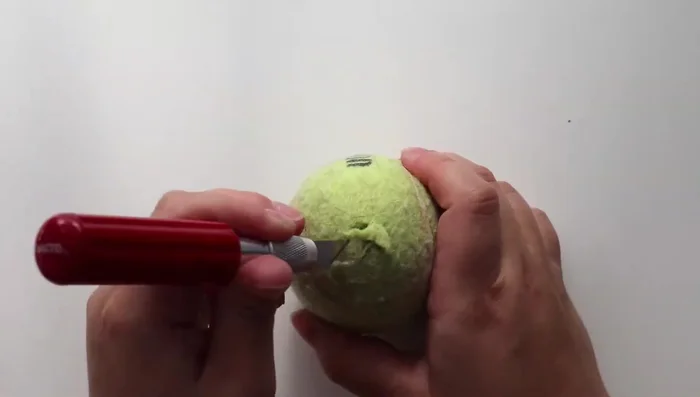
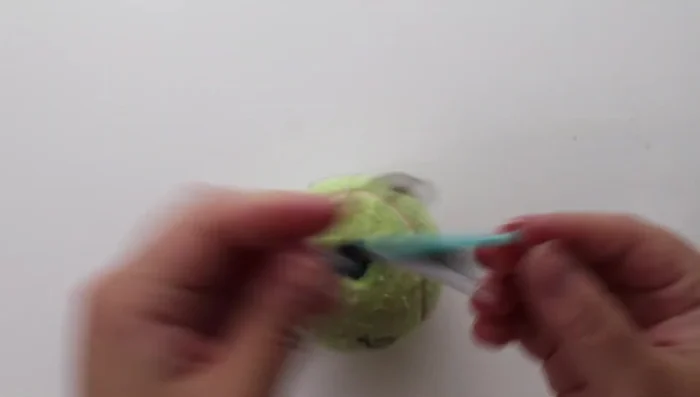
Prepare the Tennis Ball
- Cut holes into the tennis ball to weave the rope through. Make a crisscross cut where you marked dots.
- Cut out a square shape, connecting the lines, and carve out the excess rubber. Do this on both sides.
Prepare the Tennis Ball Prepare the Rope Toy for the Ball
- Fold the rope toy in half, and tie a small piece of scrap fabric to one of the strands to mark the midpoint.
Prepare the Rope Toy for the Ball Weave and Knot (Before Ball)
- Weave the rope together in the same pattern as the first toy, tying a tight knot a few inches before the halfway point.
Weave and Knot (Before Ball) Attach the Tennis Ball
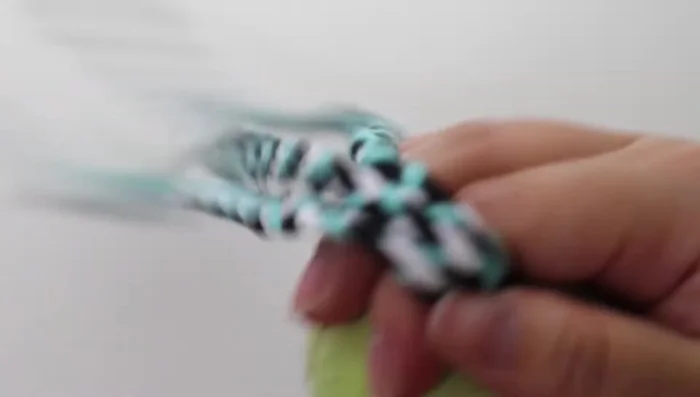
- Pull each braided strand through the tennis ball using a safety pin and skewer to guide the pin.
Attach the Tennis Ball Weave and Knot (After Ball)
- Tie another tight knot after all four braids are through the ball. Continue weaving and complete the rope as with the first toy.
Weave and Knot (After Ball)
Tips
- Use a skewer to help guide the safety pin through the tennis ball.
Read more: DIY Dog Toys: 3 Easy Tutorials for Happy Pups