Is your furry friend constantly begging for attention, their tail a blur of anticipation? A great way to enrich your dog's life and keep them entertained is with engaging, stimulating toys – and the best part? You can make them yourself! Forget expensive store-bought options that may only last a few days; DIY dog toys are a cost-effective and rewarding alternative, allowing you to tailor them perfectly to your dog's size, chewing habits, and favorite textures. Plus, there's a certain satisfaction in knowing you crafted something special for your beloved pup.
This article presents three incredibly easy tutorials that will have you crafting fun and durable toys in minutes. From simple fleece tug-of-wars to engaging treat-dispensing puzzles, we'll guide you through each step of the creation process, using materials you likely already have at home. Ready to get started on making your dog the happiest pup on the block? Let's dive into these straightforward, step-by-step instructions!
Safety Guidelines
- Always supervise your dog while playing with any homemade toy. Remove the toy if it shows signs of damage or if your dog is chewing it aggressively, to prevent ingestion of small parts.
- Avoid using materials that are toxic to dogs, such as rubber bands, buttons, or anything containing small, detachable parts. Choose natural, durable materials whenever possible.
- Ensure all seams and edges are securely fastened to prevent your dog from swallowing them. Consider using strong, dog-safe glue or stitching to reinforce construction.
Methods: Popcorn Kernel Toy
Tools Needed
- sock
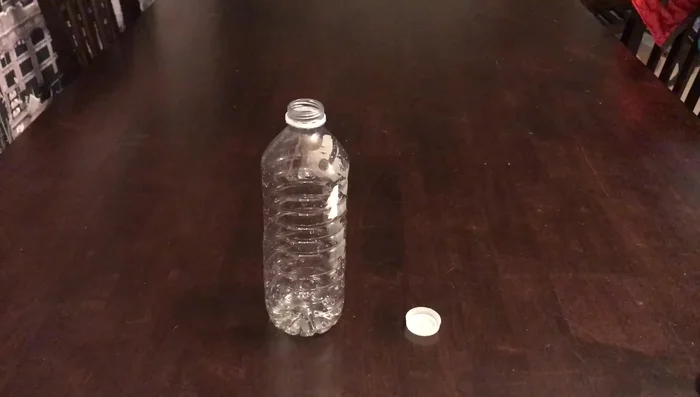
- empty water bottle
- popcorn kernels
Step-by-Step Instructions
Prepare the Water Bottle
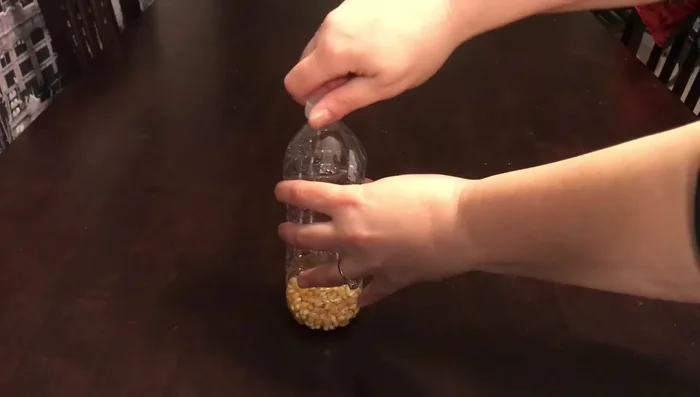
- Fill the clean, empty water bottle with popcorn kernels.
- Screw the cap on tightly.

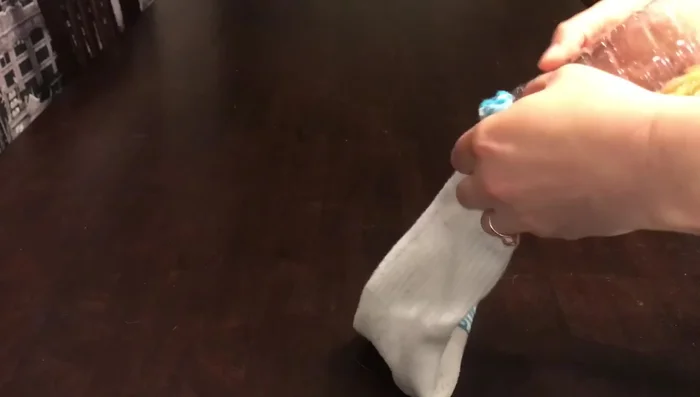
Prepare the Water Bottle Assemble the Toy
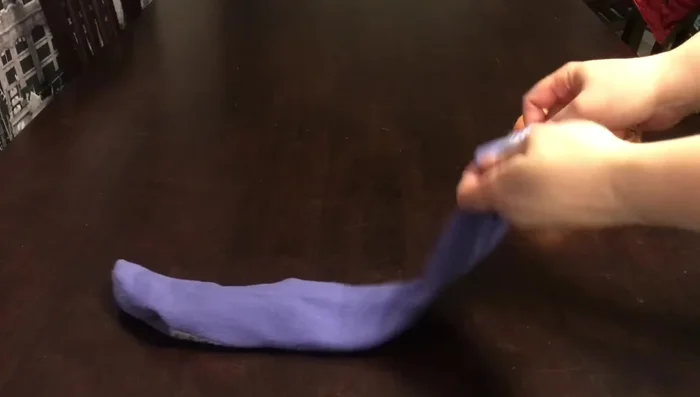
- Place the water bottle inside a clean sock.
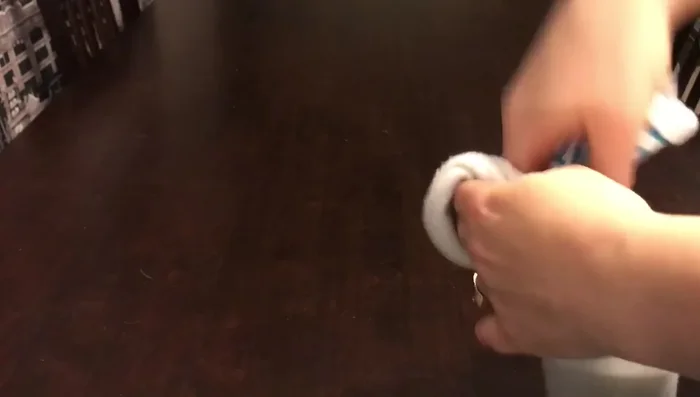
- Tie a knot in the sock.
Assemble the Toy
Methods: Tennis Ball Tug Toy
Tools Needed
- sock
- tennis balls
Step-by-Step Instructions
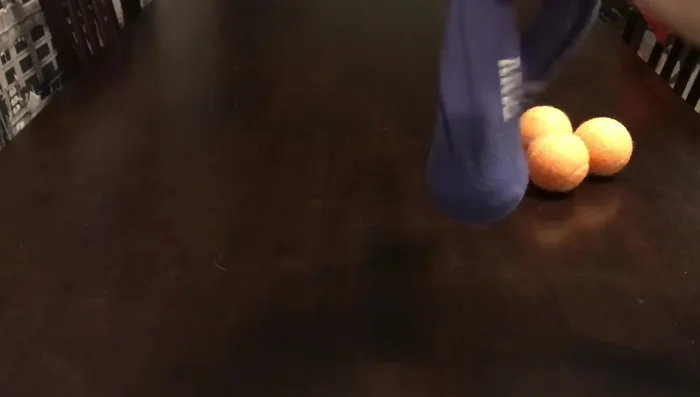
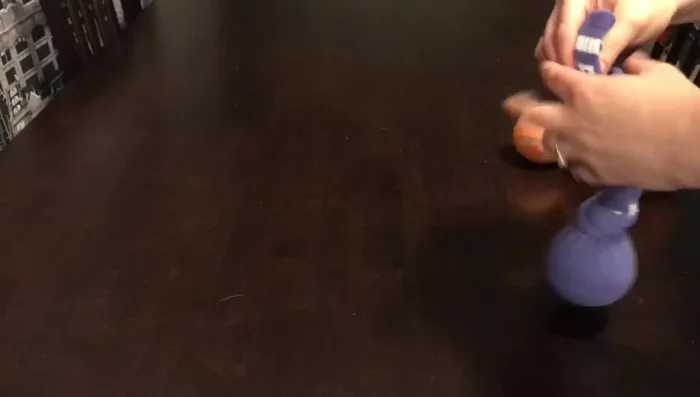
First Tennis Ball Toy
- Place a tennis ball in the bottom of the sock.
- Tie a knot at the top of the ball.
- Place another tennis ball above the knot and tie another knot.
First Tennis Ball Toy
Methods: Braided T-Shirt Toy
Tools Needed
- old t-shirts
- scissors
Step-by-Step Instructions
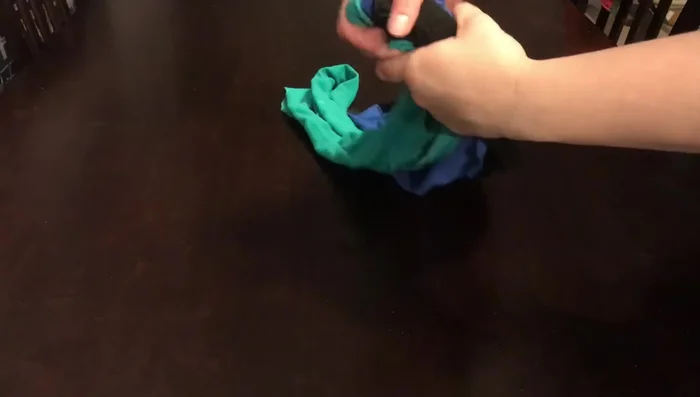
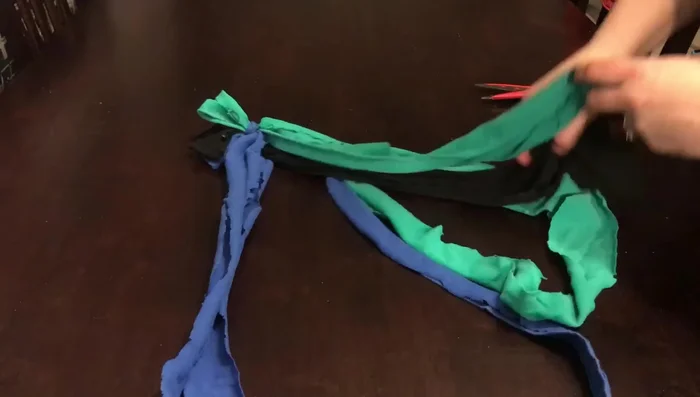
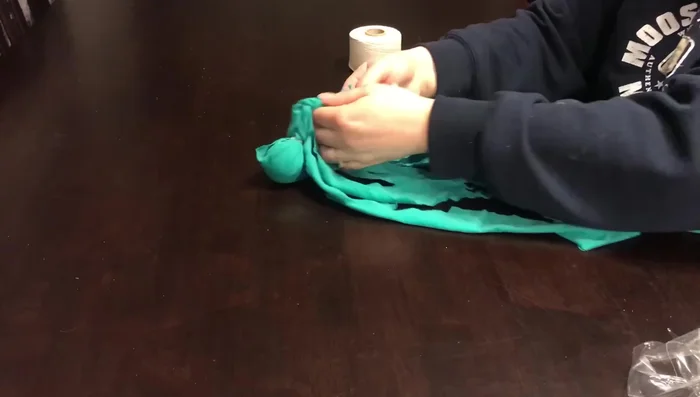
Prepare T-Shirt Strips
- Cut t-shirts into strips.
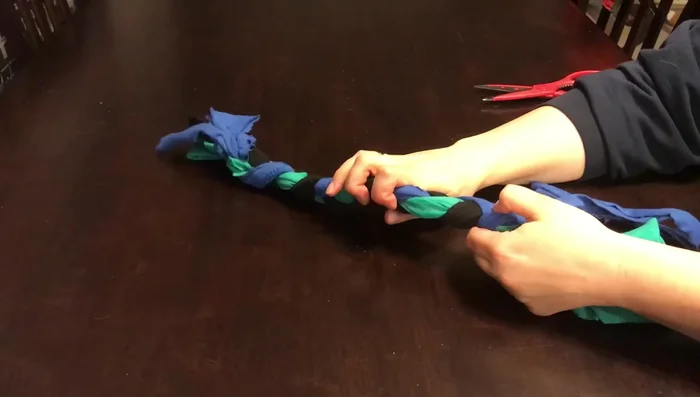
Prepare T-Shirt Strips Braid the T-Shirt Strips
- Braid the strips together.
Braid the T-Shirt Strips Secure the Braid
- Tie the ends of the braid together.
Secure the Braid
Methods: Covered Tennis Ball Toy
Tools Needed
- strips of old t-shirt or fabric
- tennis ball
- scissors
- twine or rope
Step-by-Step Instructions
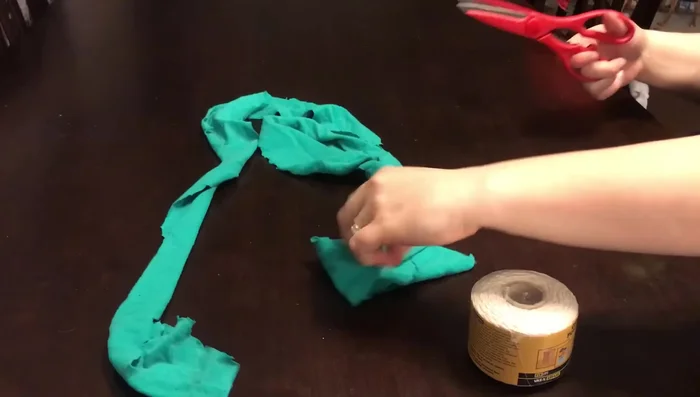
Prepare the Covered Ball
- Lay strips of fabric in a cross shape, place ball in the middle, and fold strips over the ball.
Prepare the Covered Ball Secure the Ball
- Tie twine or rope underneath the ball to secure it.
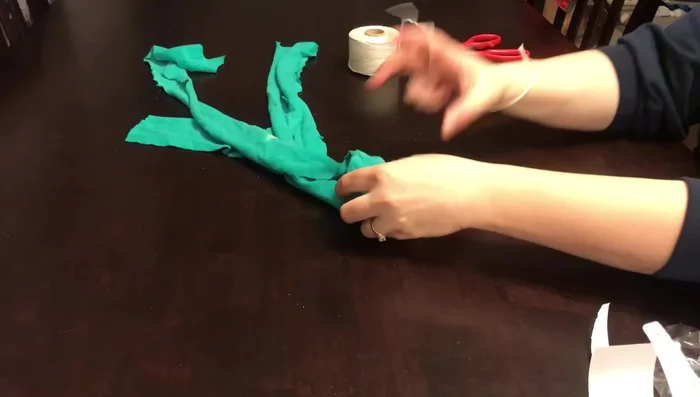
Secure the Ball Create the Legs
- Cut the strips into smaller pieces and braid them together to create 'legs'.
Create the Legs
Methods: Braided Rope with Tennis Ball
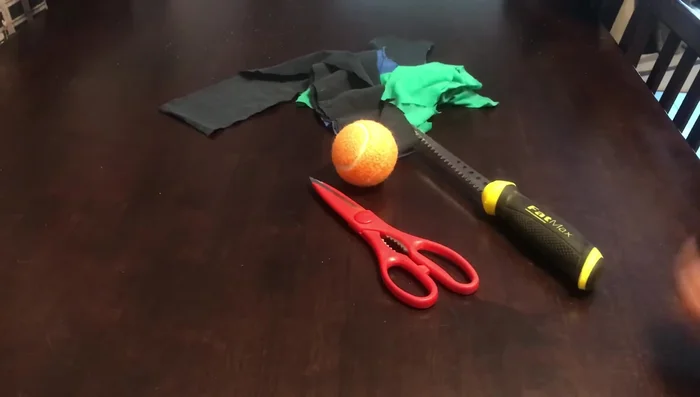
Tools Needed
- strips of t-shirt or fabric
- scissors
- tennis ball
- knife or drill
Step-by-Step Instructions
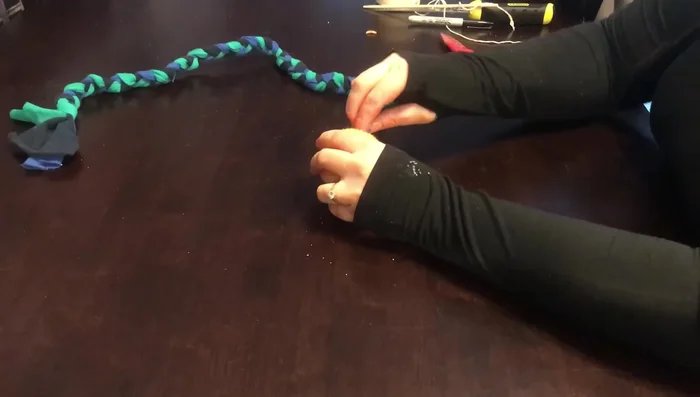
Prepare Braided Rope Toy
- Braid strips of fabric into a long rope.
Prepare Braided Rope Toy Prepare Tennis Ball
- Make two holes in the tennis ball (avoiding the seam).
Prepare Tennis Ball Assemble the Toy
- Thread the braided rope through the holes in the tennis ball.
Assemble the Toy

Read more: DIY Dog Rope Toys: Two Easy Methods Using Recycled Materials