In today's fast-paced world, filled with readily available entertainment, the simple joy of creating something with your own hands can often be overlooked. DIY toy assembly offers a rewarding alternative, fostering creativity, problem-solving skills, and a deeper appreciation for the objects we use. Building your own toys, whether it's a miniature wooden car or a complex robotic kit, is a fantastic way to spend quality time with children, encouraging collaboration and shared accomplishment. Beyond the fun, it’s a chance to learn about mechanics, design, and the satisfaction of bringing something from concept to reality.
This engaging pastime offers more than just entertainment; it's a valuable learning experience. From understanding simple instructions to mastering intricate assembly techniques, the benefits are numerous. Ready to embark on your own DIY toy adventure? Let's dive into a comprehensive, step-by-step guide that will walk you through the entire process, from carefully examining the components to proudly showcasing your finished creation.
Preparation and Safety Guidelines
- Drill
- Screws
- Pipe
- Wood
- Toy Parts
- Always supervise children during assembly and playtime. Small parts pose a choking hazard.
- Read the instructions carefully before starting. Follow the steps in order to ensure proper functionality and safety.
- Use appropriate tools for the job and be cautious to avoid injuries. If unsure, seek assistance from an adult.
Step-by-Step Instructions
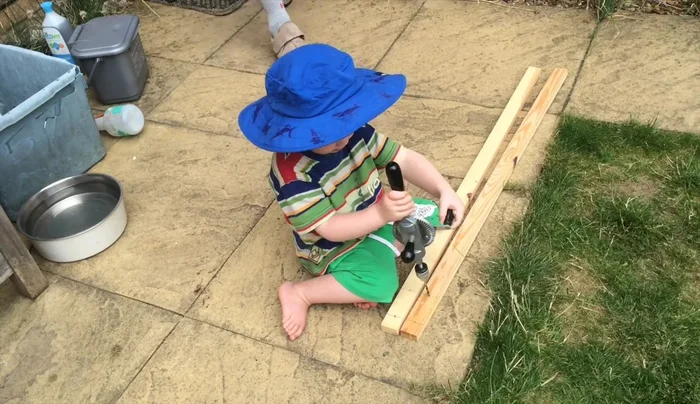
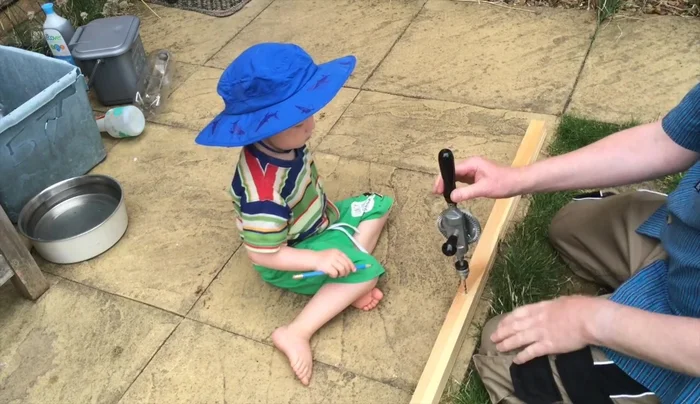
Initial Assembly
- Aligning and inserting parts.
- Creating a wormhole by carefully turning and adjusting a part.
- Assembling another part using a similar technique.

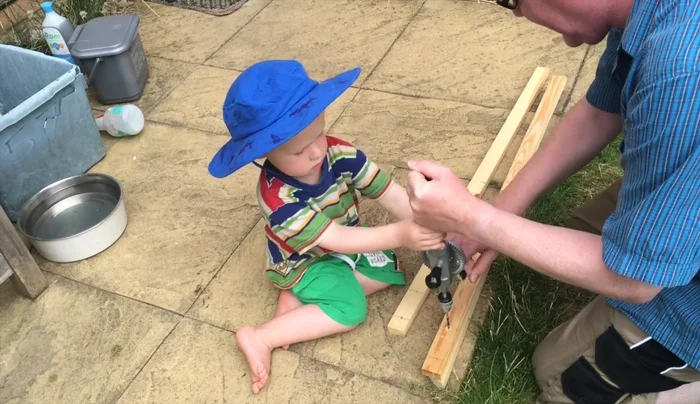
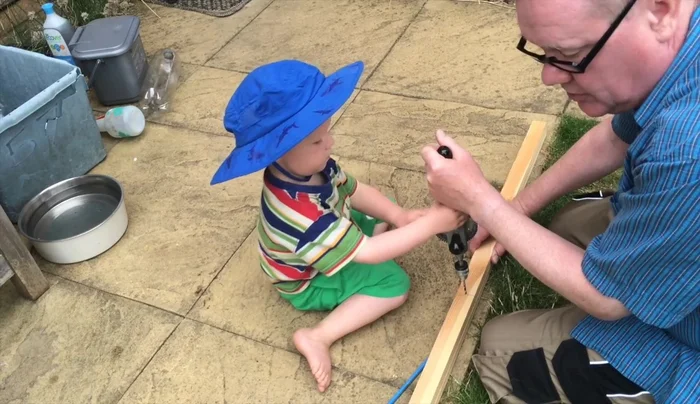
Initial Assembly Securing with Small Screws
- Turning and securing parts with screws. (using small screws first).
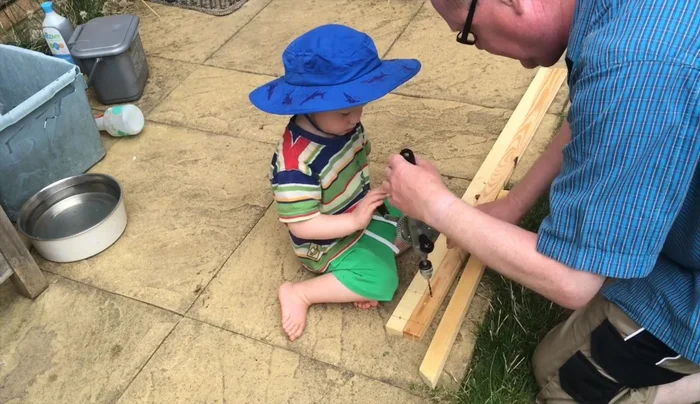
Securing with Small Screws Planning for Larger Holes
- Inspecting the holes created and planning the next steps.
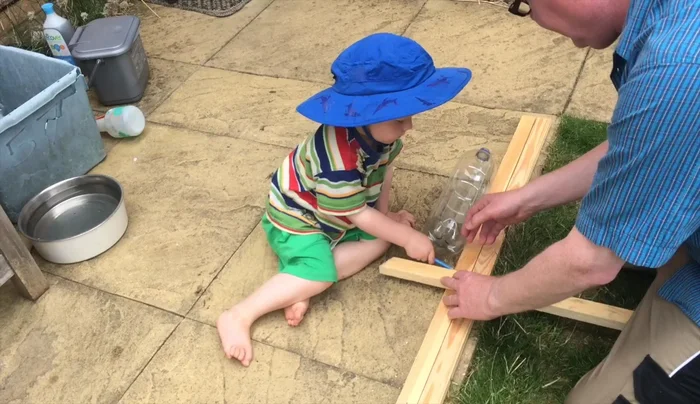
Planning for Larger Holes Marking for Larger Holes
- Marking for larger holes using a ruler and pencil.
Marking for Larger Holes Drilling Larger Holes
- Drilling larger holes.
Drilling Larger Holes Final Assembly
- Inserting and securing larger parts through the drilled holes.
- Verifying fit and making any necessary adjustments.
Final Assembly


Read more: How to Make a Tiny Loom Band Animal Toy (Rainbow Dog Tutorial)
Tips
- Take your time and ensure parts are aligned correctly before tightening.
- Use small holes initially to pilot and then create larger holes as needed.
- Work carefully and steadily when drilling to avoid damaging the toy.