Looking for a stylish and secure way to accessorize your furry friend? Forget fiddly buckles and frustrating knots – this tutorial will show you how to craft the easiest and most secure dog bow tie using the simple, reliable Velcro method. Tired of bow ties that slip, slide, or even worse, come completely undone mid-walk? This method ensures a comfortable and perfectly positioned bow tie, every time, allowing your pup to strut their stuff in style without any wardrobe malfunctions.
Creating a custom-made Velcro dog bow tie is surprisingly straightforward, requiring minimal sewing skills and readily available materials. You'll be amazed at how quickly you can whip up a stylish accessory for your canine companion. Ready to get started? Let's dive into the step-by-step process and create the perfect, perfectly secure bow tie for your beloved pet!
Preparation and Safety Guidelines
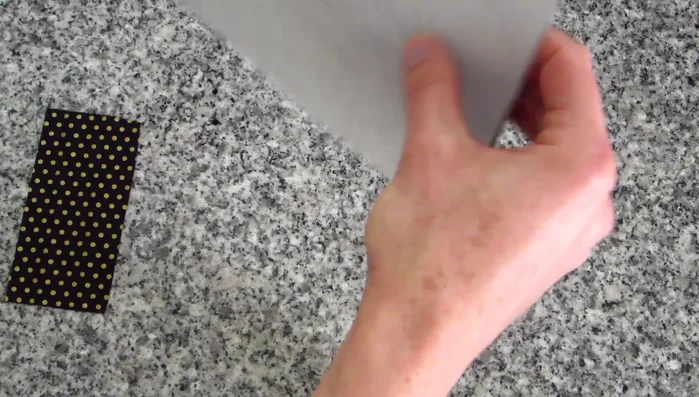
- fabric
- interfacing (like SF101)
- double-sided Velcro
- sewing machine
- iron
- scissors
- measuring tape
- bamboo stick (optional)
- Always supervise your dog while wearing the bow tie. Remove it immediately if they show signs of distress or try to chew it.
- Ensure the Velcro is securely fastened to prevent accidental swallowing or choking hazards. Check regularly for loose or damaged Velcro.
- Choose a fabric that is soft and non-irritating to your dog's skin. Avoid using materials that could snag or pull their fur.
Step-by-Step Instructions
Prepare the Bow
- Fold the fabric lengthwise, stitch along the 1/4 inch edge, and then flip it right side out. Press the seam to the center.

Prepare the Bow Prepare the Center Piece
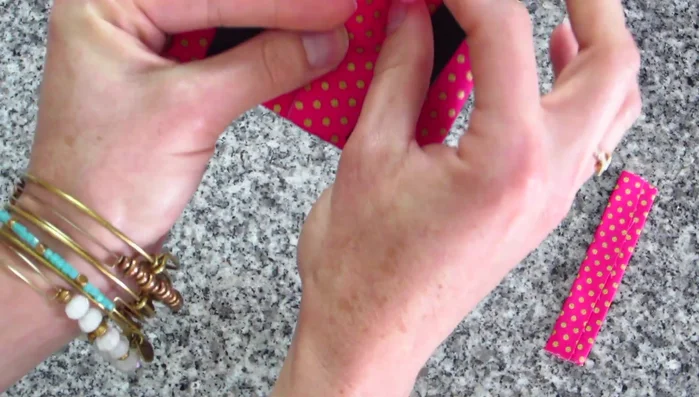
- Fold the center piece fabric wrong sides together, press. The size of the center piece can be adjusted.
Prepare the Center Piece Attach Velcro to Bow
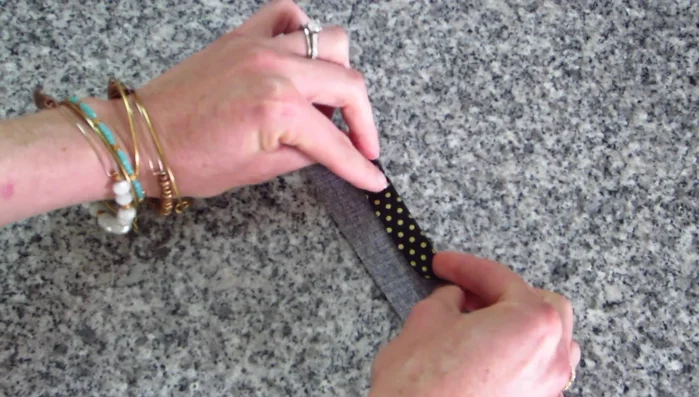
- Place Velcro 1 inch from the edge of the bow piece on both sides and stitch securely (about three times).
Attach Velcro to Bow Secure the Bow with Velcro
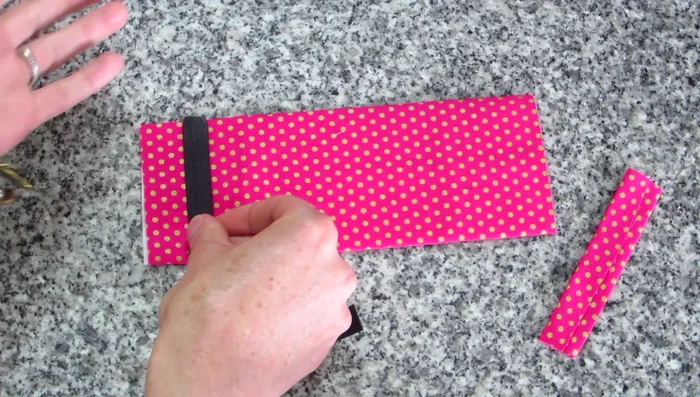
- Fold the Velcro-attached edges to the center, overlapping them, and stitch down to secure.
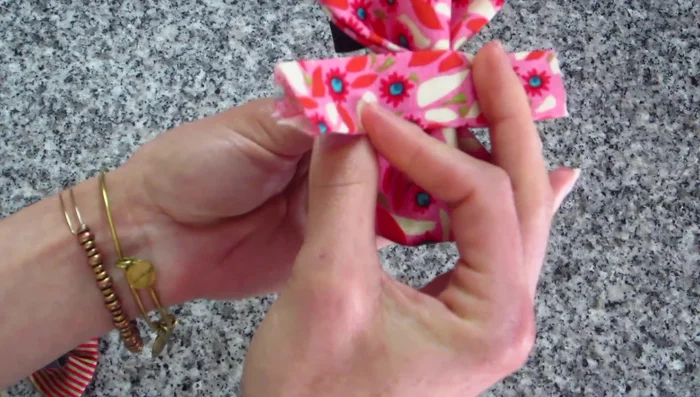
Secure the Bow with Velcro Attach the Center Piece (Professional)
- Fold the center piece's right side to the bow's right side, stitch together, and flip the center piece right-side out. Use a bamboo stick if needed.
- Wrap the center piece's wrong side to the bow's right side, stitch close to the bow edge, and trim the excess.
Attach the Center Piece (Professional) Attach the Center Piece (Quick)

Read more: DIY Dog Sweater: Cozy Knit Creations for Your Pup
Tips
- Use interfacing (SF101 or heavier) for a crisp bow.
- Adjust bow and strap size to fit different dog collars. A 3-inch strap works well for a 1-inch collar, you can make a longer strap (up to 5 inches) and trim to fit.
- Stitch the Velcro multiple times for extra security.
- If gifting, make a longer strap and let the recipient trim to the correct size.