Spoil your furry friend with a stylish and practical DIY double-sided dog bandana! This easy sewing tutorial will guide you through creating a reversible bandana that's not only adorable but also surprisingly simple to make, even for beginner sewers. Forget expensive pet stores – with just a few basic supplies and a little time, you can craft a unique accessory that perfectly complements your dog's personality and wardrobe. You can choose coordinating fabrics, fun patterns, or even use up scraps of fabric you have lying around.
This project is perfect for showcasing your creativity and saving money while making your pup look their best. Imagine the possibilities: festive holiday bandanas, sleek everyday styles, or even personalized designs! Ready to get started? Let's dive into the step-by-step process and create your own stunning double-sided dog bandana.
Preparation and Safety Guidelines
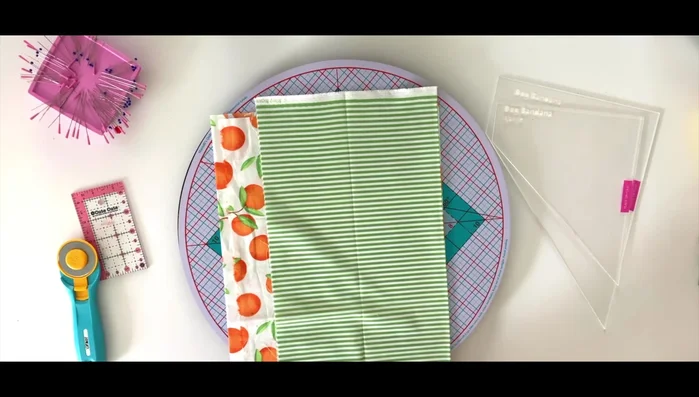
- Fabric
- Sewing machine
- Scissors
- Ruler
- Pins or Clips
- Iron
- Downloadable Pattern (PDF)
- Acrylic Template (optional)
- Always supervise your dog while wearing the bandana to prevent chewing or ingestion of fabric.
- Ensure all seams are secure and there are no loose threads that could pose a choking hazard.
- Choose fabrics that are soft, breathable, and durable to avoid skin irritation or tearing.
Step-by-Step Instructions
Prepare the Pattern
- Measure your dog's collar to determine the bandana size. Use the downloadable pattern to select the correct template size.

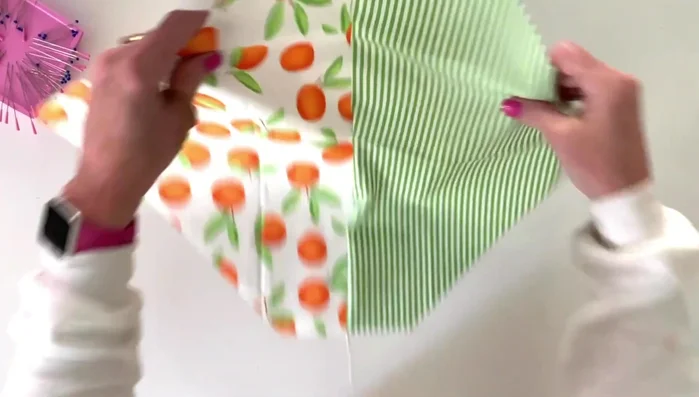
Prepare the Pattern Cut Fabric Pieces
- Cut out two identical pieces of fabric (front and back) using your chosen template, placing the template's 'place on fold' line along the fabric's fold.
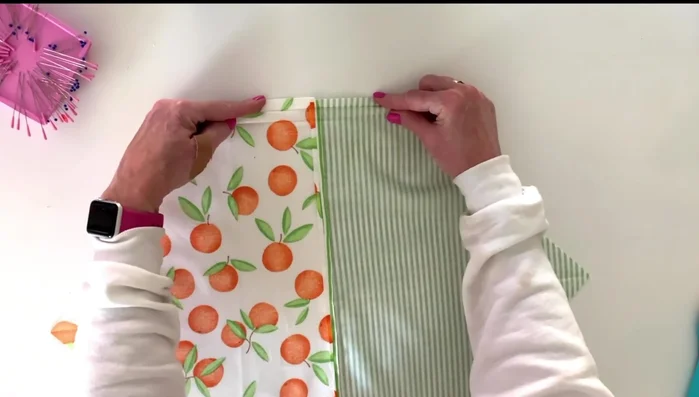
Cut Fabric Pieces Sew the Top Seam
- Place the fabric pieces right sides together, pin or clip along the top edge, and stitch across using a 1/4 inch seam allowance.
Press the Seam
- Press the seam allowance open with an iron.
Press the Seam Finish the Side Edges
- Fold and press the raw edges of both ends of the fabric piece in 1/4 inch twice, then stitch to secure.
Finish the Side Edges Sew the Side Seams
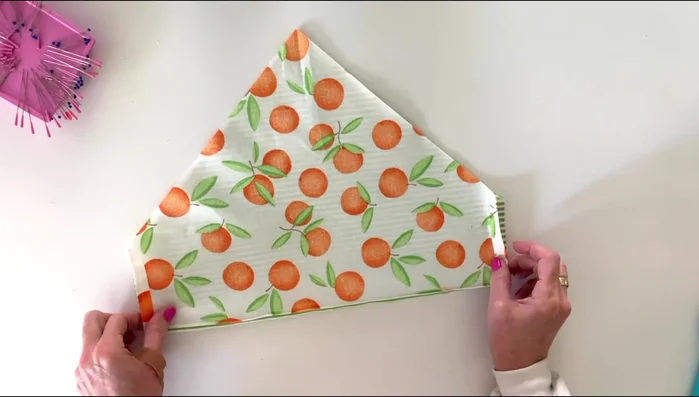
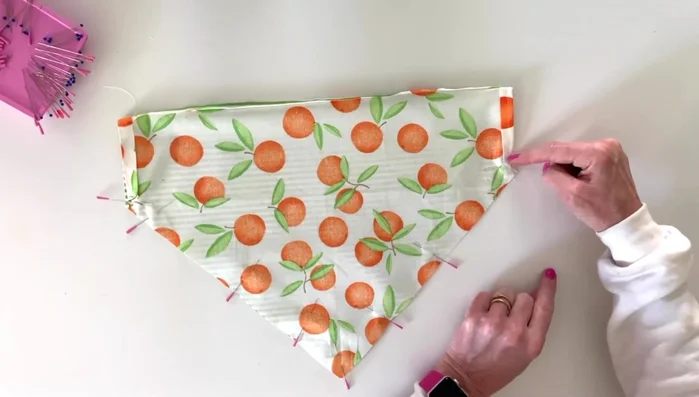
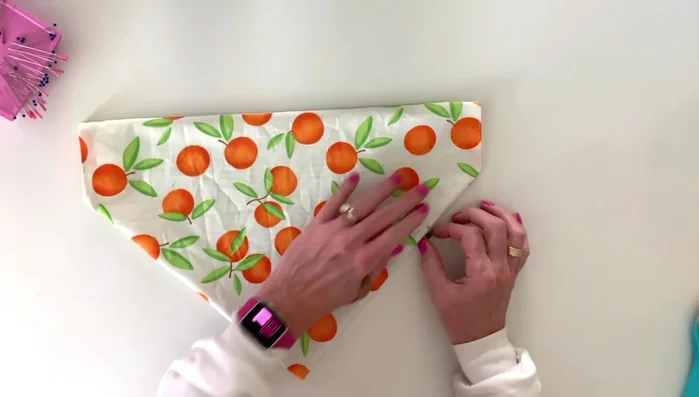
- Fold the bandana in half right sides together with the seam running along the top. Pin the angled edges, aligning the straight sections.
- Stitch a 1/4 inch seam along the straight edges, stopping about a quarter-inch from the corners.
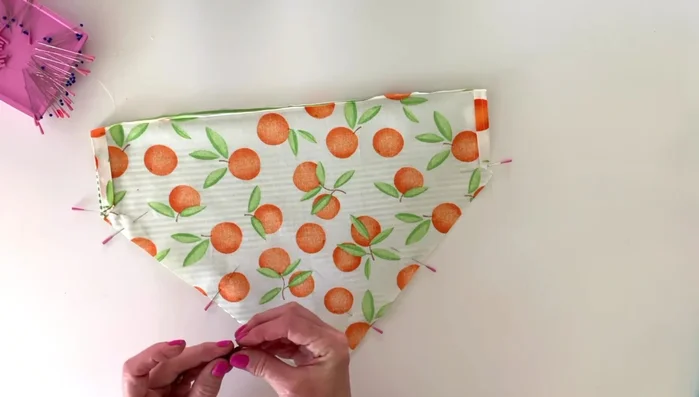
Sew the Side Seams Add Embellishments (Optional)
- Add any embellishments (optional) such as tags.
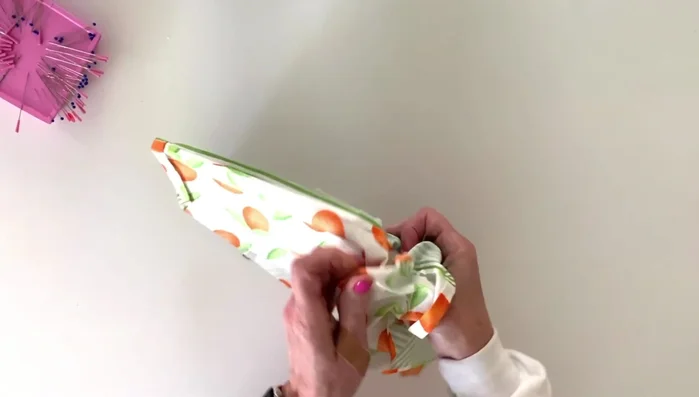
Add Embellishments (Optional) Turn and Shape
- Clip the bottom corners, turn right-side-out, and use a tool to push out the corners to enhance shape.
Turn and Shape Press the Finished Bandana
- Press the finished bandana to create a crisp look.
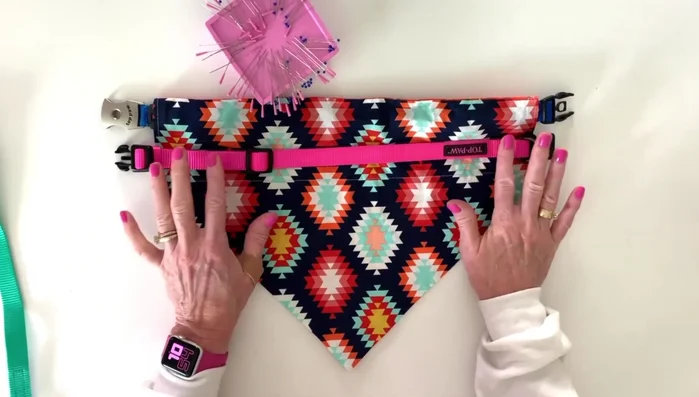
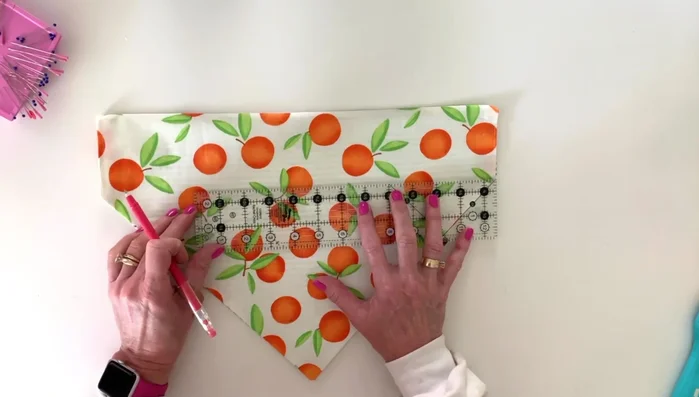
Press the Finished Bandana Create the Collar Channel
- Using a ruler, draw a straight line across the top section. Then topstitch along the drawn line and the outer edges, creating a channel for the collar.
Create the Collar Channel
Read more: DIY Dog Sweater: Cozy Knit Creations for Your Pup
Tips
- Use an acrylic template for multiple bandanas to speed up the process.
- Use a ruler as a straight edge when cutting straight lines to ensure accuracy.
- Add embroidery before sewing the final seams.
- Use a pilot friction pen for marking; it disappears with heat from the iron.