Spoiling your feline friend doesn't have to break the bank! Many commercially available cat treats are packed with artificial ingredients and preservatives, leaving pet owners searching for healthier, more affordable alternatives. This recipe for homemade creamy cat treats offers a delicious and nutritious solution, utilizing simple, organic ingredients you likely already have in your pantry. These treats are not only budget-friendly, but also provide a wholesome snack your cat will adore, free from the potentially harmful additives found in store-bought options. You'll be amazed at how easy it is to create these delightful and healthy snacks.
Forget expensive, questionable ingredients – prepare to indulge your kitty with a truly special treat! This simple, step-by-step guide will walk you through the process of creating these creamy, organic delights, ensuring your cat receives the best possible nutrition while saving you money. Get ready to witness the purrfect reaction as your furry companion enjoys these homemade, healthy, and utterly irresistible snacks.
Preparation and Safety Guidelines
- Pot
- Juicer/Blender
- Grater
- Never use onions, garlic, chocolate, grapes, or raisins in cat treats. These are toxic to cats.
- Always supervise your cat while they are eating treats to prevent choking hazards, especially with soft or small treats.
- Introduce new treats gradually to monitor for any allergic reactions. Start with a small amount and watch for vomiting, diarrhea, or skin issues.
Step-by-Step Instructions
Prepare Ingredients
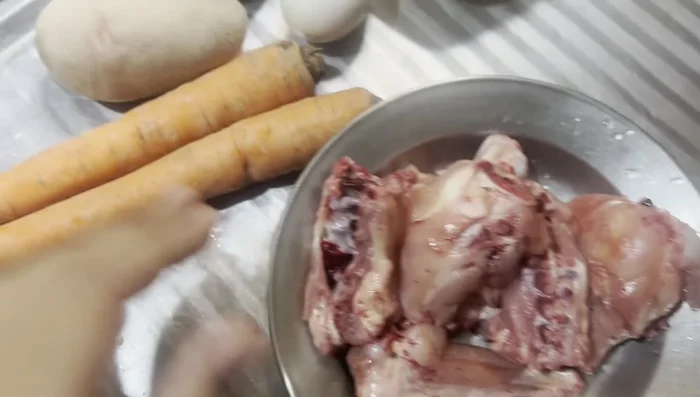
- Clean and cut 1 loaf of chicken wings, 2 carrots, and 2 potatoes (adjust quantity based on the number of days you're preparing the food for). If available, add peas.

Prepare Ingredients Boil Ingredients
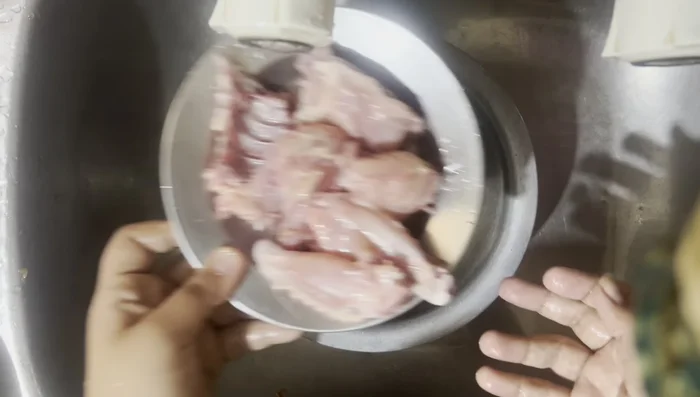
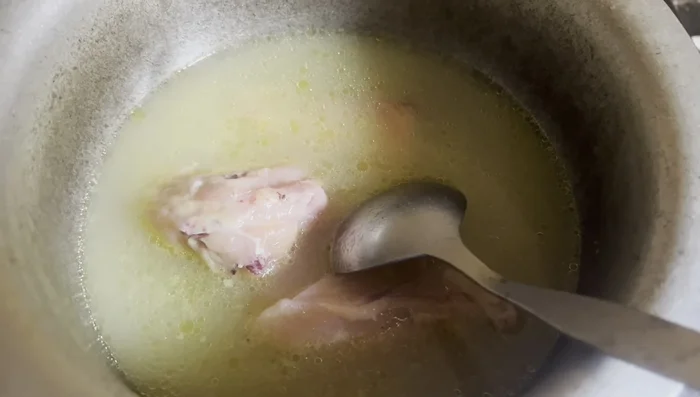
- Thoroughly wash the chicken. Place the chicken, carrots, and potatoes in a pot, cover with water, and bring to a boil. Reduce heat to low and simmer for at least 20-25 minutes until tender. Boil eggs separately.
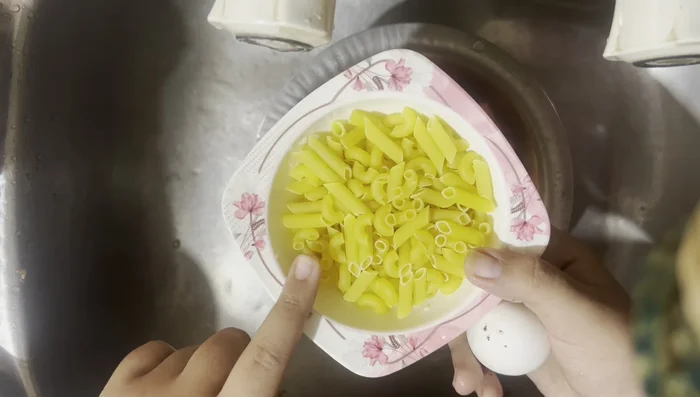
- Boil macaroni until cooked through.
Boil Ingredients Grind Cooked Ingredients
- Once everything is cooked and cooled slightly, blend the chicken and vegetables to create a smooth paste. You might need to do this in batches.
Grind Cooked Ingredients Prepare Biscuit Crumbs
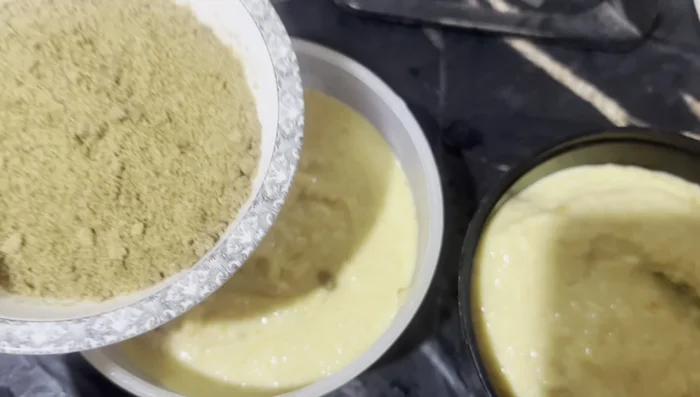
- Grind cat biscuits into a fine powder. (The speaker uses Pro Choice biscuits, but any cat-safe brand will work.)
Prepare Biscuit Crumbs Combine Ingredients
- Add the biscuit powder to the chicken and vegetable paste, mixing well to combine.
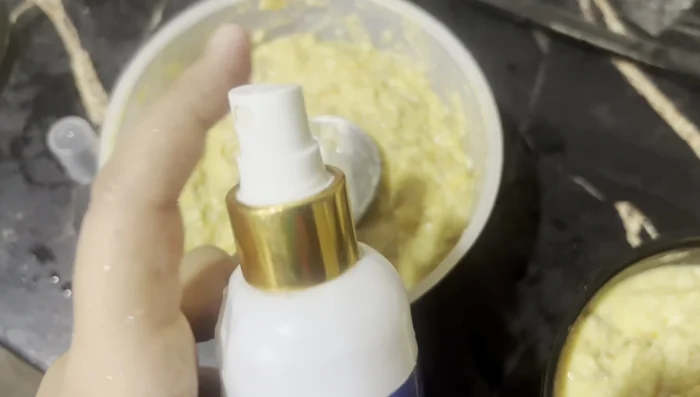
Combine Ingredients Add Oil and Mix
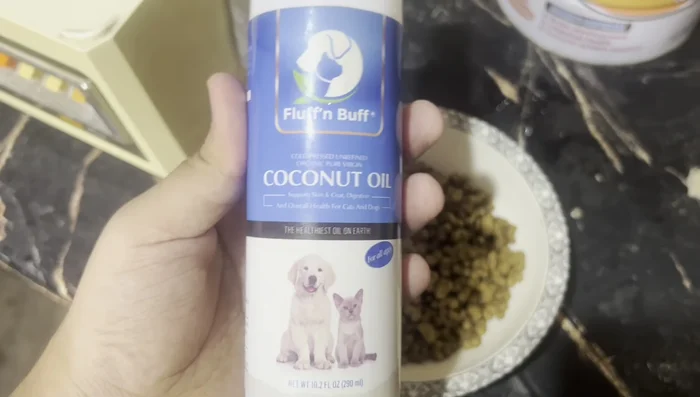
- Incorporate 1-1.5 tablespoons of coconut oil (or olive oil/fish oil – use only one type of oil) into the mixture. Mix thoroughly until everything is well combined.
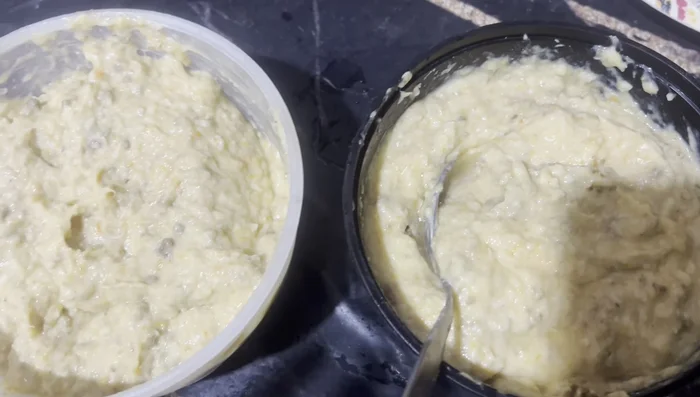
Add Oil and Mix Portion and Freeze
- Divide the mixture into portions for daily servings. Store in the freezer for up to 4 days.
Portion and Freeze
Read more: Homemade Chicken Broth for Healthy Cats: Boost Immunity & Recovery
Tips
- Adjust ingredient quantities based on the number of days you are preparing the food. For example, if making food for 2 days, use 1 potato instead of 2.
- Gradually introduce the new food to your cat to prevent digestive upset.
- This recipe is suitable for all cats, including pregnant, sick, or underweight cats. However, always consult your veterinarian if your cat has any underlying health issues.
- Don't use too much liquid. A slightly thicker consistency is better for cats to eat.