Spoil your feline friend with these delicious and healthy homemade tuna and catnip treats! These easy-to-make snacks are perfect for rewarding good behavior, adding a little excitement to mealtime, or simply showering your cat with love. Packed with protein from tuna and the delightful allure of catnip, these treats are a guaranteed hit with even the pickiest of eaters. Forget expensive store-bought options filled with questionable ingredients; this recipe uses simple, wholesome ingredients that you likely already have in your pantry. Plus, they're completely gluten-free, making them a safe and healthy option for cats with dietary sensitivities.
This recipe is incredibly straightforward, requiring minimal cooking time and effort. Get ready to whip up a batch of these irresistible treats in minutes! Ready to get started? Let's dive into the simple step-by-step process below.
Preparation and Safety Guidelines
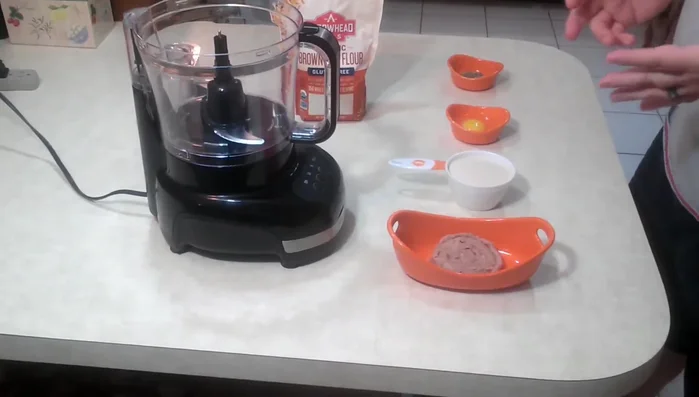
- food processor
- bowl
- fork (optional)
- cookie sheet
- parchment paper
- rolling pin
- heart-shaped cookie cutter
- Always use human-grade tuna packed in water, never oil. Oil can cause digestive upset in cats.
- Ensure the catnip you use is organic and pesticide-free. Wash it thoroughly before incorporating it into the treats.
- Introduce new treats gradually to monitor for any allergic reactions or digestive issues. Start with a small amount and observe your cat for 24 hours.
Step-by-Step Instructions
Gather Ingredients
- one can of tuna in oil (drained), 1 cup of brown rice flour, 1 egg, and 1 tablespoon of catnip.

Gather Ingredients Mix Ingredients
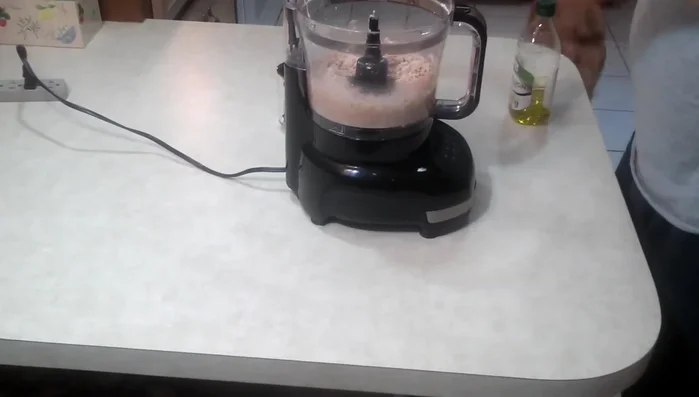
- Add all ingredients to a food processor and mix until combined. Alternatively, you can mix in a bowl with a fork.
- If the mixture is too dry, add a little olive oil to help it bind together.
Mix Ingredients Preheat Oven
- Preheat oven to 350 degrees.
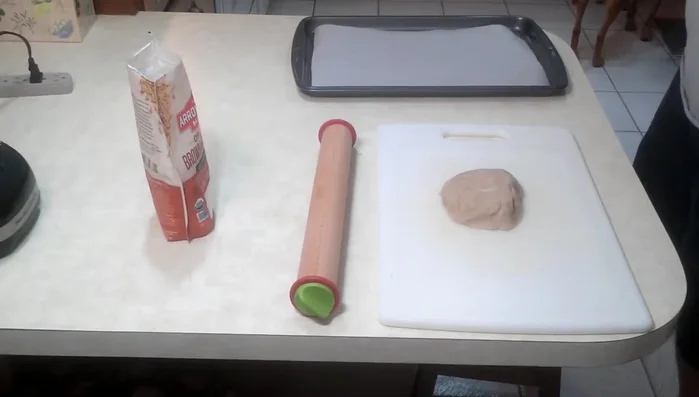
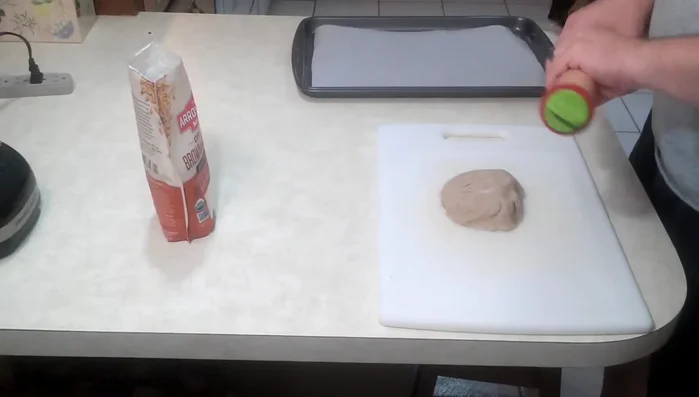
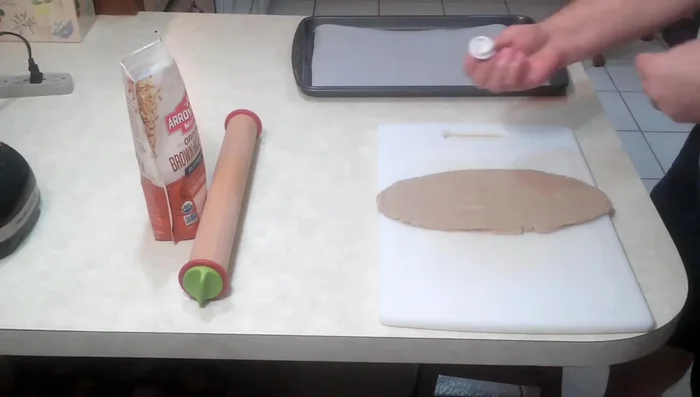
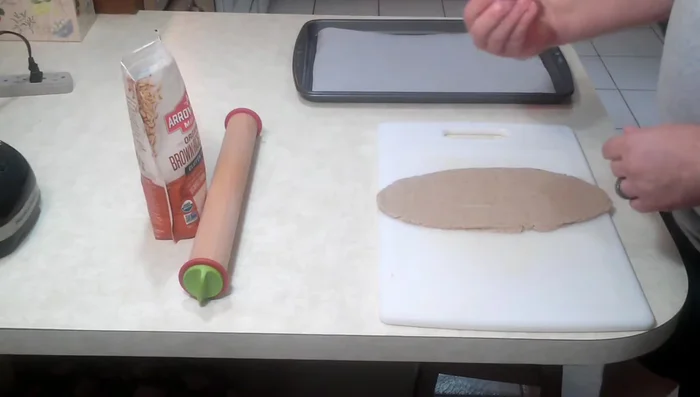
Preheat Oven Roll and Cut Dough
- Roll out the dough to about 1/4 inch thick using a rolling pin.
- Cut out heart shapes (or any desired shape) using a cookie cutter.
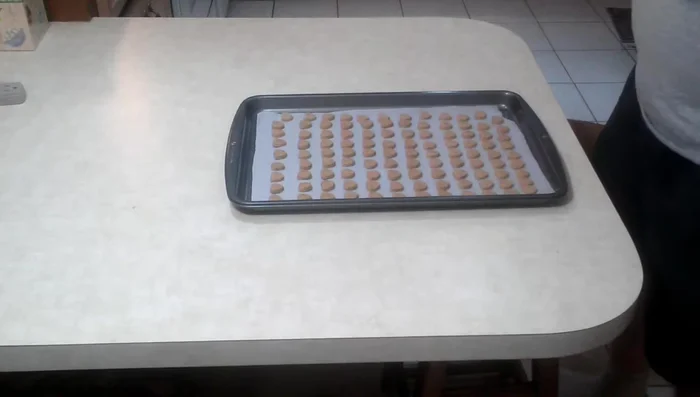
Roll and Cut Dough Bake Treats
- Place treats on a parchment-lined cookie sheet.
- Bake for 10-12 minutes.
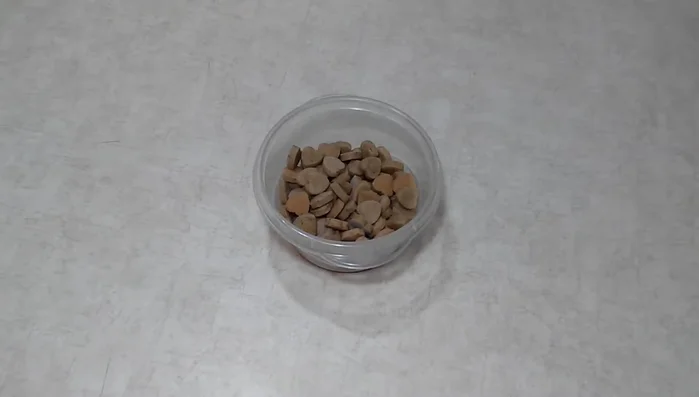
Bake Treats Cool and Serve
- Let treats cool completely before serving.
Cool and Serve

Read more: Homemade Chicken Broth for Healthy Cats: Boost Immunity & Recovery
Tips
- Use organic, gluten-free brown rice flour.
- Always check with your vet before feeding your cat new ingredients.
- Dust the dough with extra rice flour if it's too sticky.