Is your dog's collar constantly too tight or too loose? Are you tired of buying new collars every time your furry friend grows or loses a little weight? Then crafting your own adjustable dog collar is the perfect solution! This simple project allows you to create a perfectly fitting, comfortable, and personalized collar for your beloved pet, saving you money and giving you a sense of accomplishment. You can choose fabrics, colors, and embellishments that match your dog's unique personality, resulting in a collar that's as stylish as it is functional.
Forget expensive store-bought options – with readily available materials and a few basic sewing skills, you can easily make a custom adjustable collar in no time. This tutorial will guide you through each step, from selecting the right materials to securing the final buckle, ensuring a perfectly crafted collar for your canine companion. Let's get started on this fun and rewarding DIY project!
Preparation and Safety Guidelines
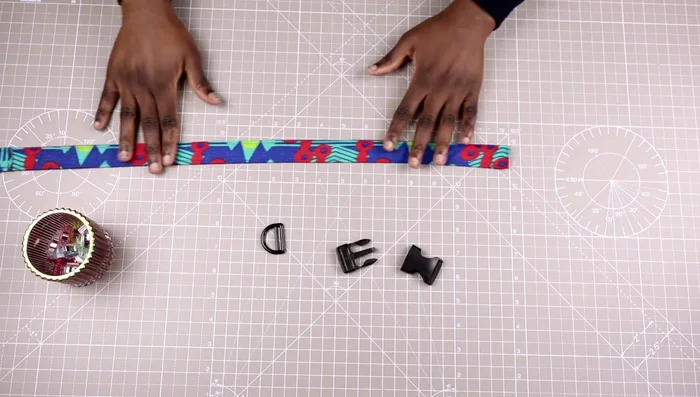
- Fabric
- 1-inch nylon webbing
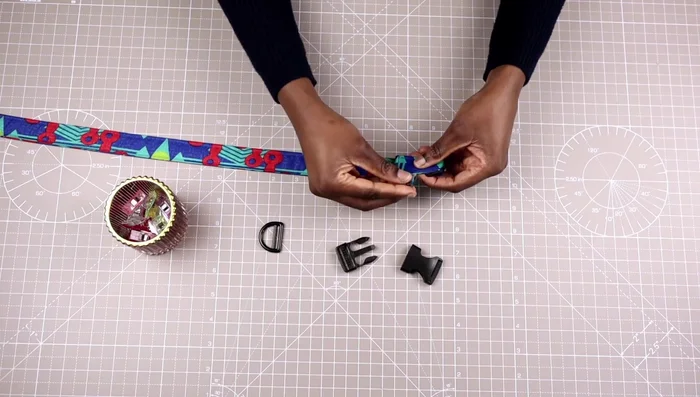
- Clips
- Pens
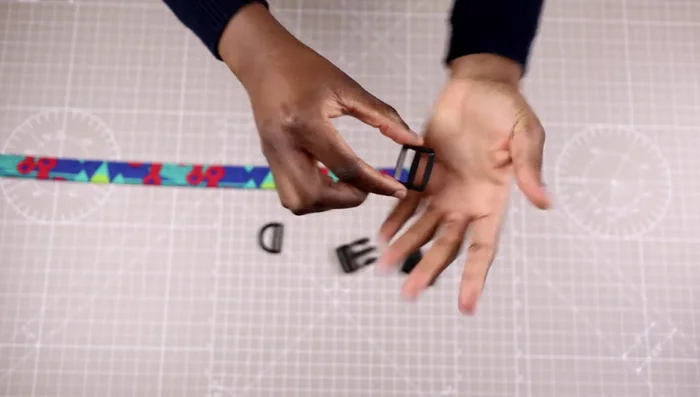
- 25mm quick release buckle
- 25mm D-ring
- 25mm triglide
- Always supervise your dog while wearing the DIY collar. Regularly check for wear and tear and replace the collar immediately if damaged to prevent injury.
- Ensure the collar is adjusted correctly to allow for two fingers to fit comfortably between the collar and your dog's neck. Too tight can restrict breathing and blood flow; too loose can allow escape.
- Use strong, durable materials appropriate for your dog's size and strength. Avoid materials that could fray, break easily, or pose a choking hazard.
Step-by-Step Instructions
Prepare Fabric
- Cut four times the width of the webbing (4 inches if webbing is 1 inch wide). Fold the fabric in half, iron to create a crease, and fold the edges inward to meet at the center.

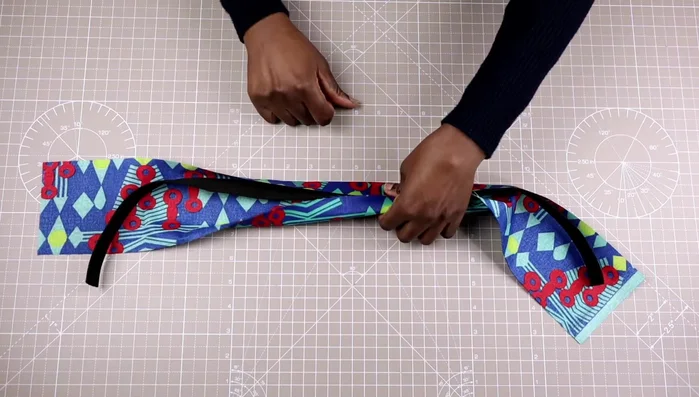
Prepare Fabric Insert Webbing and Secure
- Place the webbing into one of the folds and overlap the other fold. Ensure fabric is at least an inch longer than the webbing (28 inches fabric for 27 inches webbing in this example). Secure with clips.
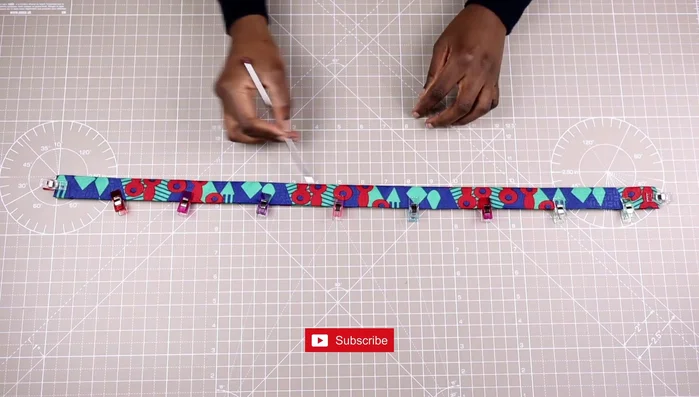
Insert Webbing and Secure Sew Fabric to Webbing
- Sew right at the edge of both sides (top stitch).
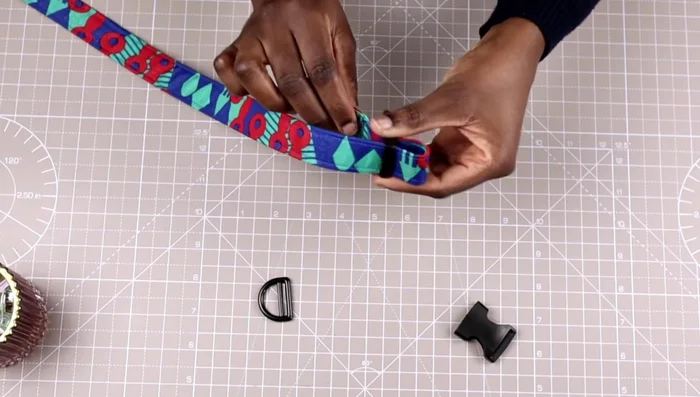
Sew Fabric to Webbing Attach Triglide
- Place the triglide (curved side down) and insert the collar from the top into the first opening, then pull it out through the other opening. The length of the flap should be between 1.5 to 2 inches.
Attach Triglide Secure and Sew Triglide
- Secure the triglide with clips and sew it down.
Secure and Sew Triglide Attach Buckle
- Insert the collar (right side down) into the first opening of the buckle (curved side facing up) furthest away, then pull it through to the middle buckle, reaching the triglide. Insert the collar into the second opening.
Attach Buckle Feed Collar Through Triglide
- Feed the end of the collar back into the triglide.
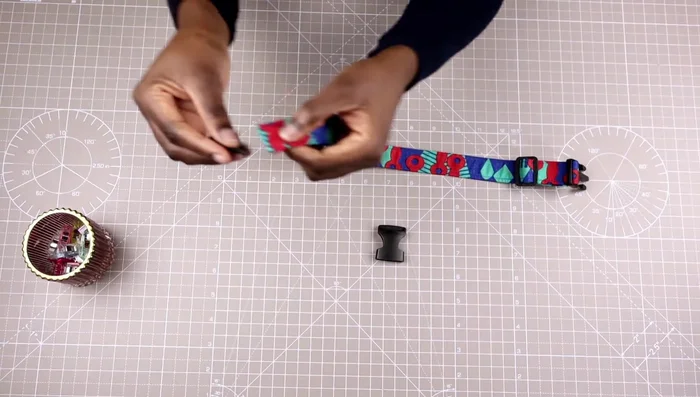
Feed Collar Through Triglide Attach D-ring
- Place the collar right side up and insert the D-ring (curved part facing up).
Attach D-ring Secure and Sew Final Components
- Clip the buckles together to ensure correct order. Secure with clips and sew three straight stitches: one to secure the female buckle, one for the D-ring, and one for the flap.

Read more: DIY Cat Leash: Easy-to-Make Cat Harness for Safe Outdoor Adventures
Tips
- Ensure fabric is at least an inch longer than your webbing.
- The length of the flap after attaching the triglide should be between 1.5 to 2 inches.