Is your cat relentlessly shredding your furniture, leaving behind a trail of shredded fabric and frayed nerves? The solution might be closer than you think – and far more budget-friendly than a professional cat scratching post! This ultimate guide will walk you through creating your very own DIY cat scratcher, tailored perfectly to your feline friend's preferences and your home's aesthetic. Forget expensive store-bought options; with a little creativity and readily available materials, you can craft a durable and enticing scratching haven that your cat will adore.
From repurposing cardboard boxes to utilizing sturdy rope and sisal, the possibilities are endless. We’ll explore a range of DIY cat scratcher ideas, from simple and quick projects to more elaborate designs that will impress both you and your cat. Ready to transform your home and appease your furry companion’s innate scratching needs? Let's dive into the step-by-step instructions to build the perfect DIY cat scratcher.
Preparation and Safety Guidelines
- Drill
- 12in x 12in plywood
- Wood screw
- Razor blade
- Screwdriver
- Pen
- Cardboard (lots)
- 36in wooden dowel (3/4in x 3/4in square width)
- Use only non-toxic materials. Avoid anything that could be ingested by your cat and cause harm, such as fabrics treated with harsh chemicals or wood with splinters.
- Ensure the scratcher is sturdy and stable. A wobbly or easily tipped scratcher can be dangerous for your cat and cause injury.
- Supervise your cat with any new scratcher, especially those made with less traditional materials, to ensure they are not destroying or ingesting parts of it.
Step-by-Step Instructions
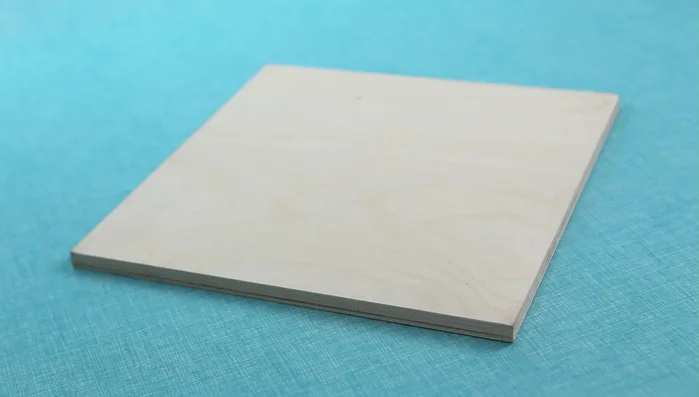
Prepare the Base
- Paint the plywood base a nice color.

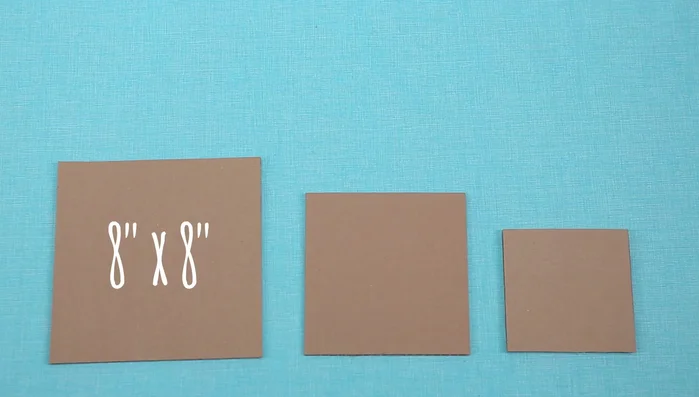
Prepare the Base Create Templates
- 18in x 8in, 7in x 7in, and 6in x 6in. Cut a 3/4in x 3/4in hole in the center of each.
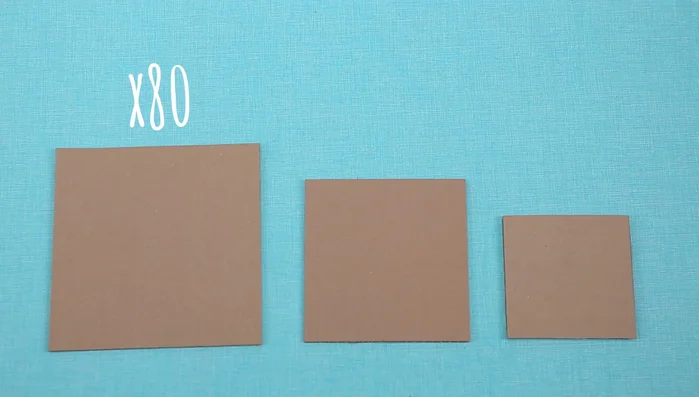
Create Templates Cut Cardboard Squares
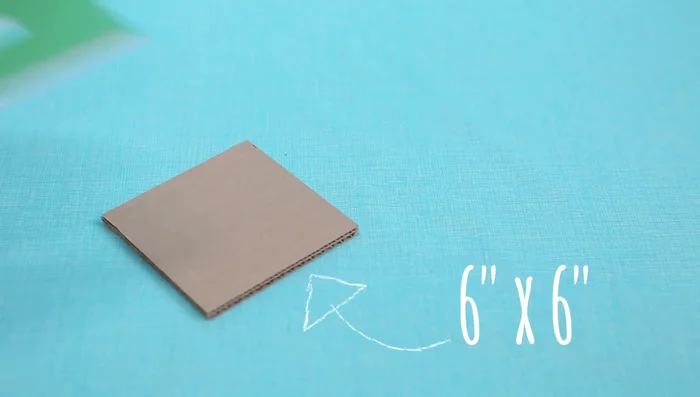
- 80 - 8in x 8in, 80 - 7in x 7in, and 60 - 6in x 6in.
Cut Cardboard Squares Cut Center Holes in Squares
- Use templates to trace and cut out the 3/4in x 3/4in square from the center of each cardboard square.
Cut Center Holes in Squares Prepare Dowel and Base for Assembly
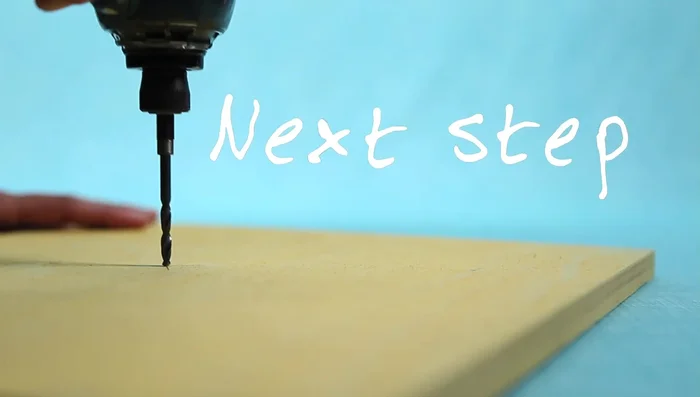
- Drill a hole in the center of the plywood base and another hole 1 inch deep in the end of the dowel.
Prepare Dowel and Base for Assembly Assemble the Scratcher
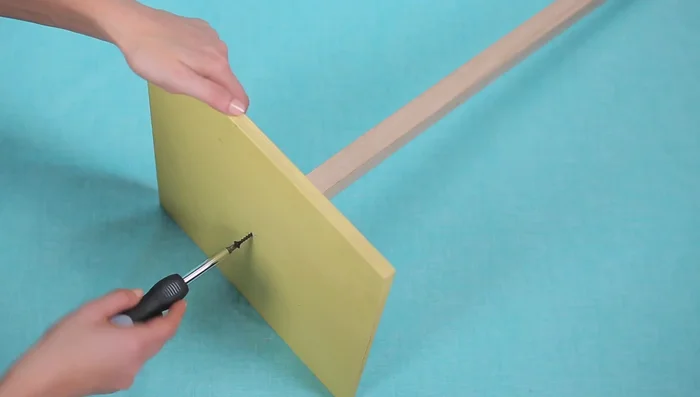
- Attach the dowel to the base using the wood screw.
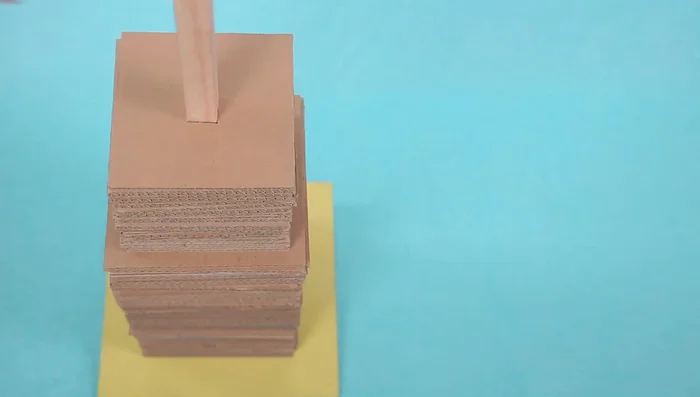
- Stack the cardboard squares onto the dowel, starting with the largest and working to the smallest.
Assemble the Scratcher
Read more: No-Sew Sock Cat Tutorial: Adorable DIY Project
Tips
- Gather a lot of cardboard before you begin.
- Consider asking for help with the stacking process.