Cats, those enigmatic creatures of comfort and chaos, often find joy in the simplest things. A crumpled piece of paper, a dangling string, a cardboard box – these everyday objects can become captivating playthings in the blink of an eye. But why settle for fleeting moments of amusement when you can craft durable, engaging toys tailored to your feline friend's specific preferences? This often saves money, too, as store-bought toys can be surprisingly expensive. You can even incorporate your cat's favorite textures and scents, creating a truly personalized play experience.
This article provides five easy-to-follow tutorials for creating stimulating DIY cat toys, using readily available materials you probably already have around your home. From a whimsical wand toy to a challenging puzzle feeder, we’ll guide you through each step of the process, transforming ordinary household items into extraordinary feline fun. Get ready to unleash your inner crafter and watch your cat's eyes light up as you create their new favorite toy!
Safety Guidelines
- Always supervise your cat when playing with any DIY toy to prevent ingestion of small parts or choking hazards. Remove the toy if it becomes damaged or frayed.
- Avoid using materials that are toxic to cats, such as rubber bands, yarn containing harmful dyes, or anything that could unravel and cause intestinal blockage. Opt for natural, non-toxic materials whenever possible.
- Ensure any string or ribbon used is securely attached and cannot be easily pulled off and swallowed. Long dangling strings are especially dangerous.
Methods: Yarn Ball Cat Toy
Tools Needed
- Styrofoam ball
- Yarn
- Glue gun
Step-by-Step Instructions
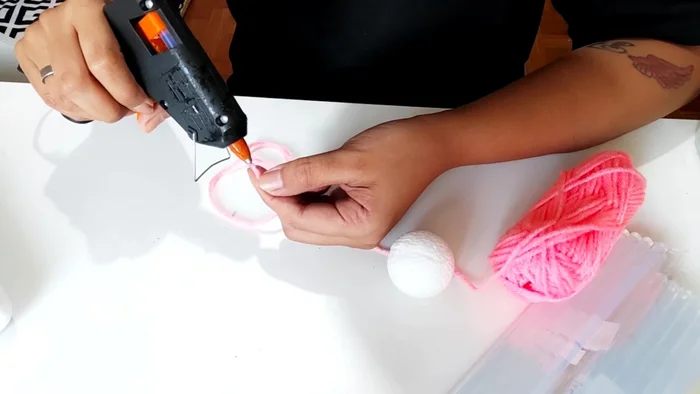
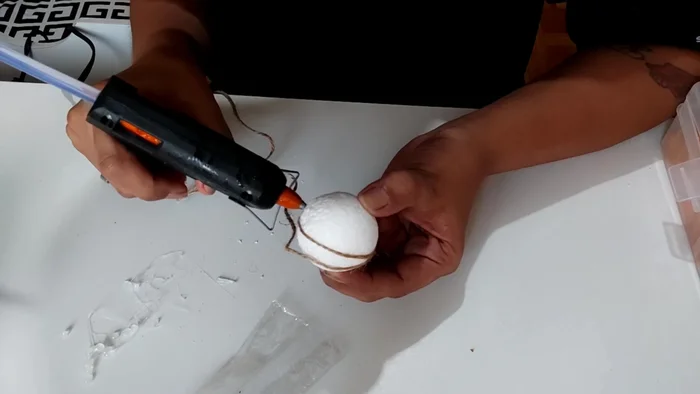
Prepare the Yarn and Glue
- Apply glue to the yarn, not directly to the styrofoam ball to prevent melting.

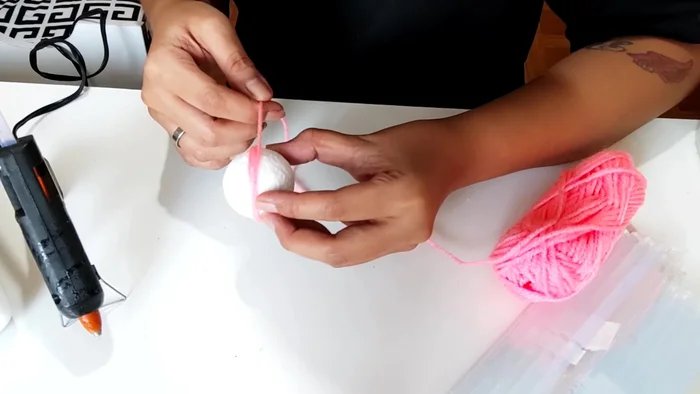
Prepare the Yarn and Glue Wrap and Secure the Yarn
- Wrap the yarn around the styrofoam ball, working in sections (left, right, left, right) to ensure even coverage.
- Apply glue as you wrap to secure the yarn. Flatten the yarn slightly to create a smooth surface.
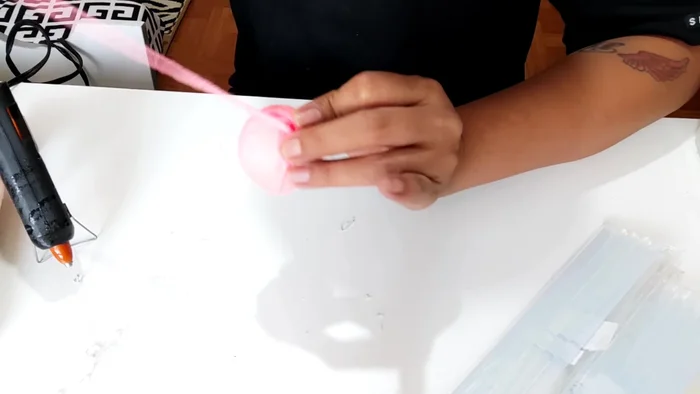
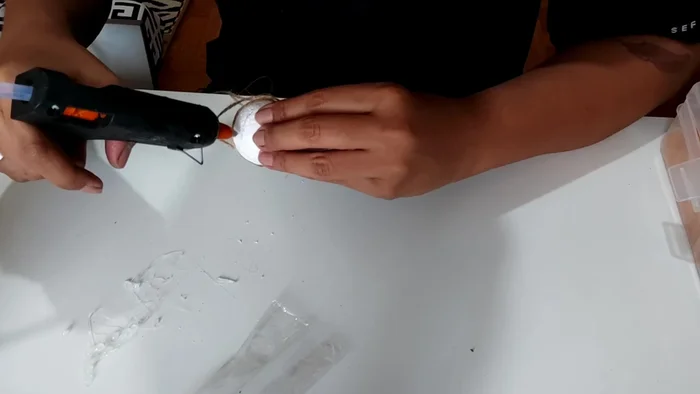
Wrap and Secure the Yarn Finish and Tighten
- Add extra rounds of yarn for tightness and to cover any gaps.
Finish and Tighten

Tips
- Choose your favorite yarn colors, or mix and match for a fun, vibrant toy.
Methods: Twine-Wrapped Cat Toy
Tools Needed
- Styrofoam ball
- Twine
- Glue gun
- Feathers
Step-by-Step Instructions
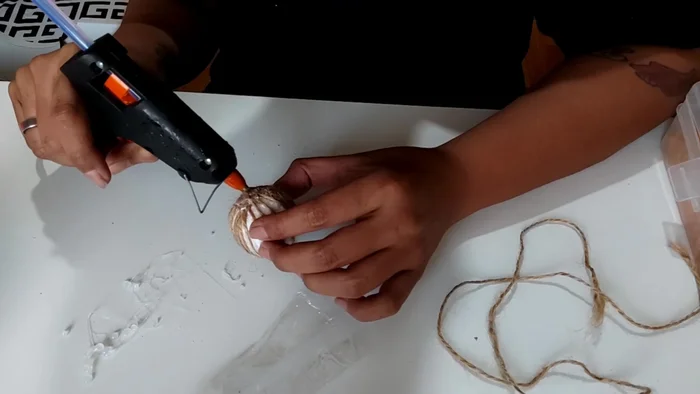
Glue and Wrap the Twine
- Apply glue liberally to the twine.
- Wrap the twine around the styrofoam ball, covering it completely. Press the twine firmly as you go, since the glue isn't hot enough to melt the styrofoam.
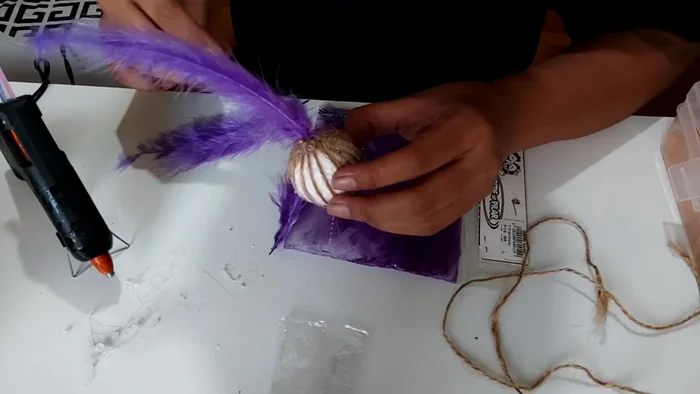
Glue and Wrap the Twine Add Feathers
- Add a generous amount of glue to the bottom of the ball before adding feathers.
- Poke feathers into the glued bottom of the ball, creating a textured surface.
Add Feathers
Tips
- Press the twine firmly with your fingers, as it's not hot enough to melt the styrofoam.
Methods: Cat Toy Wand with Paper Rope
Tools Needed
- Styrofoam ball
- Paper rope
- Glue gun
- Dowel
- Felt sheets
- Scissors
Step-by-Step Instructions
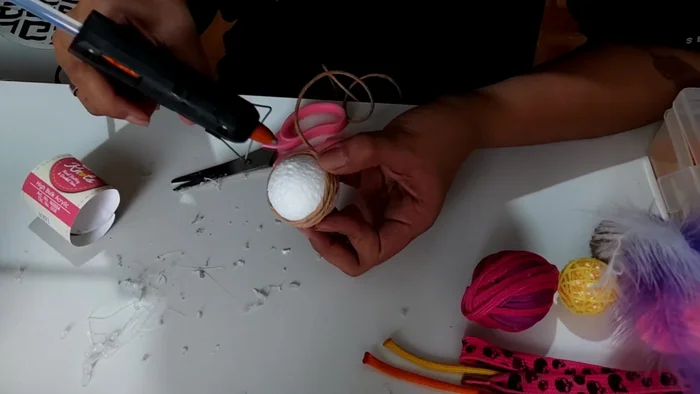
Prepare the Styrofoam Ball with Paper Rope
- Wrap the stiff paper rope around the styrofoam ball, applying glue liberally.
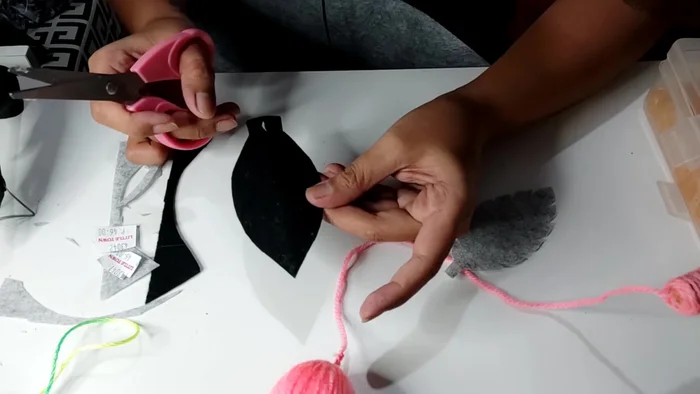
Prepare the Styrofoam Ball with Paper Rope Create Felt Leaf Decorations
- Cut and shape felt leaves, ensuring a small uncut portion at the stem to hold them together.
Create Felt Leaf Decorations Attach Felt Leaves to the Ball
- Glue the felt leaves to the ball.
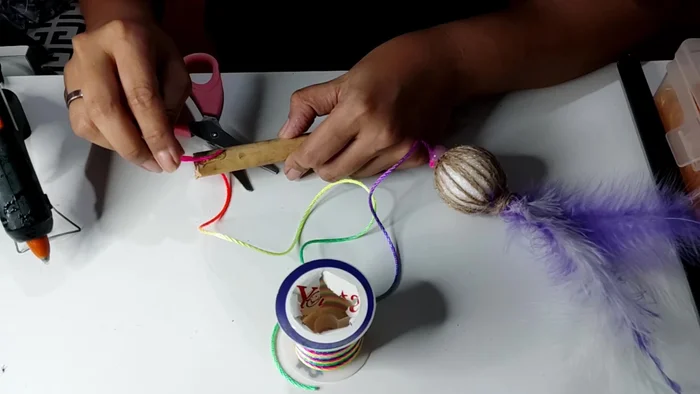
Attach Felt Leaves to the Ball Attach the Handle
- Glue the end of the paper rope to a dowel to create a wand handle.
Attach the Handle

Tips
- Use a variety of felt shapes and colors for a visually appealing toy.
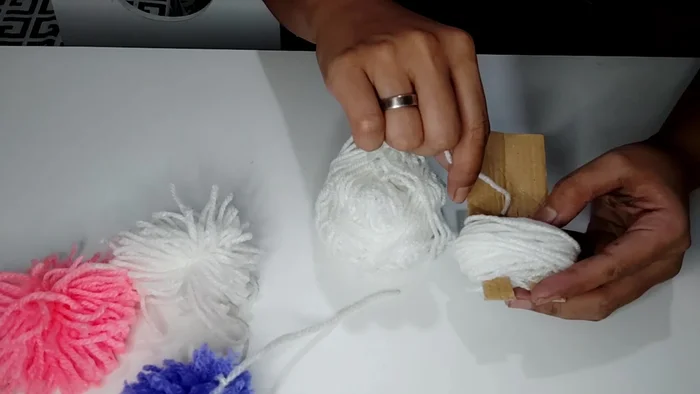
Methods: Pom-Pom Cat Toy
Tools Needed
- Yarn
- Cardboard
- Scissors
- Glue
Step-by-Step Instructions
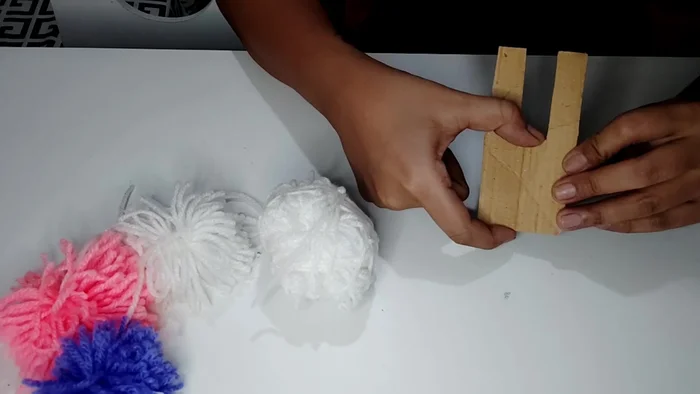
Make the Pom-Pom
- Cut a U-shaped piece of cardboard. Wrap yarn around it repeatedly to form a pom-pom.
- Cut the yarn loops on one side to create the pom-pom shape, leaving long threads.
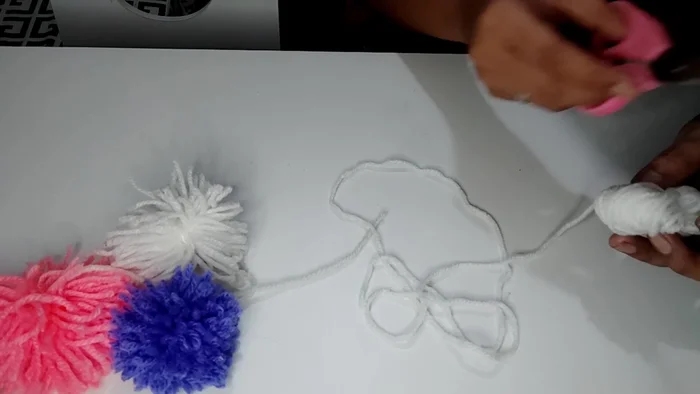
- Tie the long threads together tightly to secure the pom-pom.
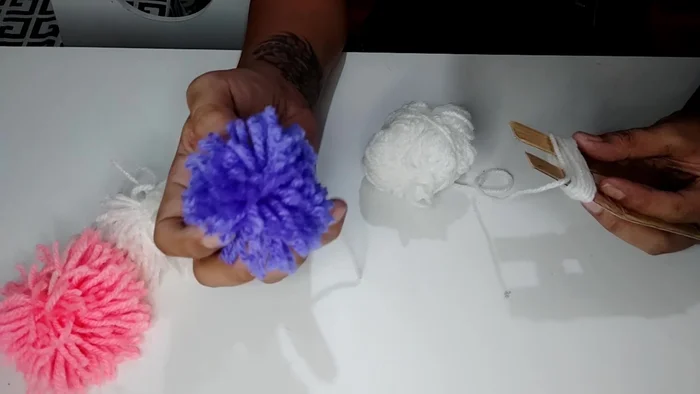
Make the Pom-Pom Attach or Place Pom-Poms
- You can attach the pom-poms to a stick or place them separately in a cat bed.
Attach or Place Pom-Poms
Tips
- The thicker the pom-pom, the better. Use a generous amount of yarn.
- Leave longer threads on the pom-poms for attaching to sticks or other surfaces.
Read more: DIY Braided Tug Toys for Squirrels: Easy Step-by-Step Guide