Cats are endlessly curious creatures, always on the lookout for new and exciting ways to play. While store-bought toys can be expensive and often end up discarded after a short time, there's a simple and cost-effective alternative: DIY cat toys! This article will showcase three incredibly easy and fun cat toy projects, all made using readily available toilet paper tubes – a surprisingly versatile crafting material. You'll be amazed at how much entertainment you can create from something you likely already have in your recycling bin.
Forget expensive catnip mice and feather wands; with just a few simple supplies and a little creativity, you can whip up irresistible toys that will keep your feline friend entertained for hours. These projects are perfect for beginners, requiring minimal crafting skills and time commitment. Ready to unleash your inner cat toy artisan? Let's dive into the step-by-step instructions for each of our three fun and engaging projects!
Safety Guidelines
- Always supervise your cat when playing with DIY toys. Remove any toy if it becomes damaged or parts become loose to prevent choking hazards.
- Avoid using glue, paint, or markers that are toxic to cats. Opt for non-toxic, pet-safe alternatives if decoration is desired.
- Ensure all cardboard edges are smooth and free of sharp points to prevent injury to your cat's mouth or paws.
Methods: Crinkle Cat Toy
Tools Needed
- Toilet paper tube
- Scissors
Step-by-Step Instructions
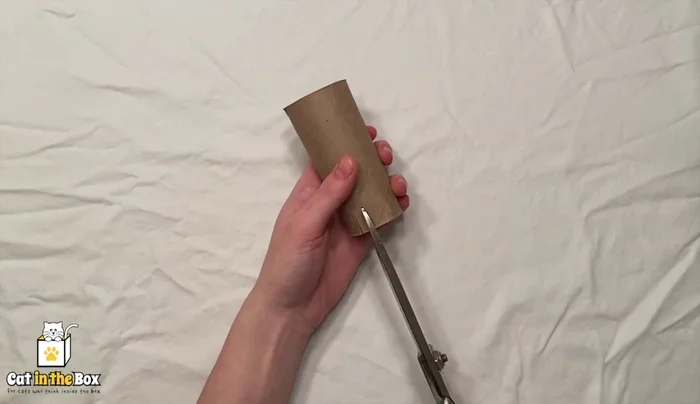
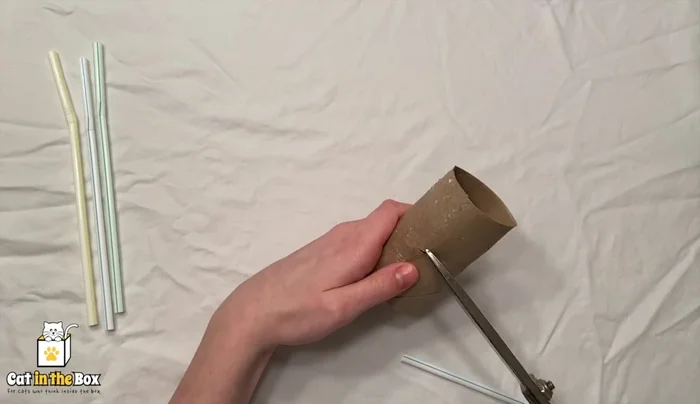
Crinkle Toy 1: Preparation
- Create small slits all the way around the top of the toilet paper tube.

Crinkle Toy 1: Preparation Crinkle Toy 1: Shaping
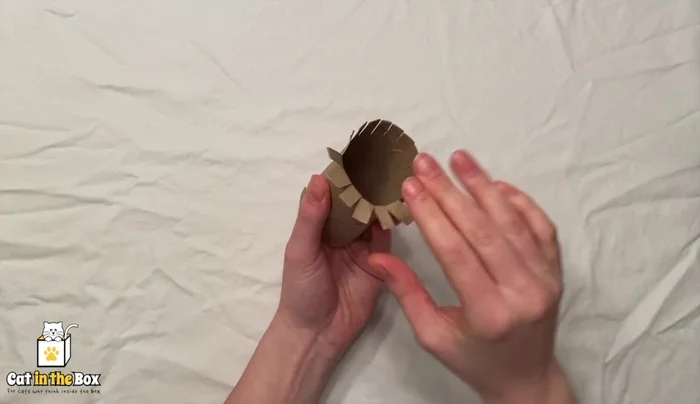
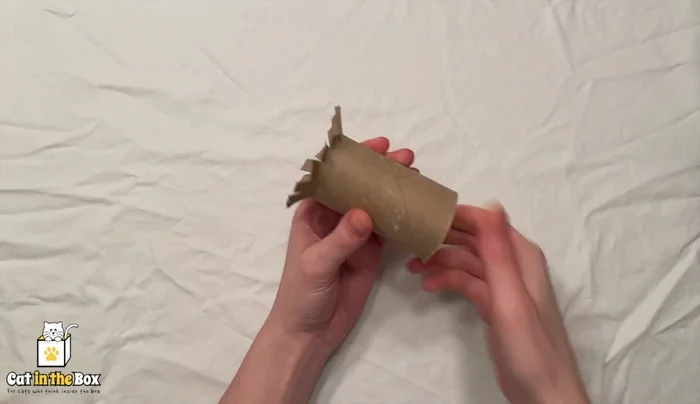
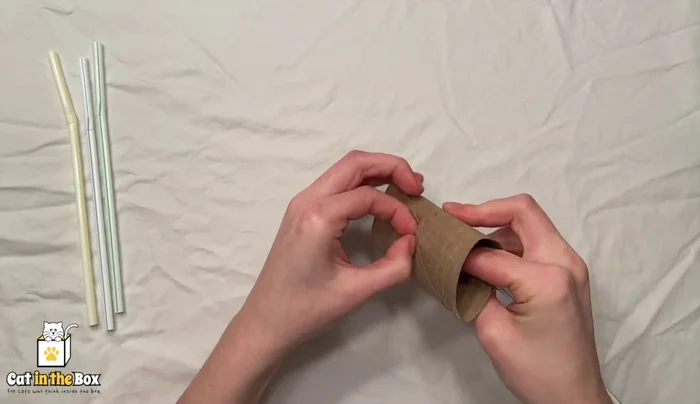
- Push the slits inwards using your hands.
- Repeat on the other side.
Crinkle Toy 1: Shaping
Methods: Straw Toy
Tools Needed
- Toilet paper tube
- Scissors
- Straws
Step-by-Step Instructions
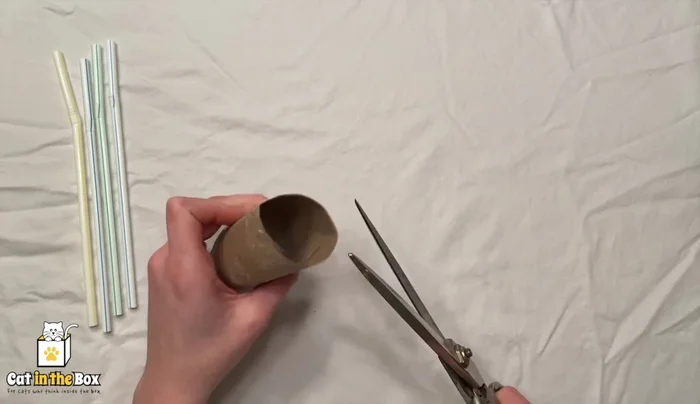
Prepare the Tube for Straws
- Cut diagonal slits into the toilet paper tube.
Prepare the Tube for Straws Adjust Slits as Needed
- Make the holes slightly bigger if needed to accommodate the straws.
Adjust Slits as Needed Insert Straws
- Insert straws through the slits.
Insert Straws
Methods: Treat Ball
Tools Needed
- Toilet paper tube
- Scissors
- Hot glue gun
Step-by-Step Instructions
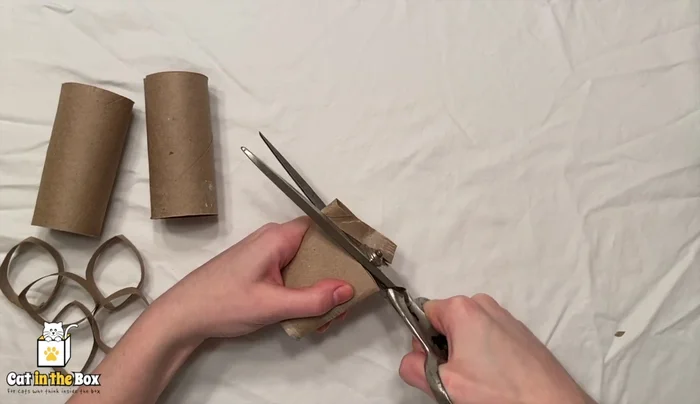
Prepare the Rings
- Cut the toilet paper tube into rings.
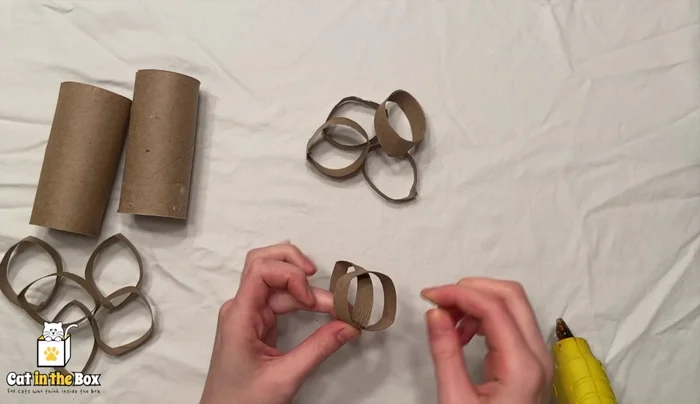
Prepare the Rings Assemble the Treat Ball
- Glue the rings together to form a ball.
Assemble the Treat Ball Add Treats (Optional)
- Add treats to the center of the ball.
Add Treats (Optional)
Methods: Treat Dispenser Tube
Tools Needed
- Toilet paper tube
Step-by-Step Instructions
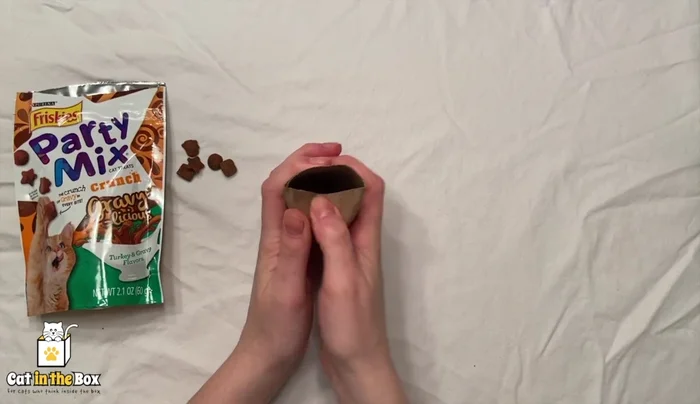
Prepare the Treat Dispenser Tube
- Push both ends of the toilet paper tube inwards.
- Pinch the sides of both ends.
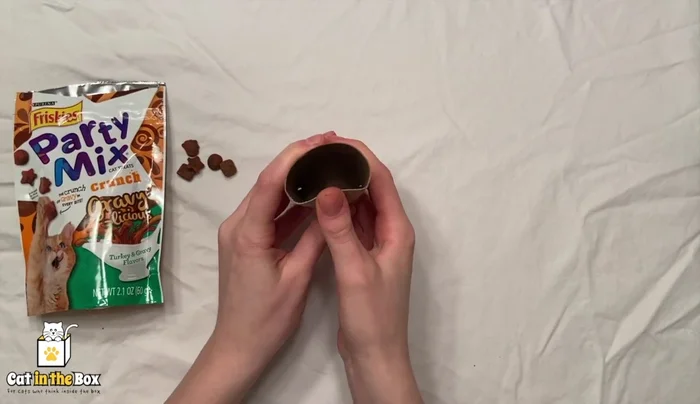
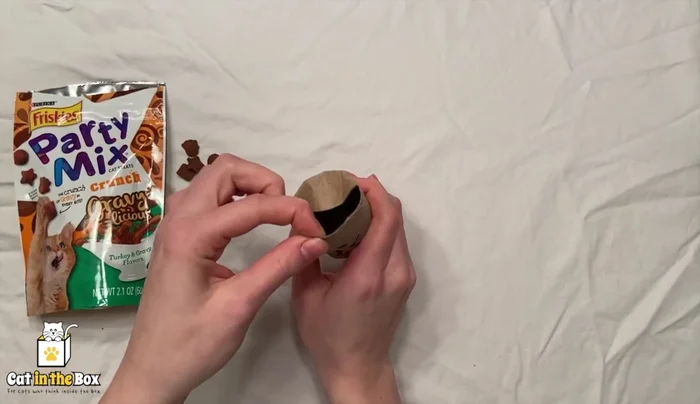
Prepare the Treat Dispenser Tube Add Treats
- Open one end and add treats.
Add Treats
Tips
- Decorate the tube (optional).
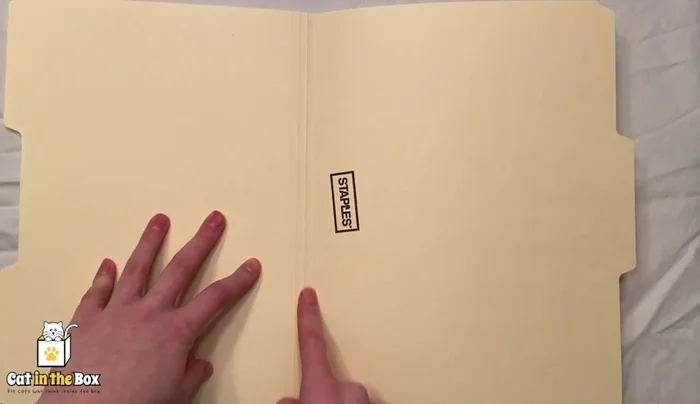
Methods: Envelope Treat Puzzle
Tools Needed
- Manila envelope or paper
- Toilet paper tubes
- Hot glue gun
- Treats
Step-by-Step Instructions
Prepare the Envelope Puzzle Base
- Cut the envelope/paper into smaller pieces.
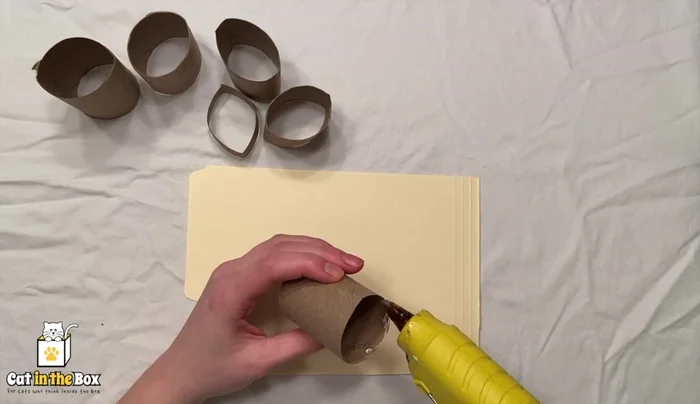
Prepare the Envelope Puzzle Base Assemble the Puzzle
- Glue toilet paper tubes to the envelope/paper.
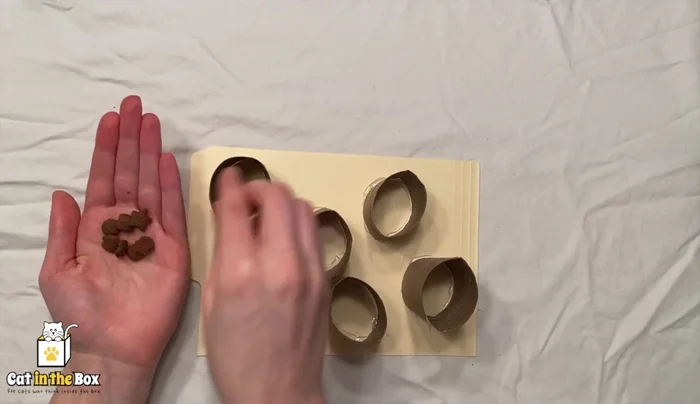
Assemble the Puzzle Add Treats
- Place treats inside the glued-on tubes.
Add Treats
Methods: Triangle Cat Toy
Tools Needed
- Toilet paper tubes
- Hot glue gun
Step-by-Step Instructions
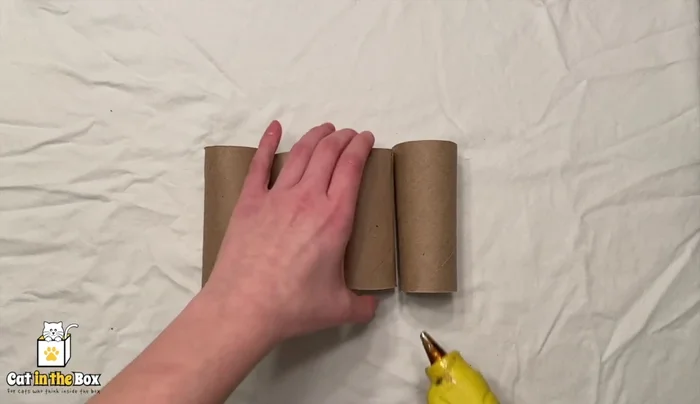
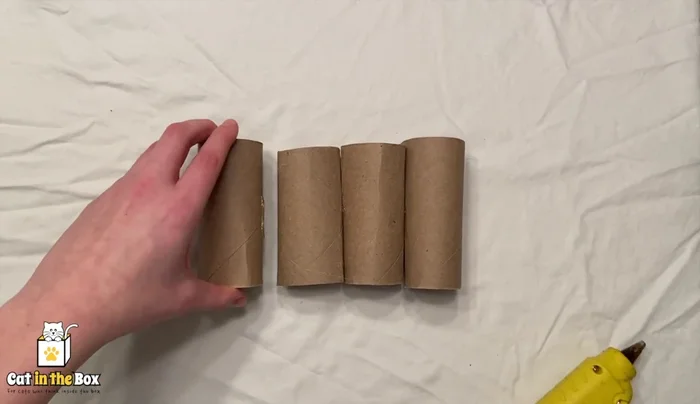
Create the Triangle Base
- Glue four toilet paper tubes together to form a stable base.
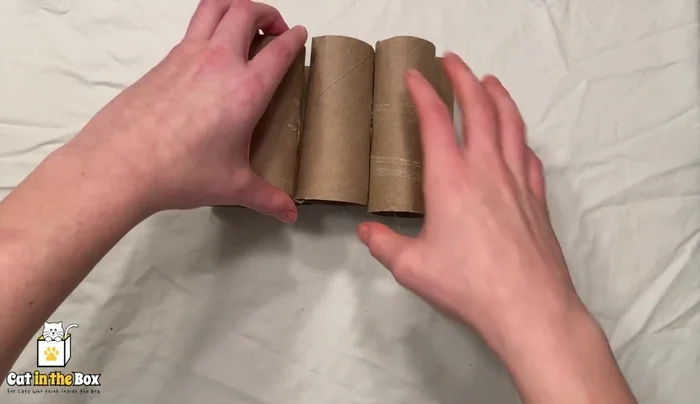
Create the Triangle Base Build the Triangle Sides
- Glue three more tubes together to form a triangle.
- Repeat with two more tubes and then one more tube to complete the triangle.
Build the Triangle Sides
Tips
- Optional: Add treats or a paper backing.
Read more: DIY Braided Tug Toys for Squirrels: Easy Step-by-Step Guide