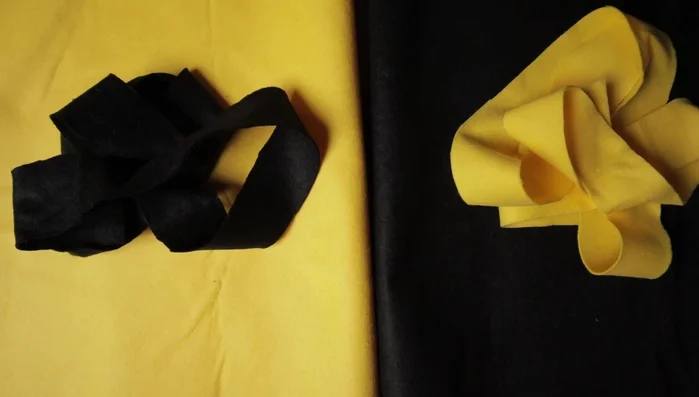
Does your dog have an insatiable need to sniff and explore? Then you're in the right place! Scent work is incredibly enriching for canine companions, providing mental stimulation and physical exercise all wrapped into one delightful activity. Instead of relying on store-bought toys that may lack longevity or engaging scents, why not create your own? This guide will walk you through making irresistible, DIY scent work squirrels – perfect for engaging your dog's natural hunting instincts and providing hours of playful challenge.
These handcrafted toys are surprisingly simple to make, using readily available materials that are both safe and budget-friendly. We'll guide you through creating engaging hiding spots for treats, building durable structures, and even introducing variations to keep your furry friend guessing. Ready to embark on this exciting DIY adventure and transform your dog's playtime? Let's get started with our step-by-step instructions below!
Safety Guidelines
- Always supervise your dog during playtime with any homemade toy. Remove the toy if it becomes damaged or your dog starts to ingest parts of it.
- Use only non-toxic materials. Avoid anything that could be poisonous if chewed or ingested, such as certain fabrics, glues, or paints.
- Ensure all seams are securely stitched and there are no loose threads or small parts that could pose a choking hazard.
Methods: Simple Spiral Dog Toy
Tools Needed
- Two different colors of fleece
Step-by-Step Instructions
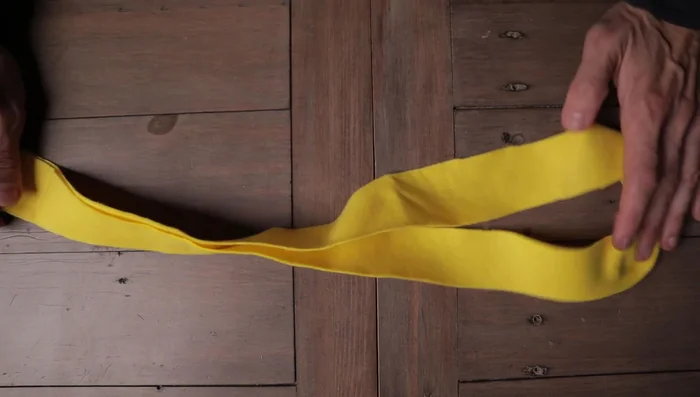
Prepare Fleece Strips
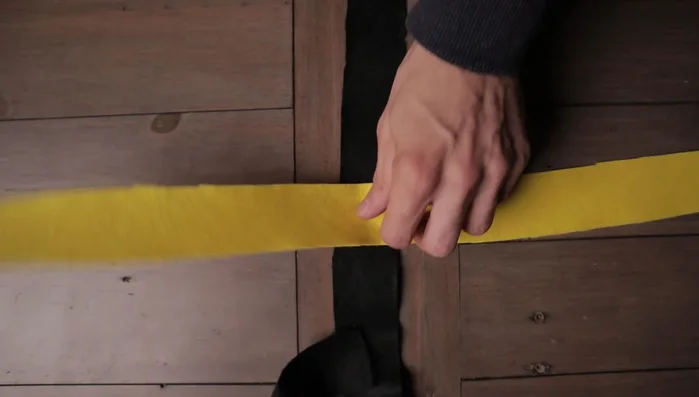
- Cut fleece into 120cm long by 4-5cm wide strips.

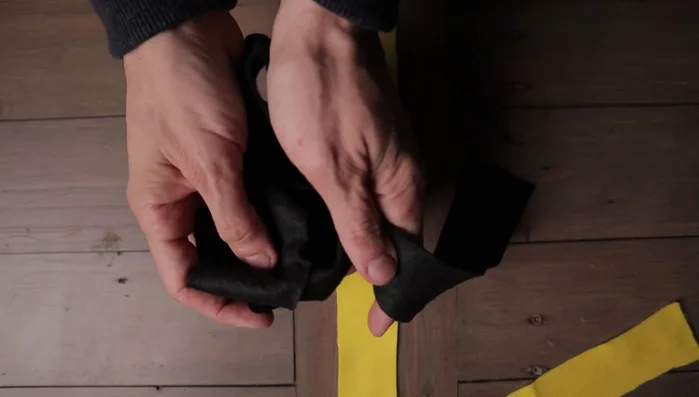
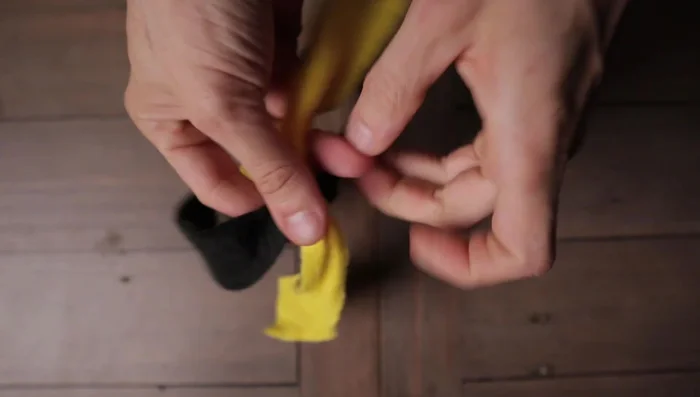
Prepare Fleece Strips Position Initial Strips
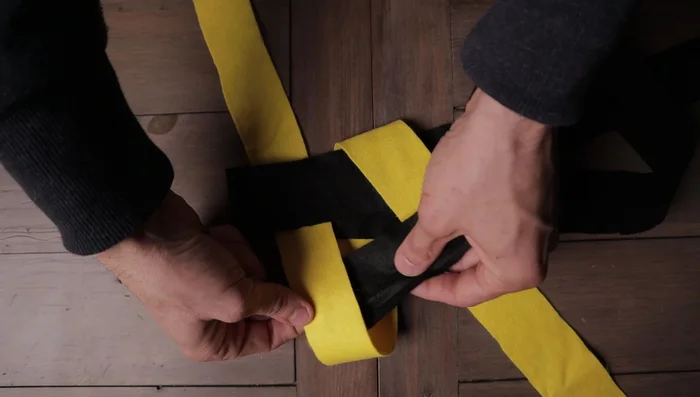
- Find the center of the first fleece strip (yellow in example). Fold in half, squeeze, and open to mark the center.
- Place the second fleece strip (black in example) across the center of the first strip, creating a cross.
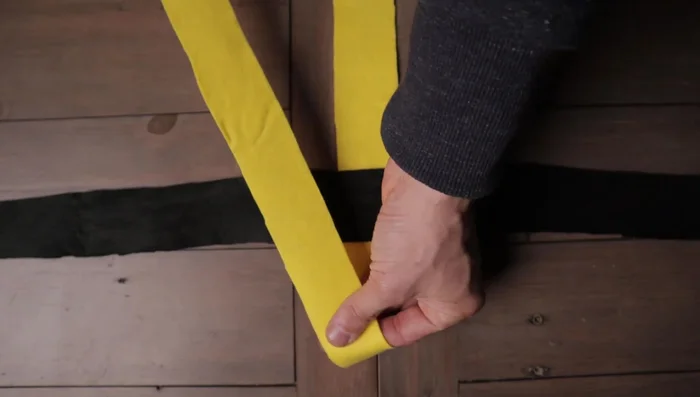
Position Initial Strips Create the Spiral (Initial Folds)
- Working clockwise, fold the top strip over the next, creating a simple fold. Continue this process with each strip, working clockwise.
- Tuck the final strip underneath the first strip through the hole created. Gently pull each side to tighten.
Create the Spiral (Initial Folds) Continue the Spiral
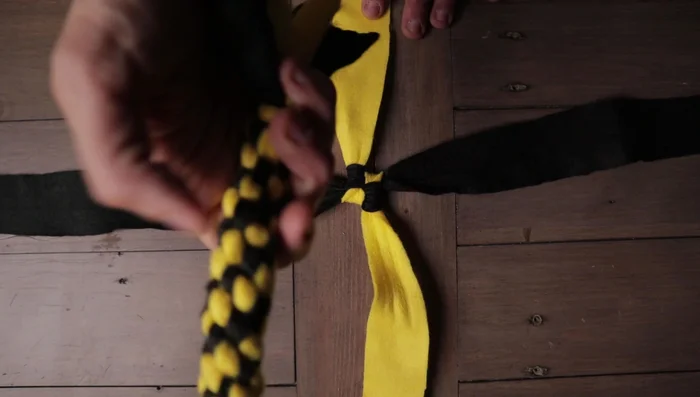
- Continue working clockwise, tightening as you go. The spiral will form naturally.
Continue the Spiral Finish and Secure
- Tie off the ends with a knot using a matching color for each side, then trim excess fabric.
Finish and Secure

Tips
- Be gentle when pulling the first few strips to avoid tearing. After that, you can tug more firmly.
- Ensure the starting color is back at the top before each step to maintain the spiral pattern.
Methods: Advanced Two-Tone Spiral Dog Toy
Tools Needed
- Two different colors of fleece
Step-by-Step Instructions
Creating the Cross
- Start as before, finding the center of the first fleece strip (black in example) and placing the second strip (yellow in example) across the center to form a cross.
Creating the Cross Initial Clockwise Spiral
- Begin by folding clockwise, similar to the simple spiral. Tuck the final strip underneath the first to create the hole, then gently tighten the first few folds.
Initial Clockwise Spiral Alternating Spiral
- Continue alternating between clockwise and counterclockwise directions for the remaining folds, ensuring the starting color is at the top each time.
Finishing the Toy
- Finish by tying off the ends with knots and trimming excess fabric.
Finishing the Toy
Tips
- This method requires more concentration due to alternating folding directions. Take your time and pay attention to the placement of each strip.
Read more: DIY Dog Toys: 3 Easy Tutorials for Happy Pups