Paracord, that incredibly versatile and strong cord, offers a surprising array of crafting possibilities beyond its practical uses. One captivating project that blends utility and aesthetic appeal is the DIY paracord ball on a rope. These charming, handcrafted items are perfect for adding a touch of rustic elegance to your home, serving as unique keychains, decorative accents, or even practical tools for various outdoor activities. Imagine the satisfaction of creating a beautifully woven sphere, strong enough to hold weight, and all from a simple length of paracord. The possibilities for customization are endless, from choosing vibrant colors to incorporating beads or other decorative elements.
This guide will take you through each step of the process, from gathering your materials to expertly securing the final knot. Whether you're a seasoned crafter or a complete beginner, this comprehensive tutorial will empower you to create your own stunning paracord ball on a rope. Let's delve into the step-by-step instructions to transform simple paracord into a unique and functional masterpiece.
Preparation and Safety Guidelines
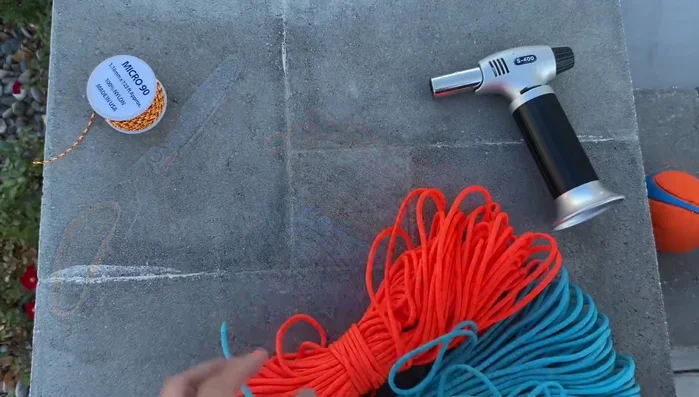
- Paracord (blue and orange)
- Ball
- Scissors
- Lighter
- Micro 90 cord
- Pliers
- Marlin Spike
- Always use sharp scissors or a paracord cutter to prevent fraying and ensure clean cuts. Dull blades can lead to uneven cuts and potential injury.
- Be mindful of your fingers while working with the paracord. The strands can be surprisingly strong and can pinch or cut if not handled carefully.
- If creating a ball for a specific purpose (e.g., keychain, dog toy), ensure the rope's length and ball size are appropriate and safe for the intended use. Avoid creating anything that could pose a choking hazard.
Step-by-Step Instructions
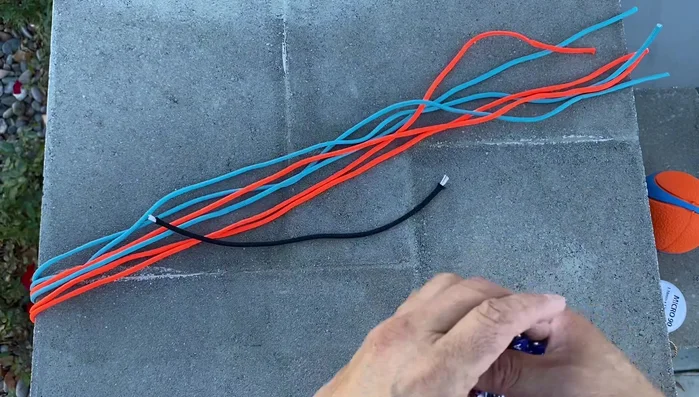
Prepare Materials
- Cut three arm's lengths of blue and three arm's lengths of orange paracord. Melt the ends to prevent fraying.

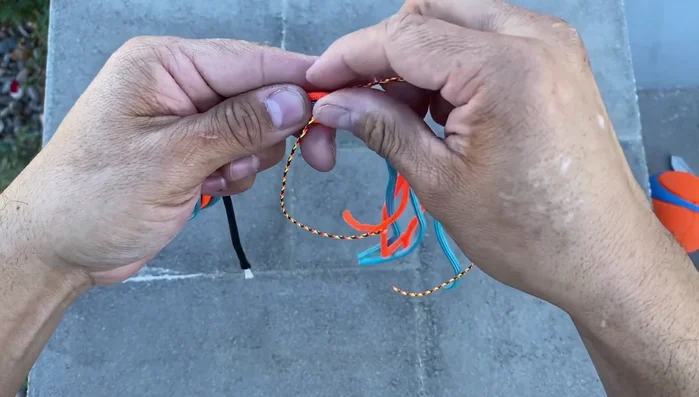
Prepare Materials Create and Secure the Core
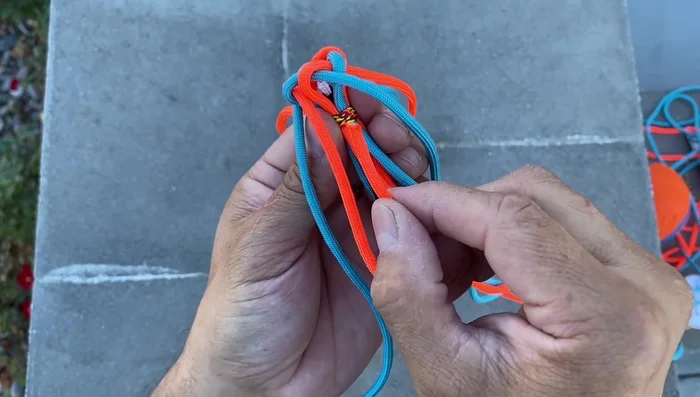
- Arrange the cords in an alternating color pattern, creating a circular bundle. Add a center support (similar to stacking batteries) to maintain the circle.
- Wrap the bundled cords tightly with micro 90 cord at least three times. Secure the end by slipping it through the wrap and tightening.
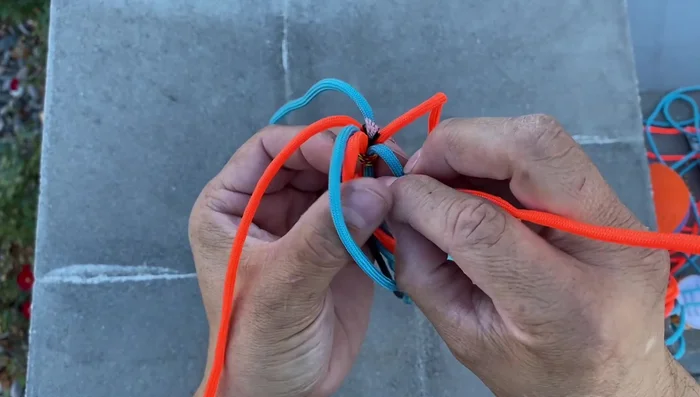
Create and Secure the Core Create the Hexagon Base
- Start with the orange cord, create a series of overlapping loops, alternating colors (orange over blue, blue over orange). Pass the last blue cord through the initial loop to secure the pattern.
Create the Hexagon Base Form the Turks Head Knot
- Bring each cord through the center of the hexagon, creating a star-like pattern. Tighten securely.
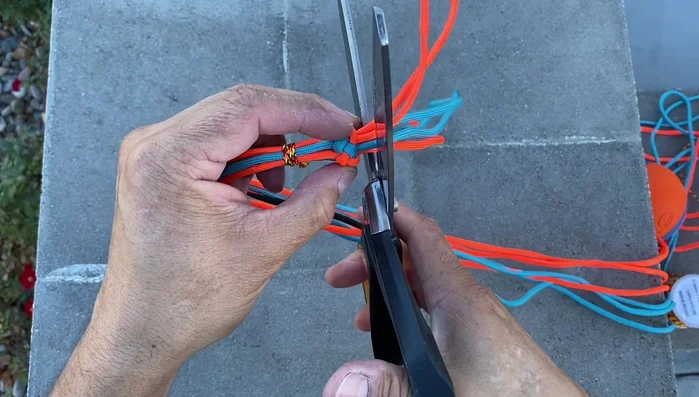
Form the Turks Head Knot Prepare for Ball Attachment
- Trim excess cord, leaving about 3/8 inch. Melt the ends together to form a bead.
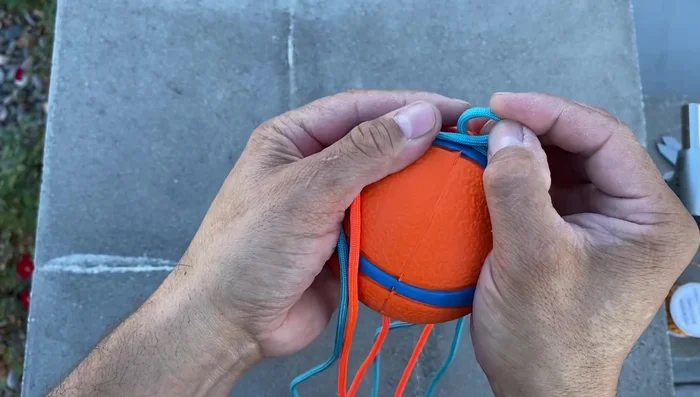
Prepare for Ball Attachment Attach to the Ball
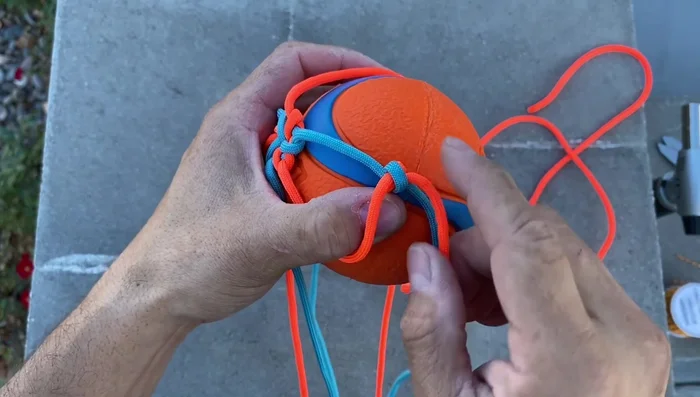
- Remove the center support. Invert the Turks Head knot and position it atop the ball, aligning with the seam.
Attach to the Ball Secure the Top of the Ball
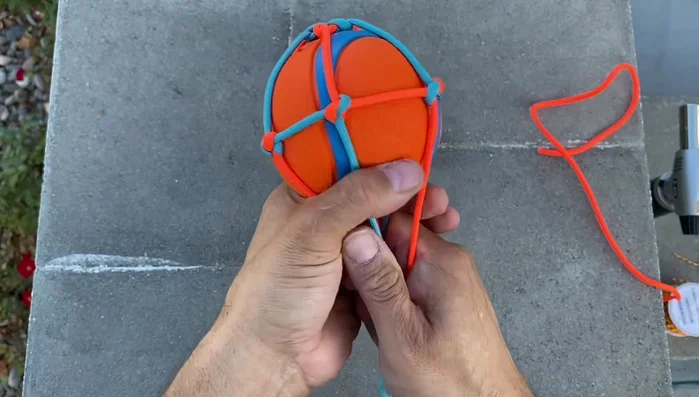
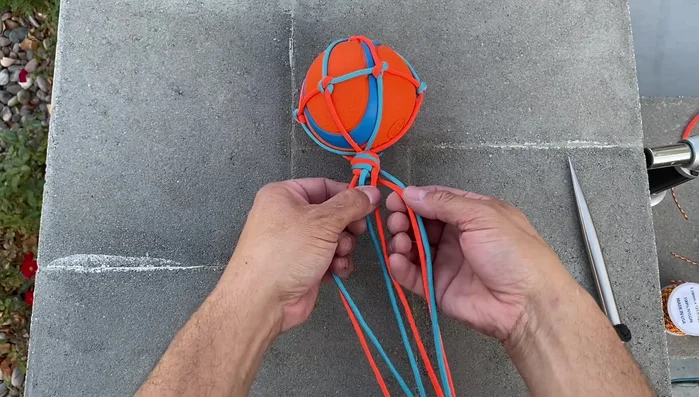
- Begin securing the knot to the ball by creating underhand knots around the ball's seam, alternating colors and tightening each knot.
- Continue alternating colors and tying underhand knots until you return to the starting point.
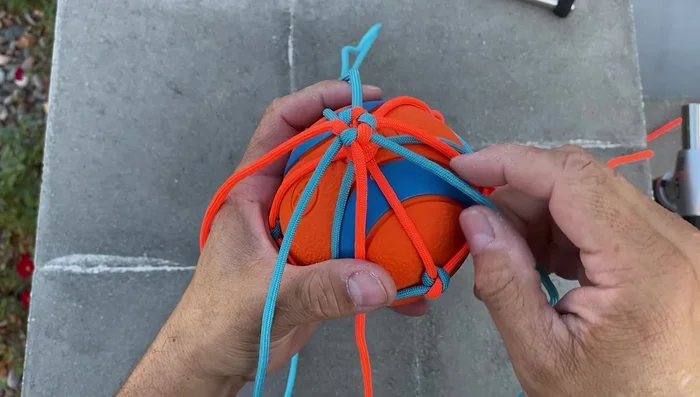
Secure the Top of the Ball Secure the Bottom of the Ball
- Create another collar at the bottom of the ball using the same method as the top, ensuring color alternation.
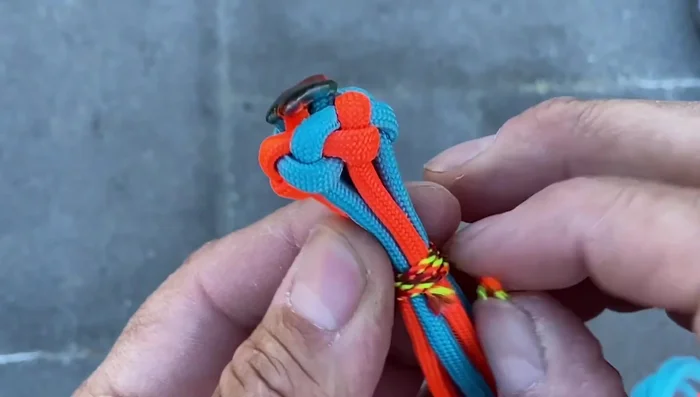
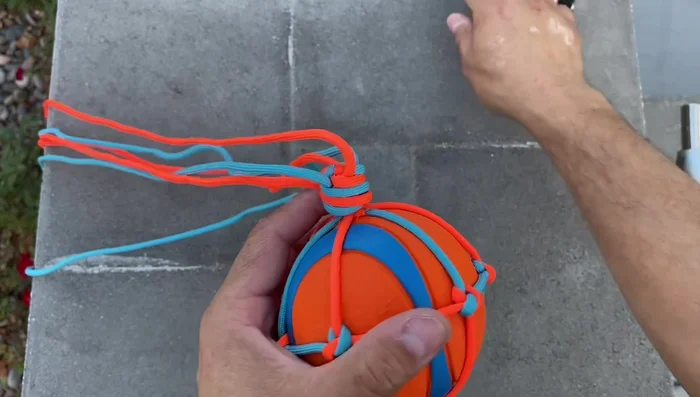
Secure the Bottom of the Ball Create the Matthew Walker Knot
- Using each cord individually, make overhand knots around the bottom collar, threading each knot under the previous loops to secure the Matthew Walker knot. Repeat this process until all strands are used.
Create the Matthew Walker Knot Refine the Matthew Walker Knot
- Carefully comb out any irregularities in the Matthew Walker knot using a Marlin Spike to ensure a clean, uniform appearance.
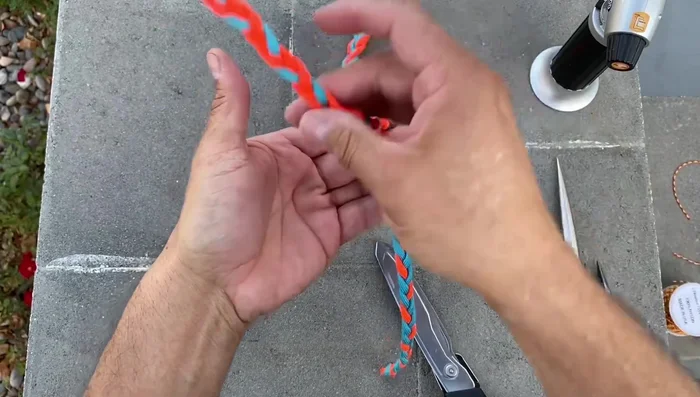
Refine the Matthew Walker Knot Braid and Finish the Tails
- Braid the remaining tails into a long, flat braid. Transition to individual braiding near the end.
- Create a Diamond Knot at the end of the braid to finish the rope.
Braid and Finish the Tails
Read more: How to Make a Tiny Loom Band Animal Toy (Rainbow Dog Tutorial)
Tips
- Melt the ends of your paracord to prevent fraying and make it easier to work with.
- Let the melted paracord fully solidify before handling to avoid burns.
- Adjust knot tightness as you go, ensuring a clean look and secure hold.
- Take your time and be patient, especially when creating the Matthew Walker knot.
- Comb out the Matthew Walker knot carefully to create a neat and even finish.