Spoil your furry friend with a cozy and stylish new retreat – a DIY pet teepee! Forget complicated sewing projects and frustrating instructions; this guide reveals a remarkably simple method for constructing a charming teepee using only readily available materials and the clever application of elastic bands. This isn't your grandma's teepee; it's a modern, quick, and budget-friendly solution that will leave your pet (and you!) utterly delighted. Imagine the adorable photos you'll capture of your pet snuggled inside their handmade haven!
This incredibly easy elastic band method bypasses the need for needles, thread, or any advanced crafting skills. With just a few simple steps and some basic supplies, you'll be amazed at how quickly you can transform ordinary materials into a personalized pet paradise. Ready to start creating? Let's dive into the step-by-step instructions and build your pet's new favorite sleeping spot!
Preparation and Safety Guidelines
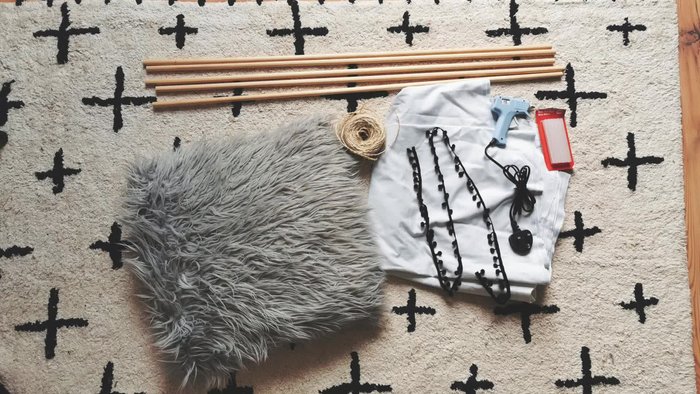
- Five wooden dowels
- Hot glue gun
- Hot glue sticks
- Cushions
- String
- Bedsheet
- Elastic band
- Pom-pom fringing
- Always supervise your pet when they are inside the teepee. Small parts or fabric could pose a choking hazard.
- Ensure the fabric used is pet-safe and non-toxic. Avoid materials that could irritate your pet's skin or be harmful if ingested.
- Securely attach the elastic bands to prevent the teepee from collapsing and potentially injuring your pet.
Step-by-Step Instructions
Gather Materials
- Gather five wooden dowels, hot glue gun, hot glue sticks, cushions, string, bedsheet, elastic band, and pom-pom fringing.

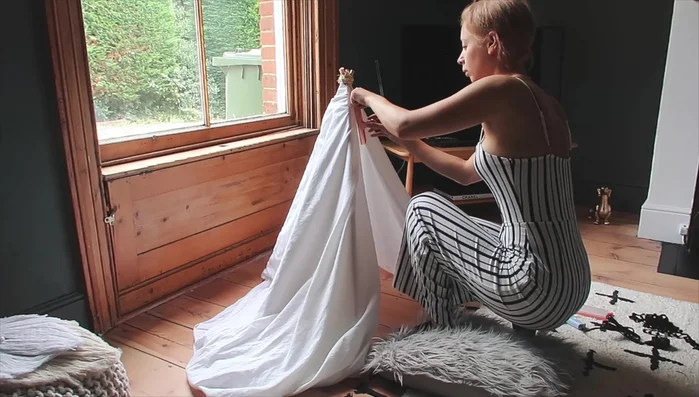
Gather Materials Create Teepee Frame
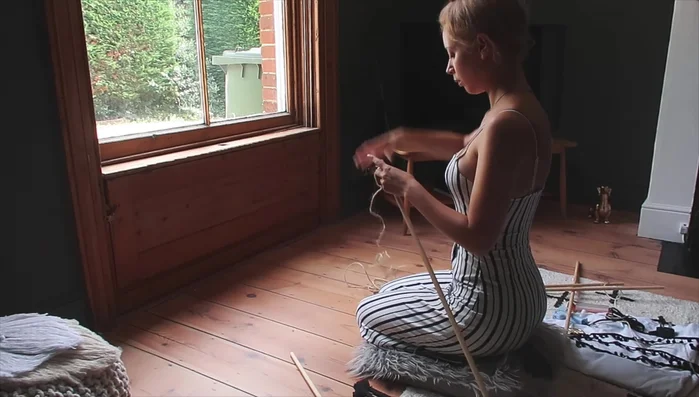
- Wrap elastic band around the dowels to create the teepee frame. This method is more effective than using rope alone.
- Wrap rope around the elastic band to hide it and add a decorative touch.
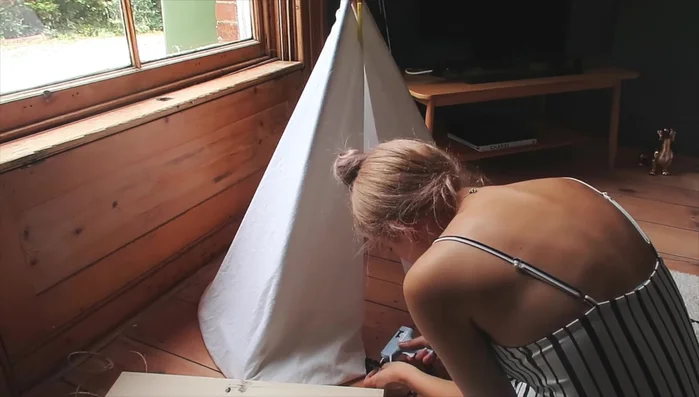
Create Teepee Frame Prepare and Attach Fabric
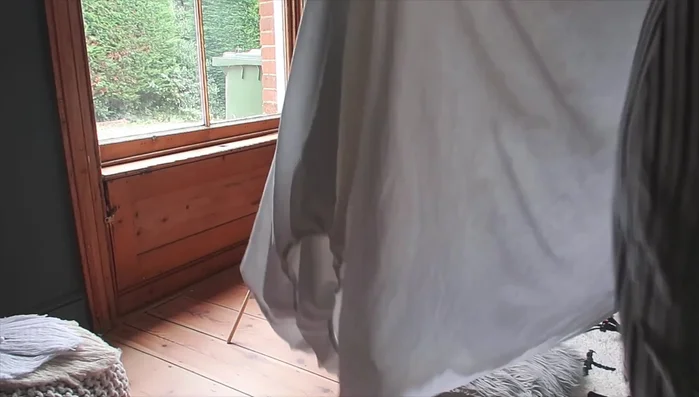
- Fold a double bedsheet in half, wrap it around the dowel frame, and gather it at the front. Secure with clips.
- Apply hot glue to the wooden dowels and press the fabric firmly to secure it. Repeat for all dowels.
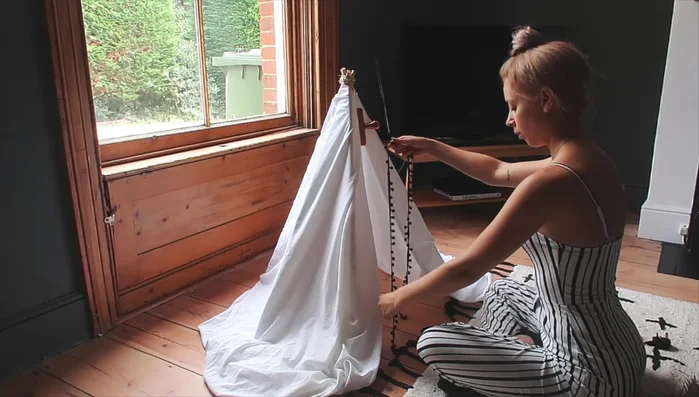
Prepare and Attach Fabric Prepare and Attach Fringing
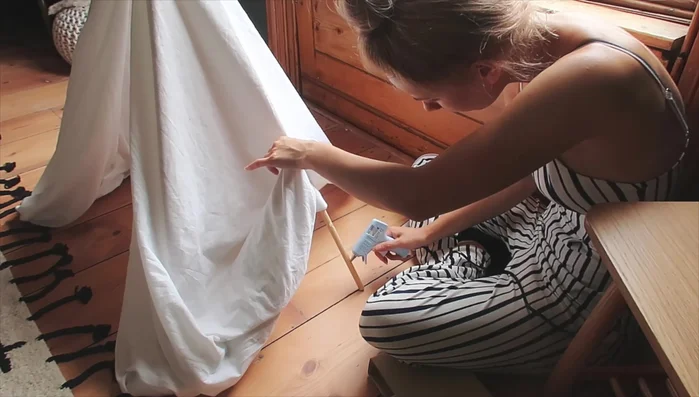
- Measure and mark the halfway point of the fringing. Attach a piece of string to indicate where to stop gluing.
- Fold under the edge of the fabric for a neater look. Hot glue the pom-pom fringing, starting from the bottom and working upwards, to ensure even coverage.
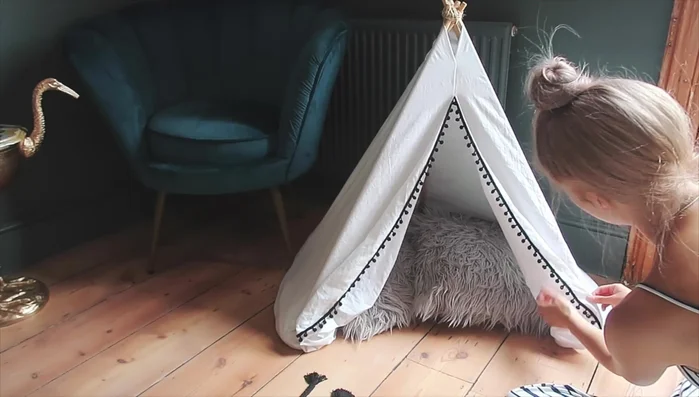
Prepare and Attach Fringing Finishing Touches
- Fold the remaining fabric under for a clean edge. Add more decorative elements as desired.
- Add ruching or other styling elements for a more open and appealing look.
Finishing Touches

Read more: DIY Cuddly Cat & Dog Bed: A Super-Warm, Easy Tutorial
Tips
- For larger pets, use longer dowels and a larger piece of fabric (king-sized bedsheet, for example).
- Experiment with different colors and fabrics for a unique look.