Tired of flimsy, ill-fitting harnesses that leave your canine companion uncomfortable? Ready to craft a durable, stylish, and uniquely personalized harness? Then you've come to the right place! This comprehensive tutorial will guide you through the process of creating a high-quality dog harness using the luxurious and resilient material: whiskey latigo leather. We'll explore the benefits of this exceptional leather, its unique properties that make it ideal for dog harnesses, and delve into the specific tools and techniques needed to ensure a perfect fit and lasting wear.
This project may seem daunting at first, but with clear instructions and a bit of patience, you'll be amazed at what you can achieve. From selecting the right leather and hardware to stitching the final seams, we’ll break down each step meticulously. Let's get started with the step-by-step instructions below, and soon your dog will be sporting a handcrafted harness made with love and lasting quality.
Preparation and Safety Guidelines
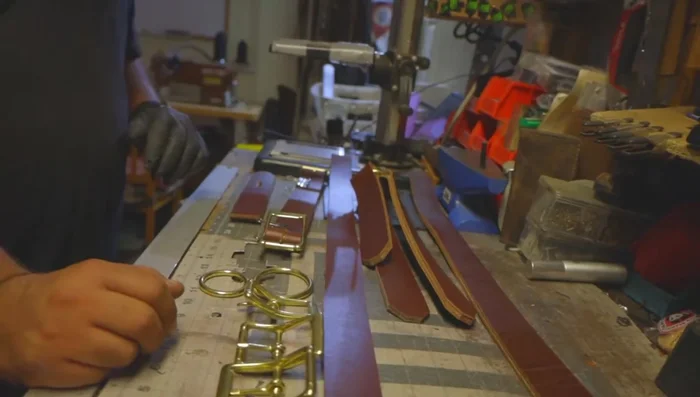
- Whiskey Latigo Leather (9-10 ounce)
- Solid Brass 150 Roller Buckles
- Stitching tools (needle, thread)
- Hole punch
- Measuring tools
- Always supervise your dog while wearing the harness. Regularly check for wear and tear and replace the harness immediately if any damage is found to prevent injury.
- Ensure the harness fits correctly. It should be snug but not restrictive, allowing your dog to breathe and move comfortably. Too tight or too loose can be dangerous.
- Whiskey latigo leather can be stiff initially. Condition the leather regularly to maintain its flexibility and prevent cracking, ensuring your dog's comfort and the harness's longevity.
Step-by-Step Instructions
Prepare Materials
- belly strap, shoulder straps, handle, chest plate straps, and back strap.

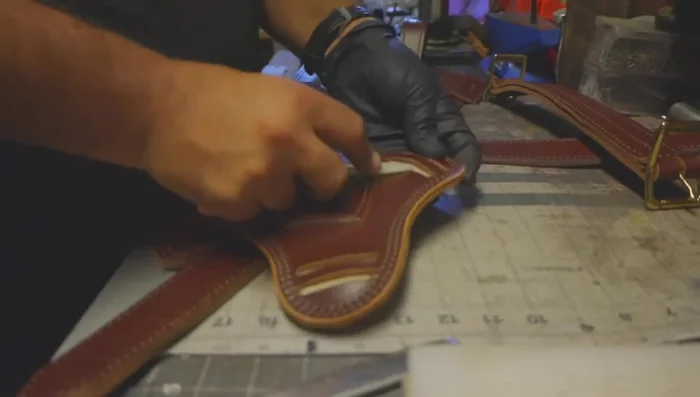
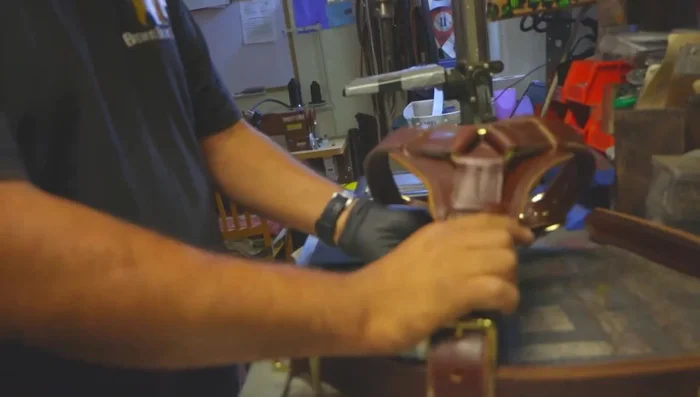
Prepare Materials Assemble and Stitch Chest Plate
- Assemble and stitch the chest plate straps to the chest plate.
Assemble and Stitch Chest Plate Stitch Remaining Straps
- Stitch the belly strap, handle straps, and back strap.
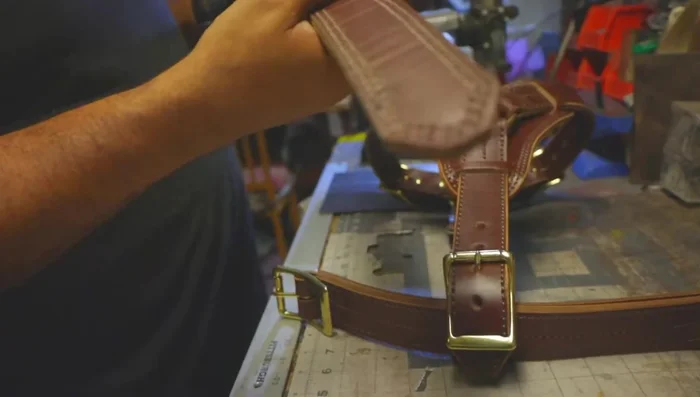
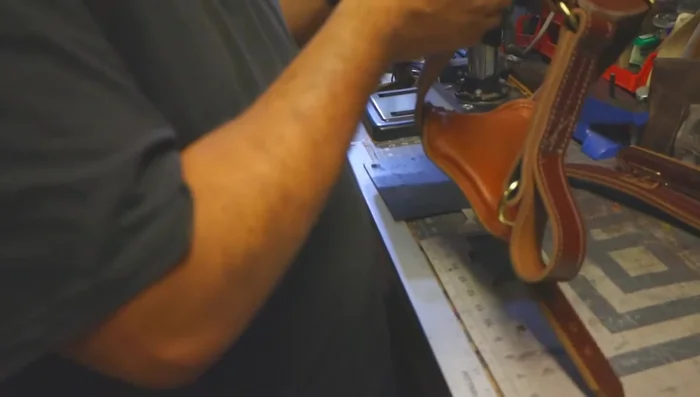
Stitch Remaining Straps Attach Buckles
- Attach buckles to the handle straps.
Attach Buckles Attach Chest Plate to Harness
- Attach the chest plate to the shoulder straps and belly strap.
Attach Chest Plate to Harness Prepare Belly Strap Attachment
- Punch holes in the belly strap for attachment.
Prepare Belly Strap Attachment Attach Belly Strap
- Attach the belly strap to the harness.
Attach Belly Strap Final Assembly and Quality Check
- Final assembly and inspection.
Final Assembly and Quality Check


Read more: DIY Studded Dog Collar with Reflective Piping: A Comprehensive Guide
Tips
- Use durable leather like 9-10 ounce whiskey latigo for strength and a nice patina.
- Use solid brass buckles for durability.
- Double stitch critical areas for added strength, especially on the back belly strap where significant tension is applied.
- Use two layers of leather for the back belly strap for extra durability.