Summer heat got you down? Beat the swelter with a deliciously refreshing treat that's both simple to make and incredibly satisfying: frozen watermelon delights! Forget expensive ice cream and complicated desserts; this recipe harnesses the natural sweetness and juicy goodness of watermelon to create a cool, healthy, and utterly addictive snack perfect for hot afternoons by the pool, picnics in the park, or simply a quiet moment at home. The vibrant color and delightful texture make it a treat both kids and adults will adore.
These frozen watermelon treats are far more than just frozen watermelon chunks; we'll elevate the experience with a few simple additions that transform this summer staple into a culinary masterpiece. Get ready to discover how effortlessly you can create a delightful, healthy, and incredibly refreshing dessert that's guaranteed to be a summer hit. Let's dive into the step-by-step instructions below and get started!
Preparation and Safety Guidelines
- Watermelon (seedless preferred)
- Blender
- Unsweetened Coconut Milk
- Honey (strawberry honey used in video)
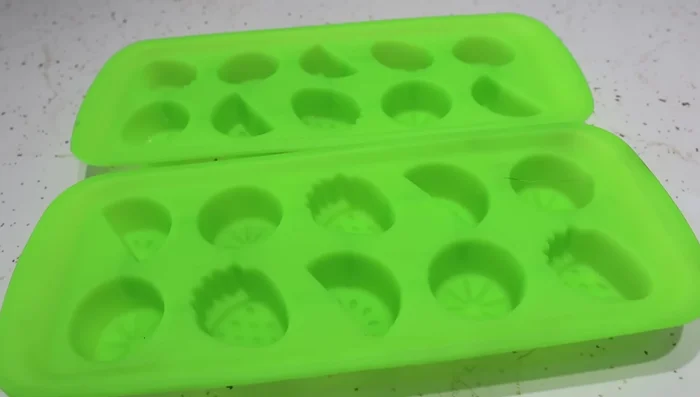
- Ice pop molds
- Cookie sheet
- Always wash the watermelon thoroughly before cutting and preparing it to remove any surface bacteria.
- Ensure the watermelon is completely dry before freezing to prevent ice crystal formation which can affect texture.
- If adding any other ingredients (like lime juice or mint), make sure they are fresh and of high quality to avoid spoilage.
Step-by-Step Instructions
Prepare Watermelon
- Cut the watermelon in half.
- Scoop out about two cups of watermelon and blend it into a puree.

Prepare Watermelon Add Liquids & Sweetener
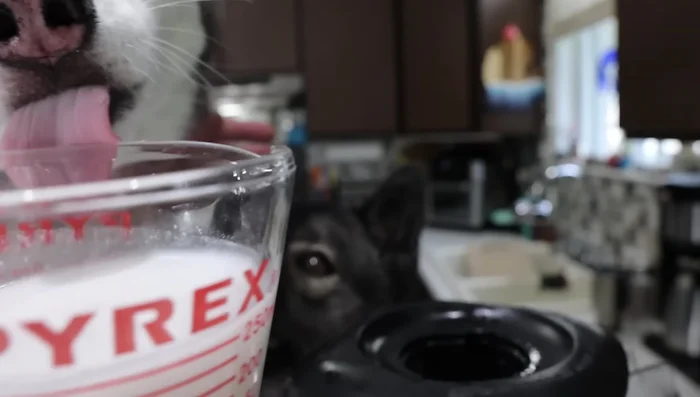
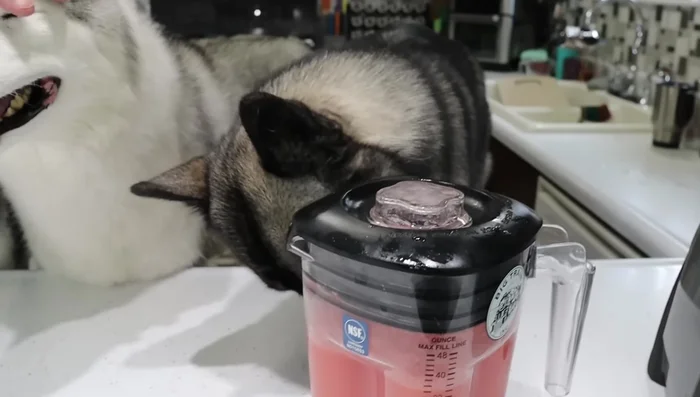
- Add unsweetened coconut milk (approximately 16 ounces or 2 cups).
- Add honey (about a quarter cup or less).
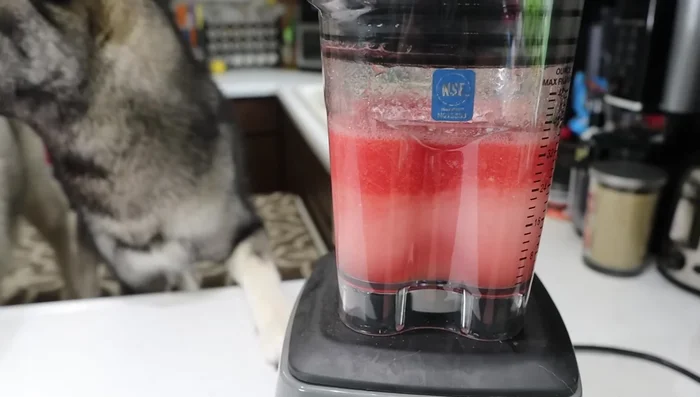
Add Liquids & Sweetener Blend
- Blend all ingredients together.
Blend Fill Molds
- Pour the mixture into ice pop molds, avoiding overfilling.
Fill Molds Freeze
- Freeze overnight (or at least 6 hours).
Freeze
Read more: Easy Homemade Cranberry Dog Treats: A Simple & Cheap Recipe
Tips
- If you don't have seedless watermelon, remove the seeds before blending.
- Unsweetened coconut milk is preferred to control sweetness. You can omit it entirely if desired.
- The honey is optional. Adjust the amount according to your preference.
- Place the molds on a cookie sheet for easier freezer management.
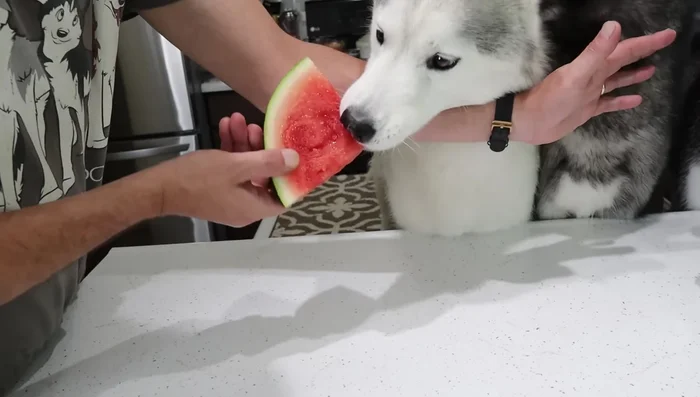
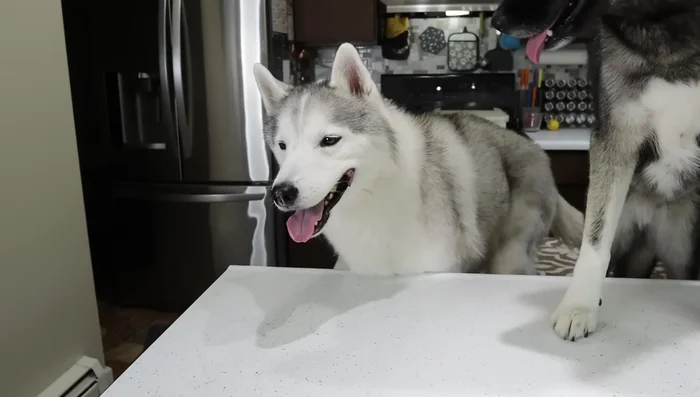
- This is a treat, not a meal replacement. Feed your pets responsibly.