Spoiling your feline friend doesn't have to break the bank or compromise their health. Many commercially available cat treats are filled with artificial ingredients and preservatives that can be detrimental to your cat's well-being. Fortunately, creating delicious and nutritious homemade cat treats is easier than you might think! This simple recipe uses only natural, readily available ingredients, offering a budget-friendly alternative to store-bought options while ensuring your cat enjoys a healthy and delightful snack. You'll be amazed at how much your cat appreciates these lovingly prepared treats, and you'll feel good knowing exactly what's going into them.
Forget expensive, questionable ingredients – prepare to discover the joy of crafting 100% natural cat treats tailored to your cat's preferences. This recipe requires minimal preparation time and utilizes common pantry staples, making it perfect for busy pet owners. Ready to get started on these purr-fectly delicious and healthy treats? Let's dive into the simple, step-by-step process!
Preparation and Safety Guidelines
- Frying pan
- Pot
- Grinder (optional)
- Spoons
- Never use xylitol or chocolate in cat treats. These are extremely toxic to cats and can be fatal.
- Introduce new treats gradually to monitor for any allergic reactions. Watch for vomiting, diarrhea, or skin irritation.
- Store homemade treats in an airtight container in the refrigerator to maintain freshness and prevent spoilage.
Step-by-Step Instructions
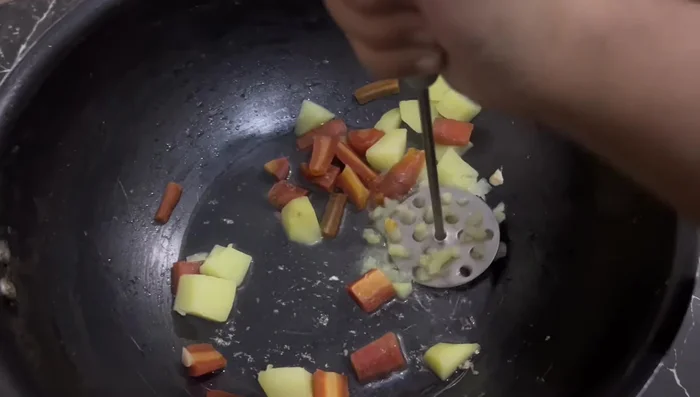
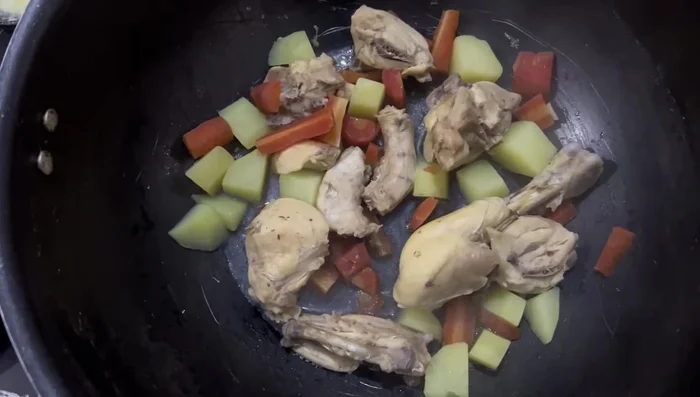
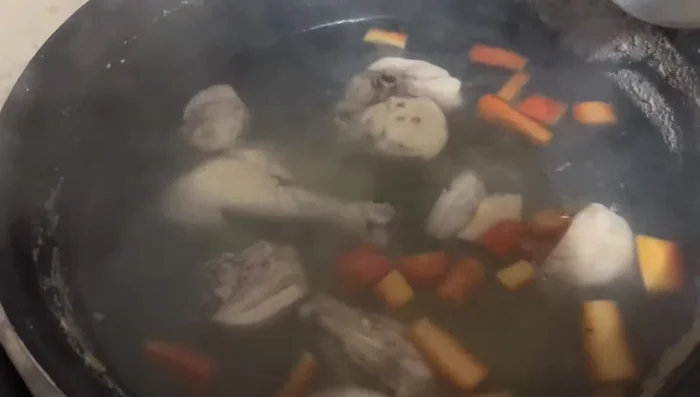
Boil Vegetables and Chicken
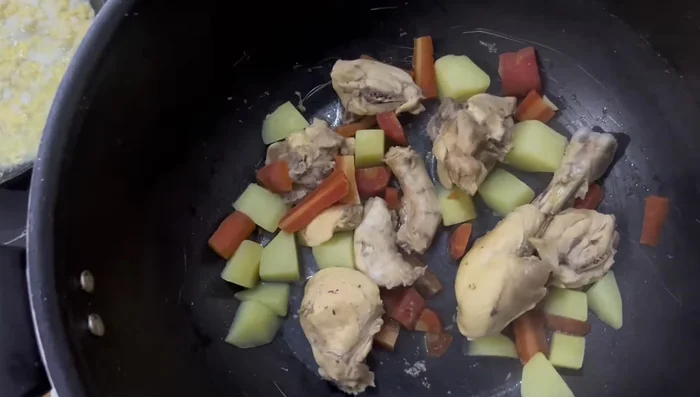
- Boil chicken, potatoes, and carrots until tender and oil separates from the water. Reserve the broth (yakhni).

Boil Vegetables and Chicken Cook Eggs
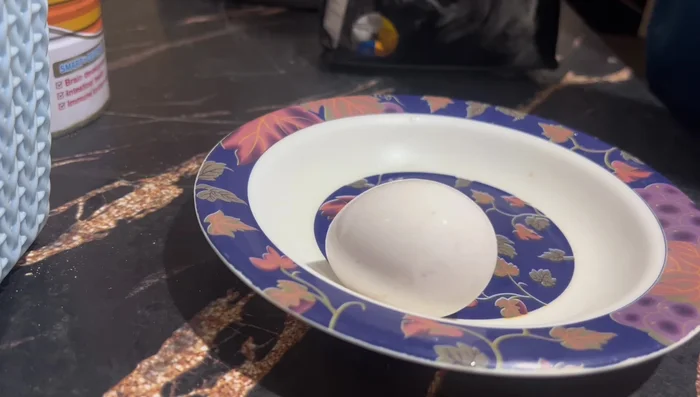
- In a separate pan, gently cook eggs in a small amount of water until set. Do not use oil or butter.
Cook Eggs Soften Biscuits
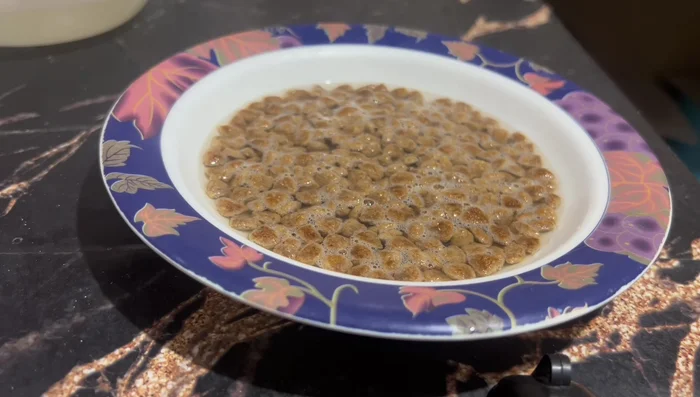
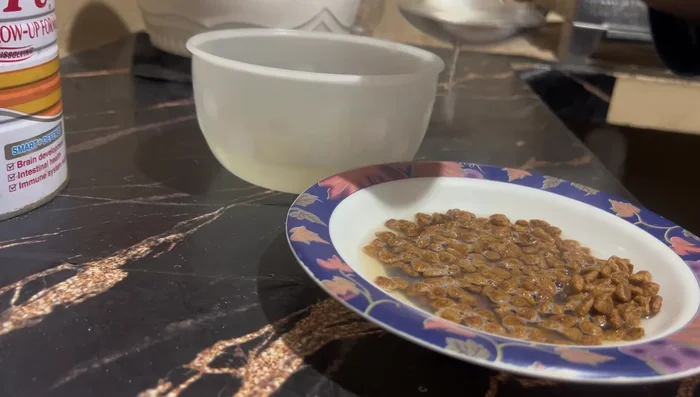
- Soften cat biscuits by adding the reserved broth (yakhni). Allow them to sit for 5-10 minutes to absorb the liquid.
Soften Biscuits Mash Vegetables and Biscuits
- Mash the boiled potatoes, carrots, and softened biscuits thoroughly. You can use a food processor or mash by hand.
Mash Vegetables and Biscuits Combine Ingredients
- Add the cooked eggs and any additional dry cat food to the mixture. Mash until well combined and a smooth paste forms.
- Shred the cooked chicken and add it to the mixture. Mix thoroughly.
Combine Ingredients Store Treats
- Store the homemade treats in an airtight container in the refrigerator. Reheat before serving.
Store Treats
Read more: Homemade Chicken Broth for Healthy Cats: Boost Immunity & Recovery
Tips
- If your cat is hesitant to try new foods, gradually introduce the homemade treats by mixing them with their usual food.
- Don't overload the treats with biscuits. Start with 3-4 spoons and adjust according to your cat's appetite.
- Carefully remove any eggshell fragments before mixing into the treats.
- The reserved broth (yakhni) can be used separately as a tasty supplement or mixed with dry food.
- Boiling the vegetables and chicken thoroughly makes them easier to mash and more palatable for cats.