Spoil your furry friend with the delightful taste of homemade gourmet chicken liver treats! These nutritious and delicious snacks are far healthier than many store-bought options, packed with protein and essential vitamins, making them a guilt-free indulgence your dog will adore. Forget expensive, preservative-laden alternatives; creating these treats is surprisingly simple, requiring minimal ingredients and even less time. They’re the perfect reward for good behaviour or a tasty addition to their daily meals.
Chicken livers are a fantastic source of iron and vitamin A, offering a boost to your dog's overall health. This recipe avoids unnecessary additives and focuses on delivering a pure, wholesome treat. Ready to get started whipping up a batch of these irresistible goodies? Let's dive into the step-by-step instructions below.
Preparation and Safety Guidelines
- Nonstick pan
- Handheld blender (or similar)
- Mixing bowl
- Spoon or spatula
- Always cook chicken livers thoroughly to eliminate harmful bacteria like Salmonella. Ensure the internal temperature reaches at least 165°F (74°C).
- Introduce new treats gradually to monitor your dog for any allergic reactions or digestive upset. Start with a small amount and observe for 24 hours.
- Chicken livers are rich in Vitamin A. Feeding excessive amounts can lead to Vitamin A toxicity. Use this recipe as an occasional treat, not a staple in your dog's diet.
Step-by-Step Instructions
Gather Ingredients and Supplies
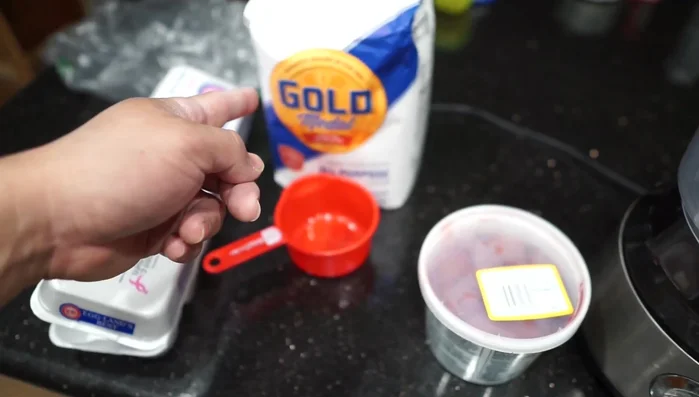
- 1 lb chicken liver, 1 egg, 1 cup flour (wheat or white), olive oil.
- Purchase chicken liver at the store. Use a produce bag to prevent leakage.

Gather Ingredients and Supplies Prepare the Liver
- Blend chicken liver until smooth.
Prepare the Liver Mix the Batter
- In a bowl, mix blended liver, egg, and flour until a batter forms.
Mix the Batter Cook the Treats
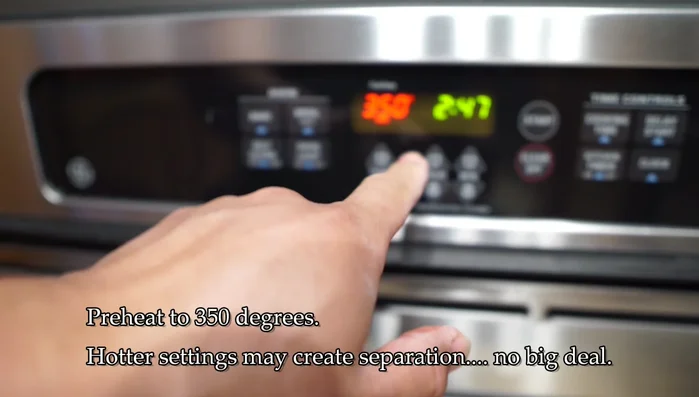
- Pour batter onto a hot nonstick pan.
- Cook until the treats are flat and cooked through. Adjust cooking time as needed.
Cook the Treats


Read more: Easy Homemade Cranberry Dog Treats: A Simple & Cheap Recipe
Tips
- Use a produce bag to carry the chicken liver to prevent messy spills.
- Brown flour is preferred, but white flour works as a substitute.