Ever dreamt of transforming your feline friend into a miniature medieval knight or mischievous court jester? Now you can, with this easy-to-follow DIY tutorial for creating a charming medieval cat hood! Forget expensive, ill-fitting pet costumes; this project uses readily available materials and a simple pattern, making it perfect for crafters of all skill levels. Imagine your cat strutting around in their own personalized headwear, a tiny, furry sovereign surveying their kingdom (or, more likely, their favourite sunbeam). This adorable accessory is sure to bring a touch of whimsical medieval flair to your home and plenty of amused glances from your friends.
This DIY project requires minimal sewing skills and only a few basic supplies, making it a fun and rewarding weekend activity. We'll guide you through each step of the process, from creating the pattern and cutting the fabric to the final stitching and embellishments. Ready to get started on creating your cat's very own medieval masterpiece? Let's dive into the step-by-step instructions!
Preparation and Safety Guidelines
- Burgundy wool flannel
- Blue linen
- Metal buttons
- Yarn
- Sewing machine
- Iron
- Ironing board
- Scissors
- Pins
- Measuring tape
- Always supervise young children during crafting and ensure they do not put the hood or any materials in their mouths. Small parts pose a choking hazard.
- Use fabric scissors and avoid sharp tools near children. Adult supervision is essential.
- Ensure the hood fits comfortably and does not restrict your cat's breathing or movement. Never leave a cat unattended while wearing the hood.
Step-by-Step Instructions
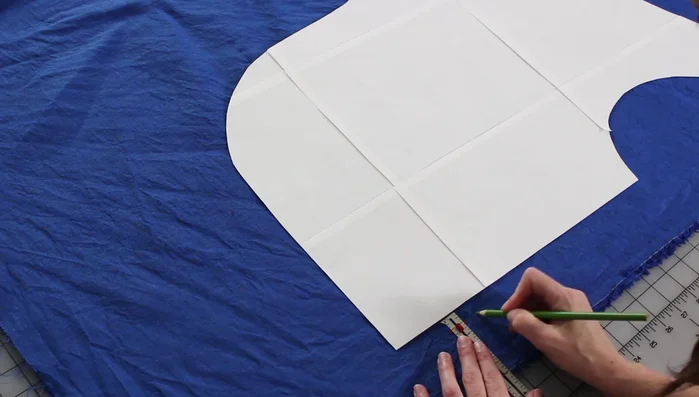
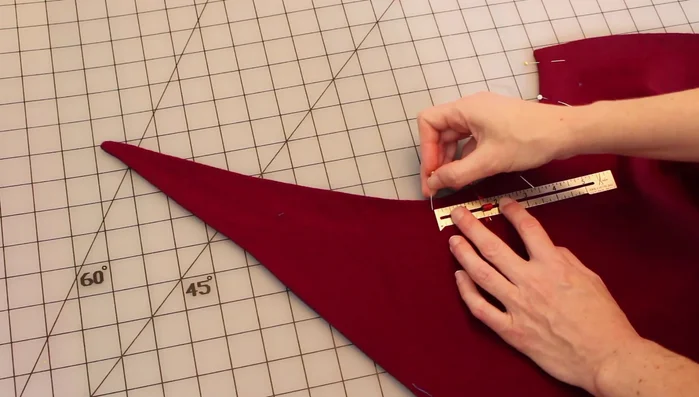
Prepare Pattern Pieces
- Cut out pattern pieces (adding seam allowance - 0.5 inch recommended). Mark ear placement.

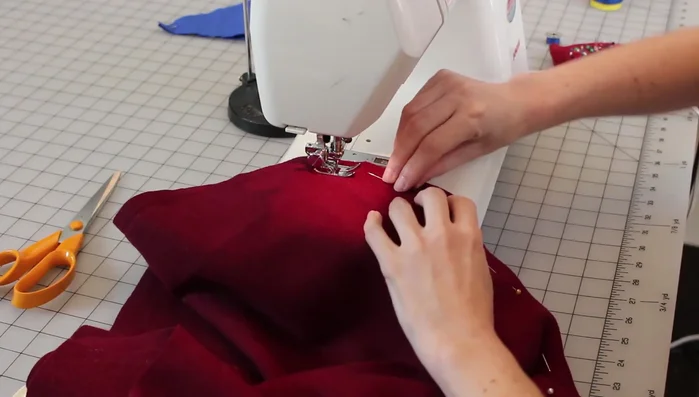
Prepare Pattern Pieces Assemble Hood Body
- Sew left and right sides of hood body pieces together for both lining and outer fabric. Iron seams.
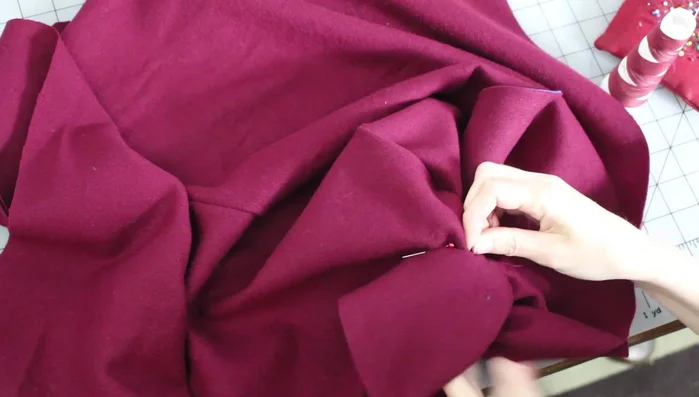
Assemble Hood Body Create and Attach Ears
- Sew ear lining to ear outer fabric. Clip corners and turn right side out. Slip stitch raw edges.
- Hand sew ears onto the hood, matching placement lines.
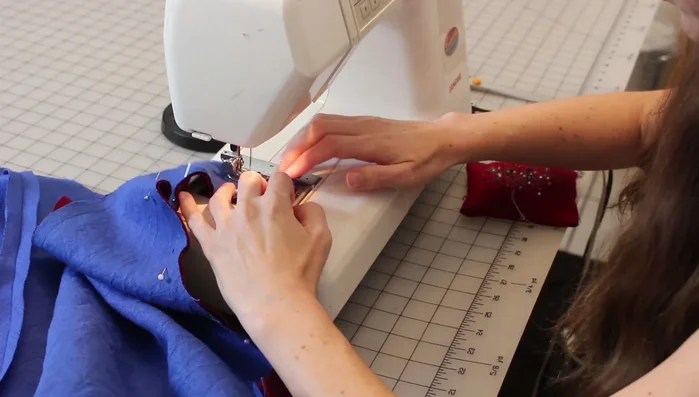
Create and Attach Ears Join Outer and Lining Fabrics
- Sew outer and lining fabrics together, leaving a small opening for turning. Clip curves, turn right side out, and slip stitch opening closed.
Join Outer and Lining Fabrics Add Fastenings
- Mark and sew buttonholes along the front edge. Attach buttons.
Add Fastenings Add Tassels
- Make tassels (or use pre-made ones) and attach to hood points.
Add Tassels

Read more: No-Sew DIY Pet Tank Top: Easy Leggings Upcycle!
Tips
- If using a larger hood size or smaller fabric width, piece the back of the hood.
- Iron each seam after sewing for a cleaner finish.
- Consider interfacing for better stability, especially with wool and linen.
- Hand stitching provides a nice clean finish for ears and button placement.
- Leave an opening for turning along a straight edge for easier closure.