Spoiling your furry friend with delicious and healthy treats is a joy every pet owner understands. But who has the time (or the desire) to spend hours in the kitchen baking? Fortunately, you don't need an oven to create irresistible, nutritious treats your dog will adore! This recipe focuses on simple, wholesome ingredients, eliminating the need for baking while maximizing the goodness. We're talking naturally delicious snacks that are gentle on sensitive stomachs and packed with the nutrients your canine companion needs to thrive. Forget expensive store-bought options filled with questionable additives – you can create better, healthier treats right in your own kitchen.
These no-bake dog treats are a game-changer, combining ease of preparation with impressive results. Using ingredients you likely already have in your pantry, you’ll be surprised how quickly you can whip up a batch. Ready to get started making these healthy and homemade goodies? Let's dive into the step-by-step process below!
Preparation and Safety Guidelines
- Measuring cups
- Measuring spoons
- Mixing bowl
- Spoon
- Wax paper or parchment paper
- Refrigerator
- Food processor (optional, for oat flour)
- Always supervise your dog when giving them treats, especially new ones. Choking hazards can occur with any treat, regardless of texture.
- Avoid using xylitol, chocolate, onions, garlic, grapes, raisins, macadamia nuts, or avocado in any dog treats. These are toxic to dogs.
- Introduce new treats gradually to monitor for any allergic reactions or digestive upset. Start with a small amount and observe your dog for a few hours.
Step-by-Step Instructions
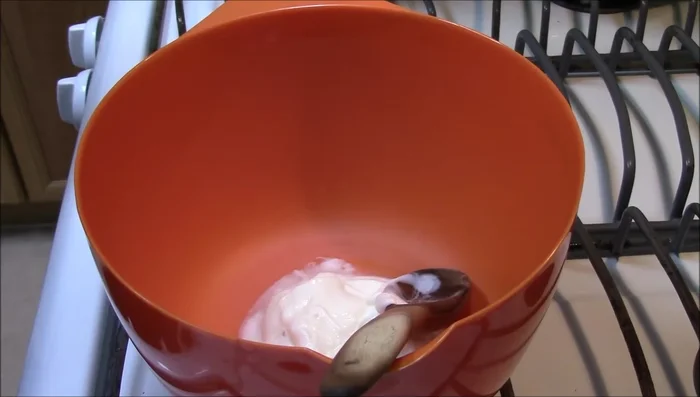
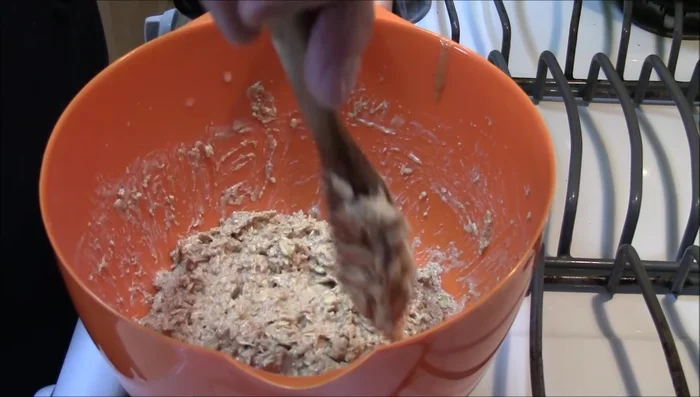
Combine Wet Ingredients
- Combine Greek yogurt, flax meal, black pepper, ginger, and cinnamon.
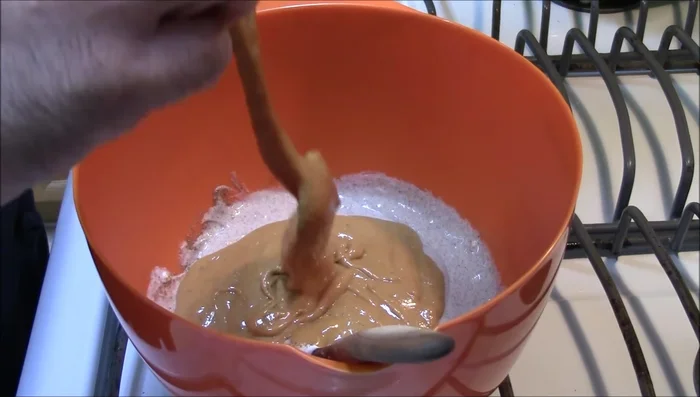
- Stir in peanut butter until well combined.

Combine Wet Ingredients Add Dry Ingredients
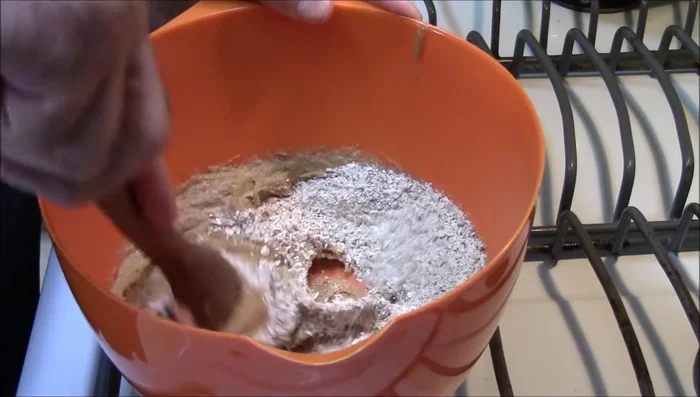
- Gradually add oat flour, mixing until a thick paste forms. Add water as needed to achieve desired consistency.
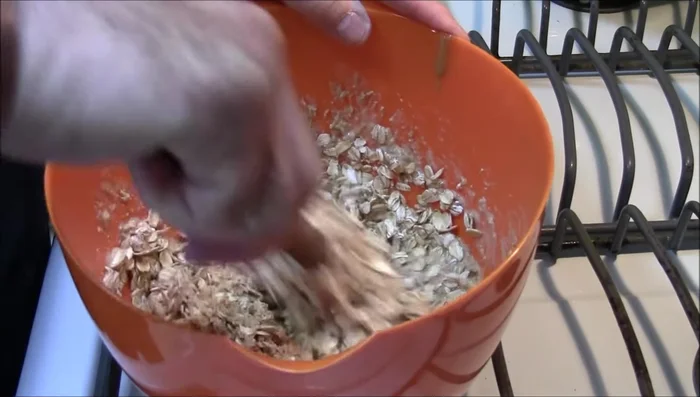
- Stir in whole oats.
Add Dry Ingredients Chill the Mixture
- Refrigerate the mixture for 1-2 hours to allow the oats to absorb moisture and thicken the mixture.
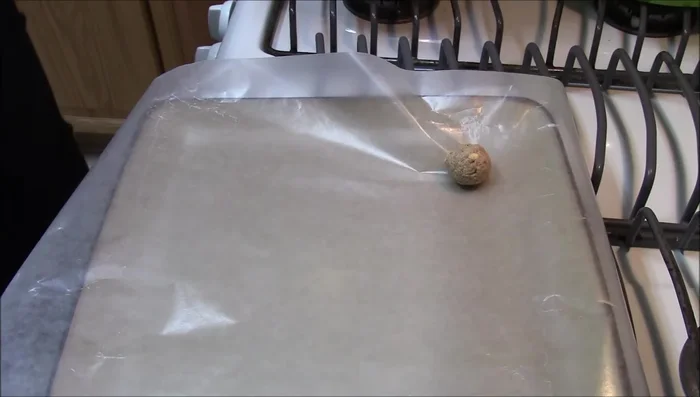
Chill the Mixture Shape the Treats
- Roll the chilled mixture into small balls using damp hands. Place them on wax paper or parchment paper.
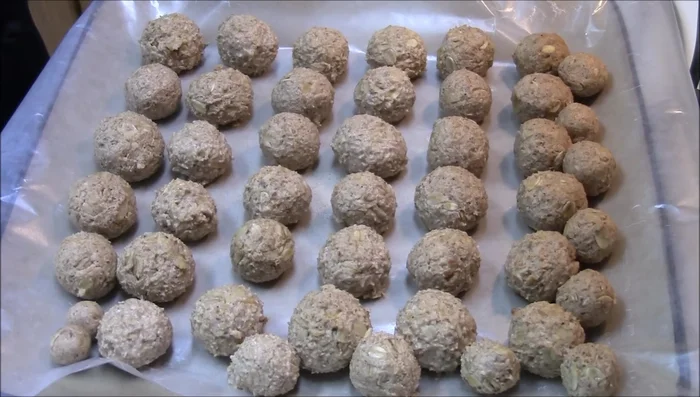
Shape the Treats Harden the Treats
- Refrigerate or freeze the treats until hardened.
Harden the Treats
Read more: Easy Homemade Cranberry Dog Treats: A Simple & Cheap Recipe
Tips
- Use organic ingredients whenever possible to avoid harmful additives.
- Adjust the amount of water to achieve a paste-like consistency.
- Consider breaking larger treats into smaller pieces for smaller dogs.
- Store treats in the freezer, thawing as needed. Layer with wax paper to prevent sticking.
- Monitor your dog's calorie intake, especially if giving multiple treats.