Losing your dog is a terrifying experience, and ensuring they can be quickly identified is crucial. While shock collars remain a controversial training tool for some, many dog owners utilize them for managing behavioral issues. If you're one of them, having your dog properly identified is paramount, even when using a shock collar. A missing dog, regardless of training methods, is a stressful situation that proper identification can help alleviate. Attaching ID tags to your dog's shock collar adds an extra layer of security, ensuring your pet's safe return if they ever become separated from you.
This is especially important as a standard collar might come off, leaving your dog without crucial identification information. This step-by-step guide will walk you through the process of securely attaching ID tags to your dog's shock collar, ensuring your pet's information is readily available, even in unexpected circumstances. Let's get started!
Preparation and Safety Guidelines
- Hammer
- Pliers
- Screwdriver
- Putty knife (optional)
- New name tags with rivets
- New collars
- Ensure the ID tags are securely attached to prevent them from detaching and getting lost. Use strong, appropriately sized split rings or a durable tag holder.
- Avoid attaching heavy or bulky tags that could interfere with the collar's functionality or cause discomfort to your dog. Keep the overall weight light.
- Regularly check the attachment of the ID tags to ensure they remain securely fastened and haven't become damaged or loosened.
Step-by-Step Instructions
Prepare the Shock Collar
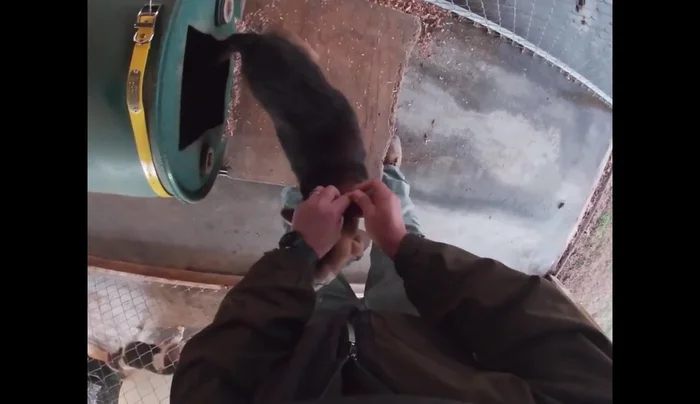
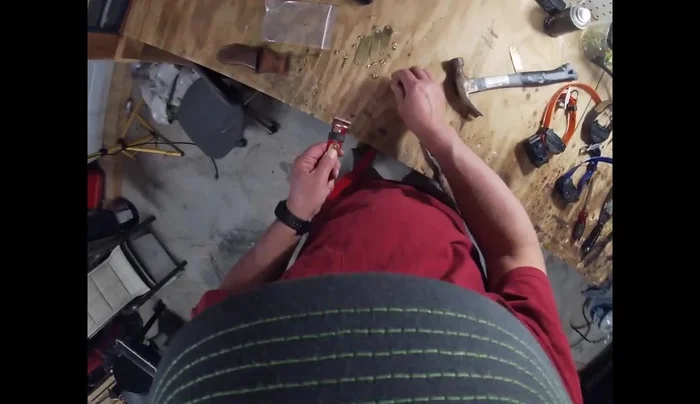
- Remove old collars and name tags from the shock collars.

Prepare the Shock Collar Attach the First Rivet
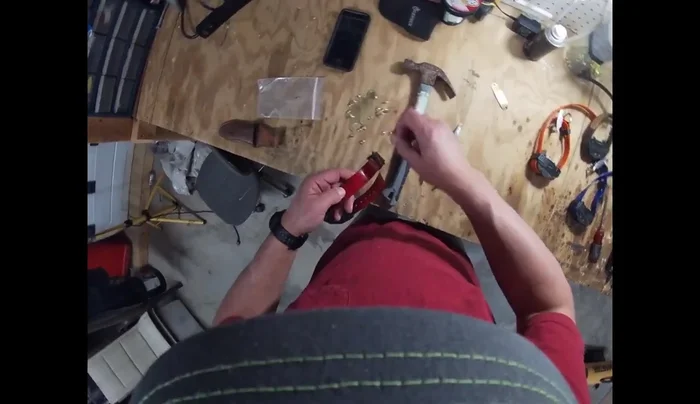
- Align the new name tag with the holes on the shock collar.
- Insert the rivet through the holes in the name tag and collar.
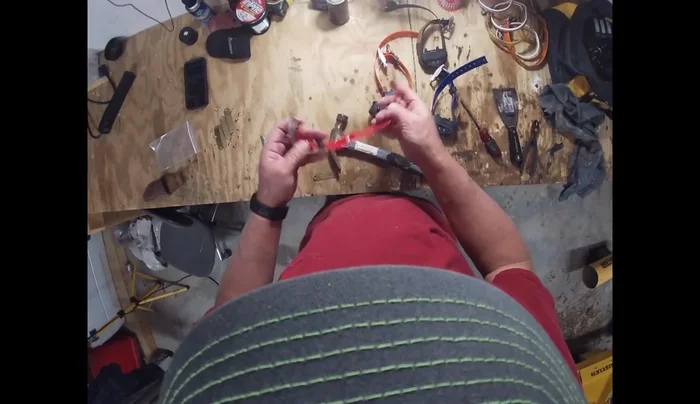
- Using a hammer and potentially pliers, firmly secure the rivet by flattening it on the underside of the collar. Ensure the name and phone number are facing outwards.
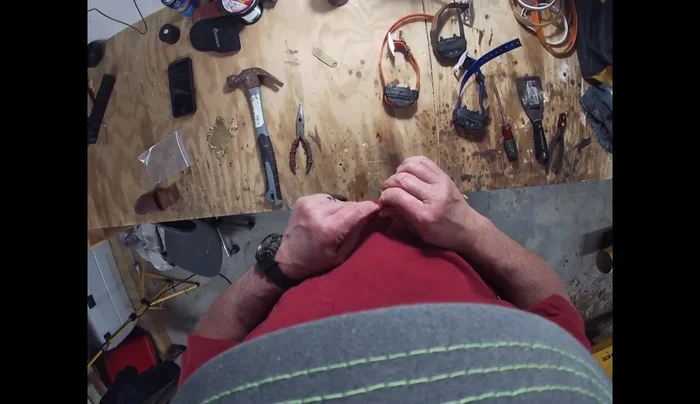
Attach the First Rivet Attach the Second Rivet
- Repeat steps 2-4 for the second rivet on the name tag.
Attach the Second Rivet Attach the Receiver
- Attach the receiver to the collar, ensuring the light faces the dog’s face.
Attach the Receiver
Read more: DIY Studded Dog Collar with Reflective Piping: A Comprehensive Guide
Tips
- Don't attach the name tag to the buckle side of the receiver, as the tag won't fit through the slots.
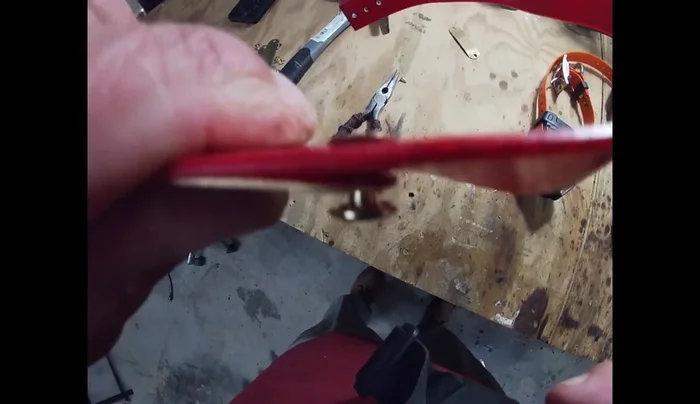
- Ensure the name and phone number are on the top side of the collar.
- If the name tag is too long, trim it with scissors to prevent your dog from chewing and swallowing the plastic.
- Consider the size of your dog's neck when choosing collar sizes; you need enough space but not excessively loose.
- Position the receiver so that it's always facing the way you prefer to handle the shock collar.