Looking for a fun and rewarding craft project that results in a charming, personalized gift? Then look no further! This easy beaded dog keychain tutorial is perfect for beginners and experienced crafters alike. Whether you want to create a cute pup to adorn your own keys or make adorable gifts for friends and family, this project is simple, affordable, and offers endless customization possibilities. You can choose from a variety of bead colors and styles to create a unique doggy companion reflecting your own style or the personality of the recipient.
Imagine the satisfaction of crafting your own adorable beaded dog, ready to hang proudly from your keys or bag. This step-by-step tutorial will guide you through each stage of the process, from selecting your materials to finishing your furry friend with a secure keyring. Get ready to unleash your creativity and learn how to make these delightful beaded dog keychains!
Preparation and Safety Guidelines
- String (approx. 3-4 feet)
- Keychain ring
- 35 white beads
- 14 brown beads
- 3 black beads
- Small beads pose a choking hazard to pets and children. Keep finished keychains out of reach of anyone who might put them in their mouth.
- Use strong, beading wire or cord to prevent the keychain from easily breaking apart. Ensure the knot is secure to avoid beads scattering.
- Always supervise children during the crafting process to prevent accidental ingestion of beads or injury from sharp tools.
Step-by-Step Instructions
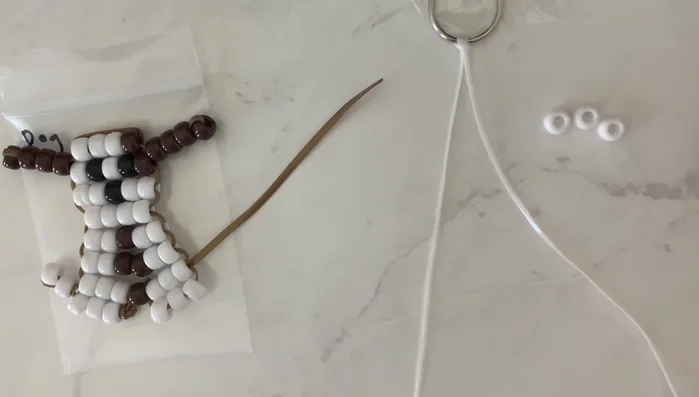
Prepare Keychain Loop
- Tie a loop at one end of the string, and thread the keychain ring through the loop. Tighten securely, optionally using tape to hold the ring in place while you work.

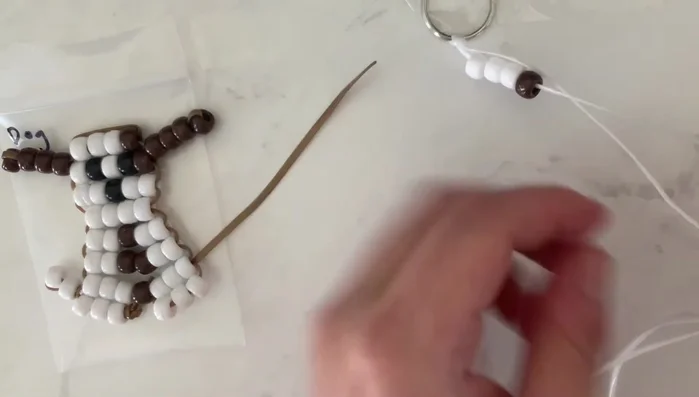
Prepare Keychain Loop Create First Row
- String three white beads and one brown bead onto one end of your string.
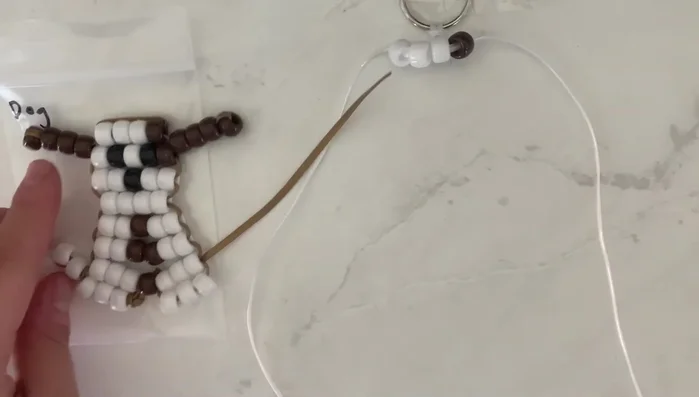
- Thread the other end of your string (without beads) through the beads of the first row, ensuring both strings run through each bead. This creates a horizontal row.
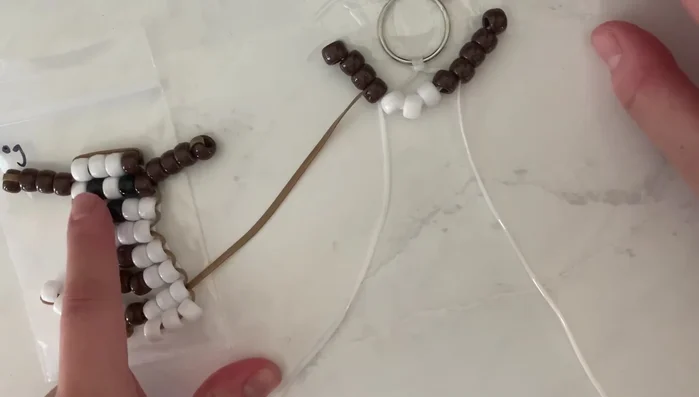
Create First Row Create Ears
- For each ear, string three brown beads onto one string. Thread the same string through the *other* three beads on the string, creating a loop. Repeat for the second ear.
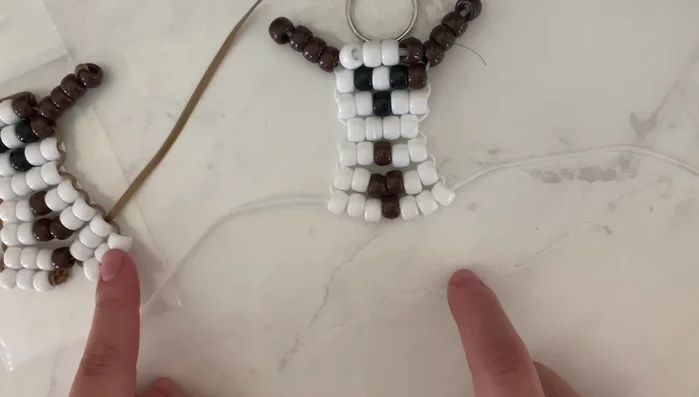
Create Ears Add Body Rows
- Follow the specified bead patterns for each row (refer to the video for the exact sequence). For each row, string the beads onto one string and then thread the second string through the beads in the opposite direction, creating a secure and stable structure.
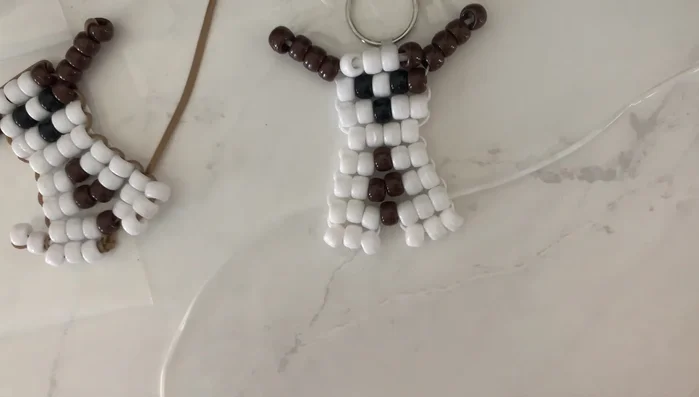
Add Body Rows Create Paws
- String three white beads onto one string for each paw. Instead of using the second string, thread the same string back through the last three beads to create a small loop for each paw.
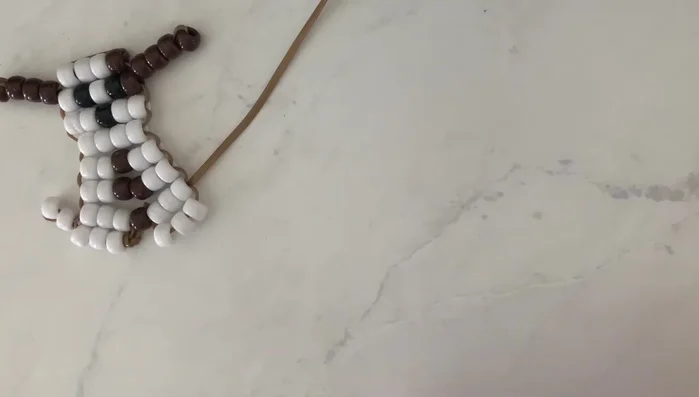
Create Paws Create Tail and Finish
- String two white beads onto one string. Thread the string through only *one* of the beads, creating a small loop. Tie off the remaining strings securely to complete the keychain.
Create Tail and Finish
Read more: DIY Studded Dog Collar with Reflective Piping: A Comprehensive Guide
Tips
- Don't be afraid to get creative with bead colors!
- Using tape to secure the keychain ring makes the initial steps easier.
- It's not crucial to have perfect bead placement at the beginning; the structure will tighten as you add more rows.
- When adding rows, ensure that both strings pass through all beads to prevent beads from coming loose.
- Take your time and carefully thread each bead to avoid mistakes.