Sewing your own children's clothes can be a rewarding experience, allowing you to create unique and personalized outfits while saving money. This project is perfect for beginners, offering a fun and achievable introduction to the world of garment construction. We're going to embark on a delightful journey of creating an adorable frog dress – a whimsical and charming piece that’s sure to become a favorite in your little one's wardrobe. This simple design minimizes complex techniques, focusing instead on fundamental sewing skills like straight stitching and simple finishing. The result is a charming dress, perfect for summer playtime or special occasions.
This beginner-friendly guide will walk you through each step of the process, using clear instructions and helpful illustrations to ensure even the most novice sewer feels confident and capable. Ready to hop into this creative project? Let's begin with the materials list and then dive into the detailed, step-by-step instructions for sewing your very own frog dress!
Preparation and Safety Guidelines
- sewing machine
- serger
- safety pins
- fabric scissors
- measuring tape
- Always supervise young children around sewing machines and sharp objects like needles and scissors.
- Use a blunt-tipped needle to avoid accidental pokes and injuries, especially when working with children.
- Choose fabrics appropriate for children's clothing – soft, breathable materials are best to avoid skin irritation.
Step-by-Step Instructions
Prepare Bodice and Sleeves
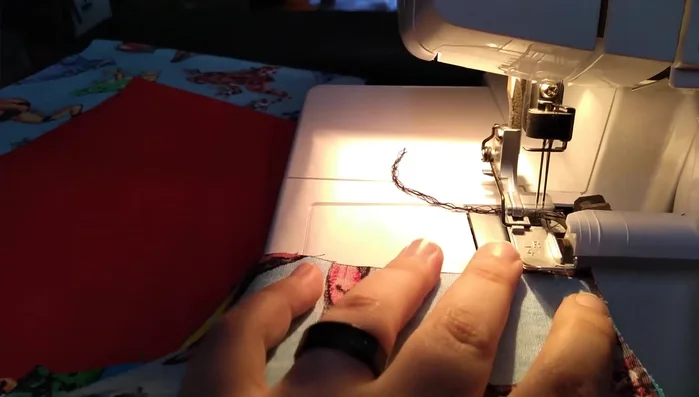
- Attach sleeves to bodice using a serger.
- Create casings for elastic on neckline and armholes. A straight seam (after sleeves are attached) makes casing much easier.

Prepare Bodice and Sleeves Prepare Skirt
- Baste the top layer of each skirt tier for gathering.
- Gather the basted skirt tiers, evenly distributing the gathers.
Prepare Skirt Assemble Dress
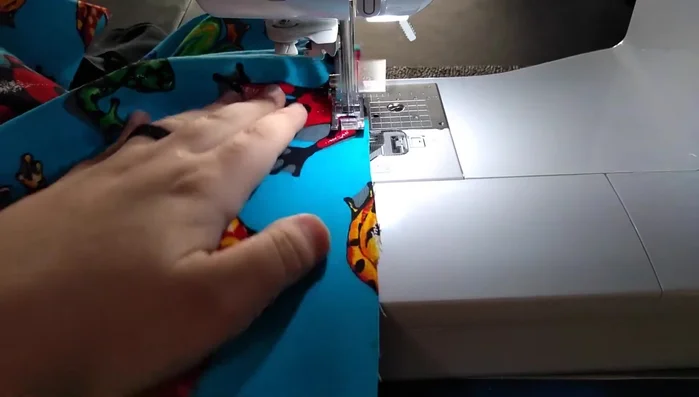
- Sew side seams of both skirt tiers.
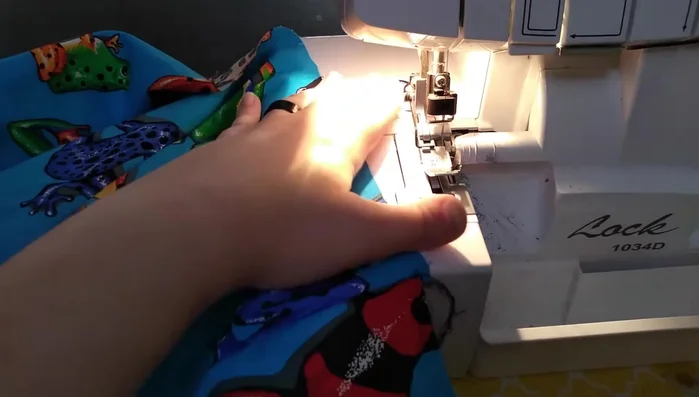
- Attach the gathered skirt tiers to the bodice using a serger, placing the ruffle on top for smoother serging.
Assemble Dress Finish Hem
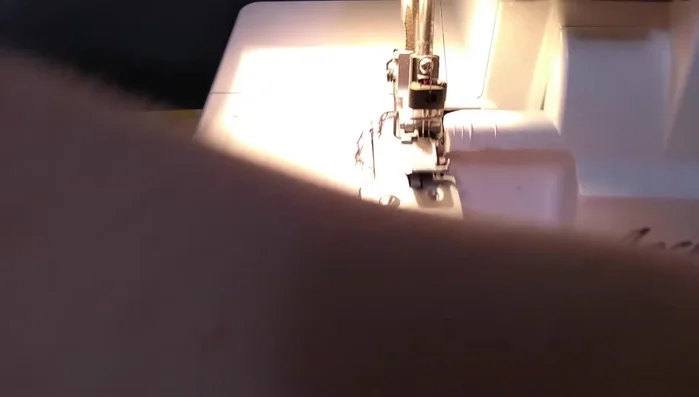
- Create a rolled hem on the dress's bottom edge.
Finish Hem


Read more: No-Sew DIY Pet Tank Top: Easy Leggings Upcycle!
Tips
- For casings, use a straight edge for easier pinning and turning.
- When gathering, consider how the fabric will look once gathered to ensure an aesthetically pleasing result.
- Leave long basting strings for easier gathering manipulation.
- Pre-baste each layer before gathering multiple layers for easier handling.
- When serging ruffles, place the ruffle on top to prevent fabric from getting caught in the machine.