Have you ever looked at your cat's fluffy rear end and thought, "That needs more vibrant color?" Okay, maybe not. But if you're a crafty cat lover with a playful sense of humor, this DIY project is purr-fectly for you! We're diving headfirst (or should we say, tail-first?) into the wonderfully whimsical world of cat butt tie-dye. Forget boring old sweaters; we're transforming your feline friend's favorite comfy blanket, or even a specially designed cat bed, into a kaleidoscope of color using a simple and safe tie-dye technique.
This tutorial will guide you through creating a unique and hilarious piece of cat-themed art, while ensuring the safety and comfort of your beloved pet. No special artistic skills are needed, just a bit of patience and a whole lot of love for your furry friend. Ready to unleash your inner artist and give your cat a seriously stylish (and washable!) makeover? Let's get started with our step-by-step guide!
Preparation and Safety Guidelines
- Fabric
- Black Marker
- Rubber Bands
- Always supervise young children around dyes and ensure they don't ingest any materials. Keep dyes out of reach.
- Use gloves and wear old clothes that you don't mind staining. Dye can be extremely difficult to remove from clothing and surfaces.
- Work in a well-ventilated area and consider using a drop cloth or newspaper to protect your work surface from dye spills.
Step-by-Step Instructions
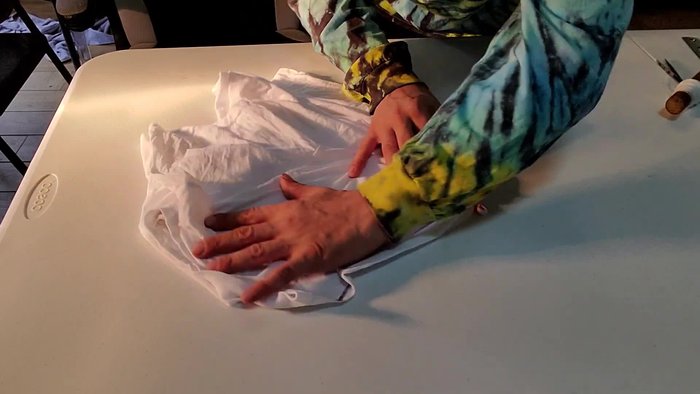
Prepare the Fabric
- Line up the fabric down the middle and pull it out to get it nice and flat.
- Line up your inside collar.

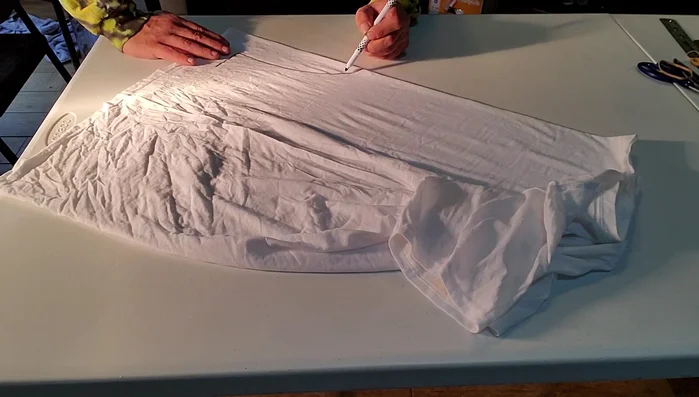
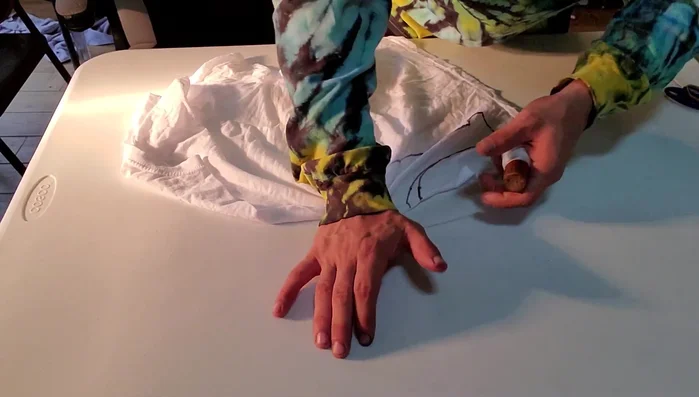
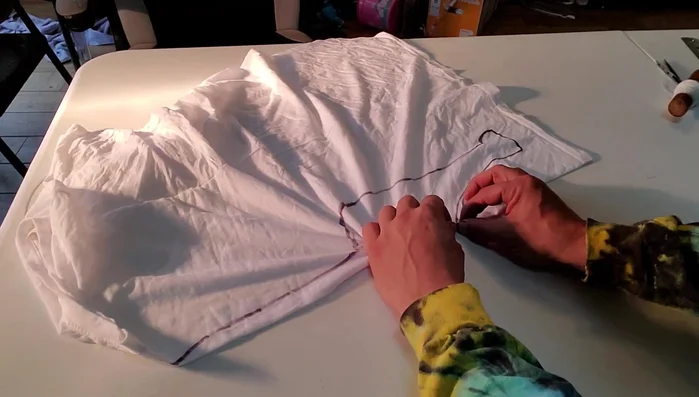
Prepare the Fabric Design the Cat Butt
- Draw a heart for the kitty's face, and other details like feet.
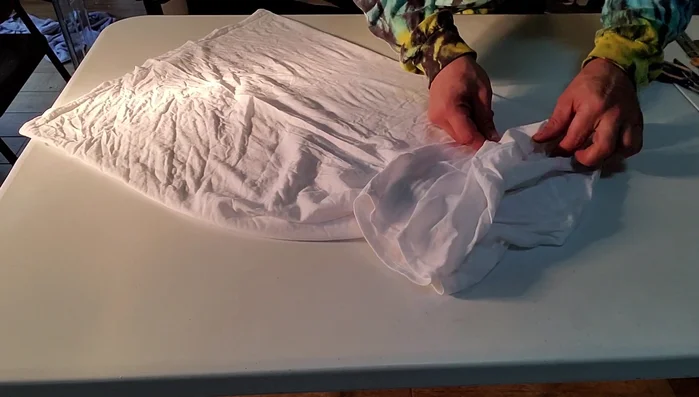
Design the Cat Butt Tie the Heart Section
- Tie the heart using several folds, making sure the lines are straight and crisp.
- Wrap the tied section three or four times and pull until it stops. Repeat this process three times.
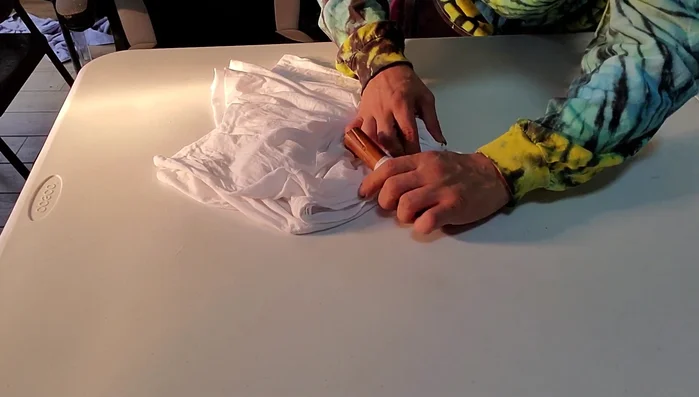
Tie the Heart Section Tie the Remaining Fabric
- Tie the rest of the fabric, following the lines and creating a tight little line around the edges.
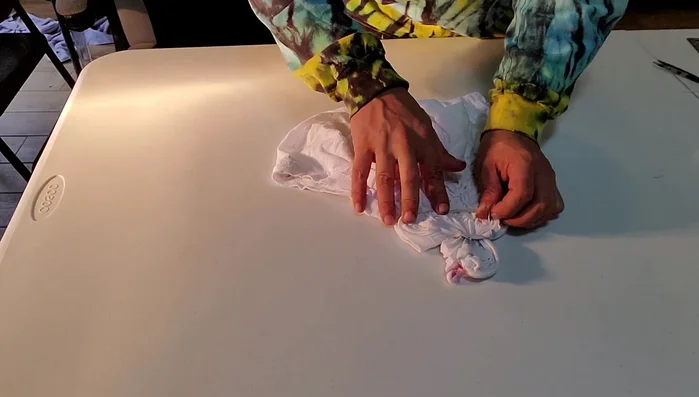
- Scrunch up the fabric, pushing the scrunches nice and tight. Make the pleats look a little chaotic for a more natural look.
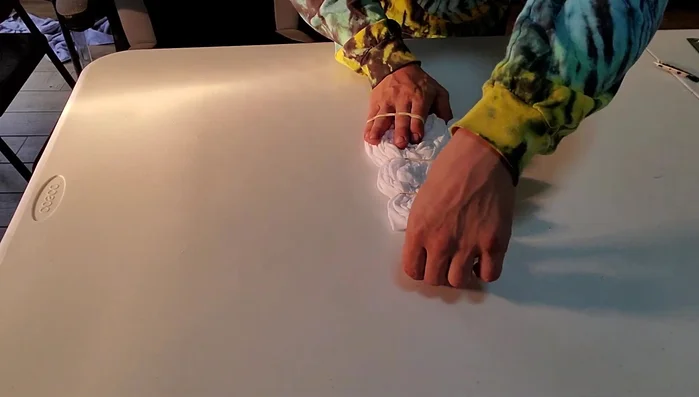
- Secure the scrunched fabric with a rubber band, ensuring all parts are about the same height.
- Double band your first spot, then scrunch the rest of the fabric and add another rubber band.
Tie the Remaining Fabric - Tighten the fabric further using additional rubber bands to ensure a secure and well-defined cat butt shape.
Tie the Remaining Fabric Dye the Fabric
- Dye the fabric (instructions not included in this video).
Dye the Fabric


Read more: No-Sew DIY Pet Tank Top: Easy Leggings Upcycle!
Tips
- Make sure your lines are nice and straight for crisp corners.
- Let the fabric dry before dyeing it.
- Keep the fabric back from touching for your cat and background.