Is your feline friend feeling a little chilly? Or perhaps you're simply looking for a fun and rewarding crochet project? Then look no further! This easy-to-follow tutorial will guide you through the process of crocheting a cozy and adorable sweater for your beloved cat. We'll use simple stitches and techniques, making this project perfect for both beginners and experienced crocheters alike. Forget expensive pet store sweaters; you'll be surprised at how quickly and easily you can create a unique and personalized garment. The yarn choice is completely up to you, allowing for endless creative possibilities to perfectly match your cat's personality and your home decor.
Forget complicated patterns and confusing instructions! This tutorial provides clear, concise directions, complemented by helpful images, to ensure a smooth and enjoyable crocheting experience. Let's get started on creating the purrfect sweater for your furry companion! From the initial foundation chain to the final finishing touches, we'll walk you through each step of this charming project, so get your hooks and yarn ready and prepare to follow the step-by-step guide below.
Preparation and Safety Guidelines
- Scrap yarn (4 ply/worsted weight)
- 5 mm crochet hook
- Scissors
- Darning needle
- Use appropriate yarn weight and hook size for your cat's size to ensure a comfortable and well-fitting sweater. Too tight can restrict movement and breathing.
- Always supervise your cat while they are wearing the sweater, especially initially. Remove the sweater immediately if your cat shows signs of distress or discomfort.
- Ensure all yarn ends are securely fastened to prevent your cat from chewing or ingesting them, which could be a choking hazard.
Step-by-Step Instructions
Creating the Body Base
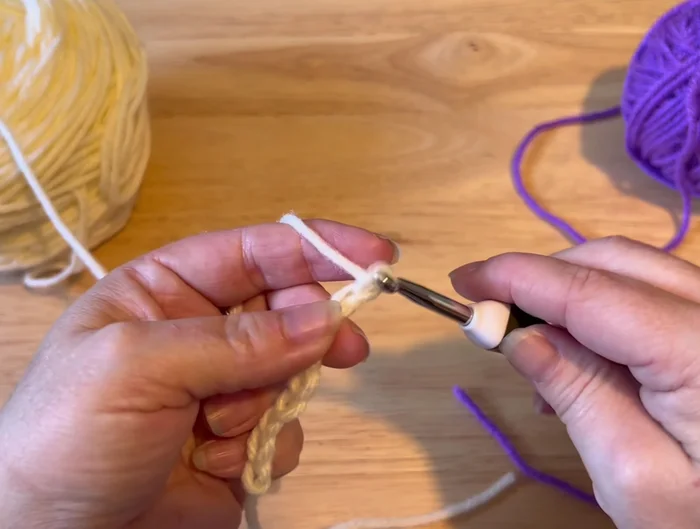
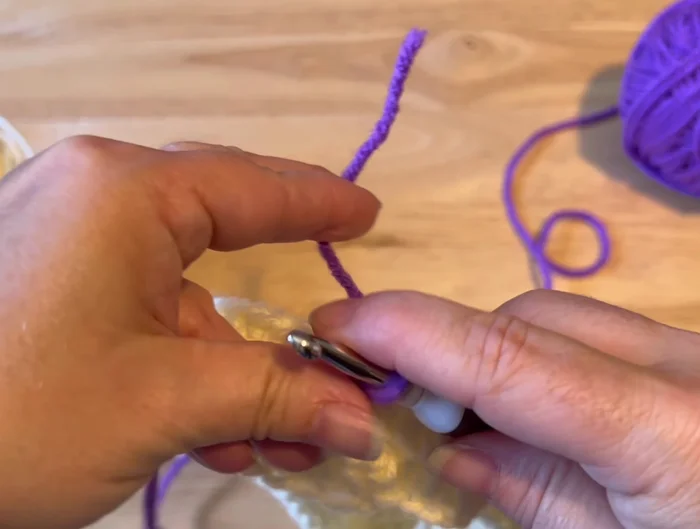
- Start with a chain of 50.
- Slip stitch into the first chain to create a ring.
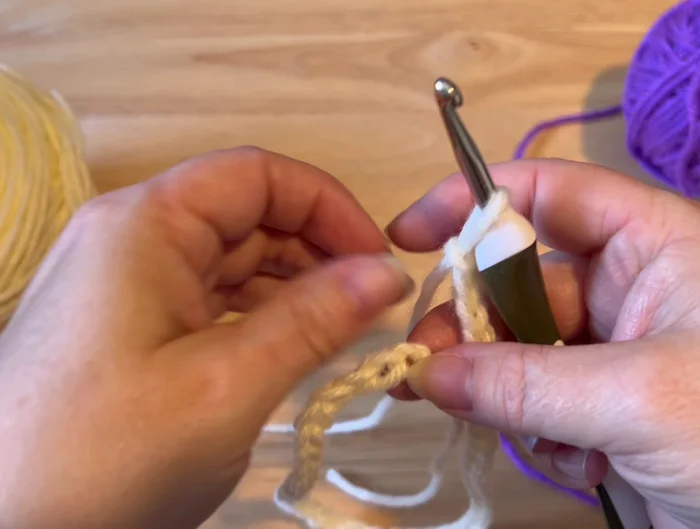
- Chain 2, then work 3 rounds of half double crochet in a spiral (50 stitches per round).

Creating the Body Base Adding Stripes
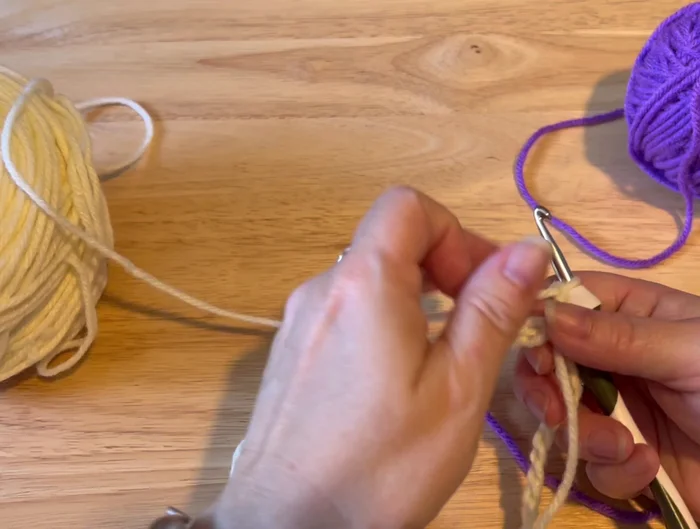
- Continue spiraling until you have 3 rounds on either side of your hook.
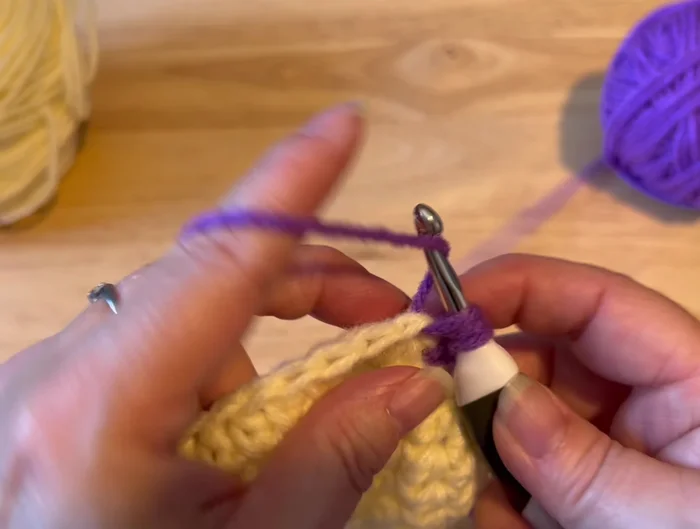
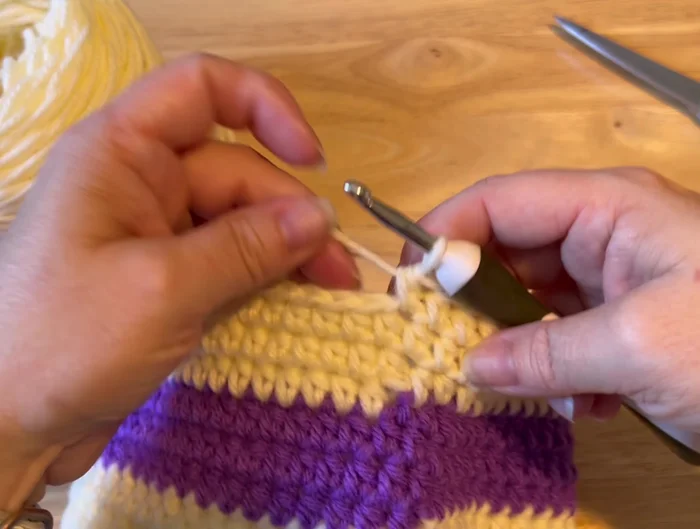
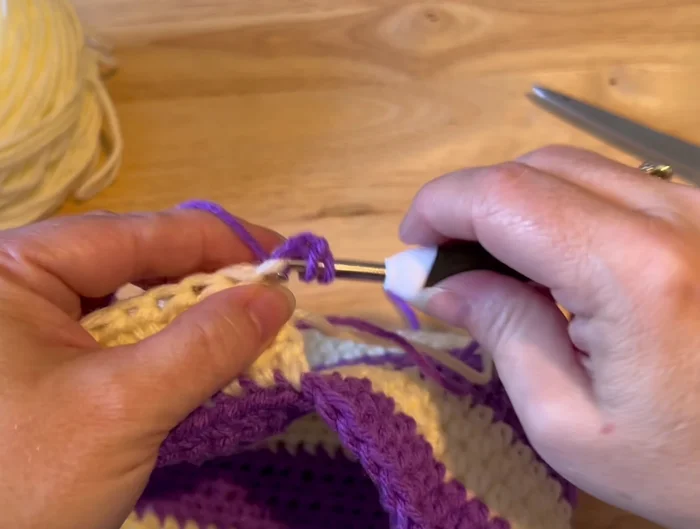
- Slip stitch to join the rounds; change yarn color. Chain 2.
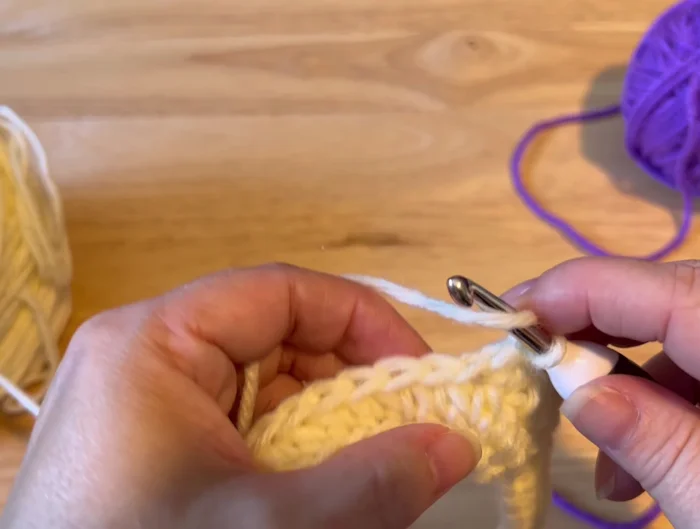
- Work 3 rounds of the new color in a spiral (50 stitches per round).
- Slip stitch, change back to the original color, chain 2.
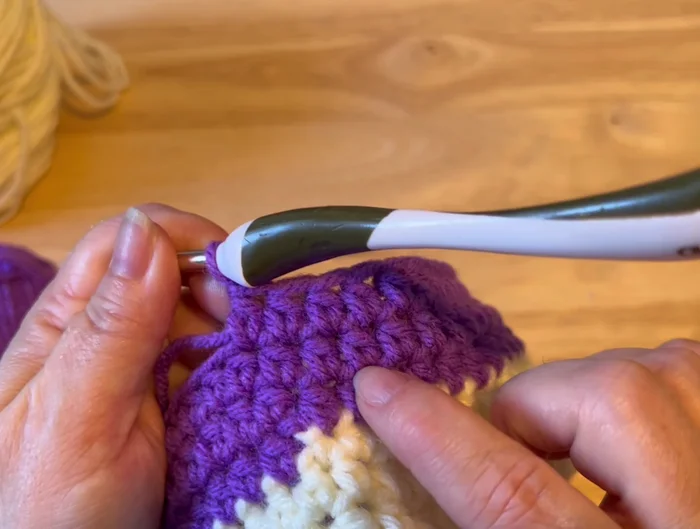
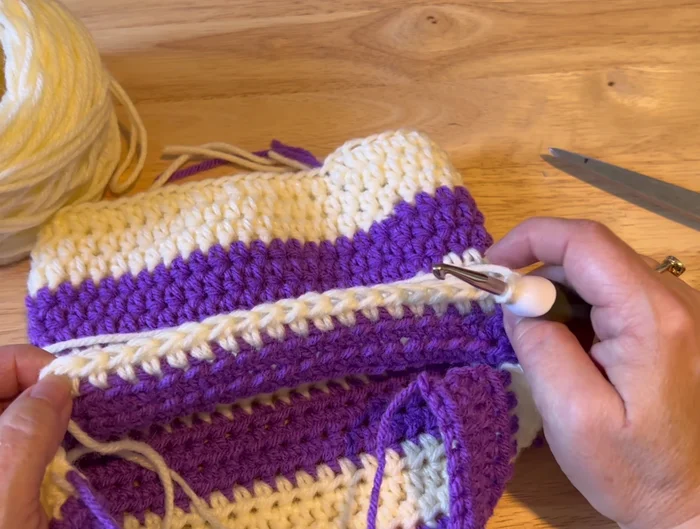
Adding Stripes - Work 3 rounds of the original color in a spiral (50 stitches per round).
- Slip stitch; change to alternating color, chain 2.
- Work 3 rounds of the alternating color.
Adding Stripes Forming the Neck Opening
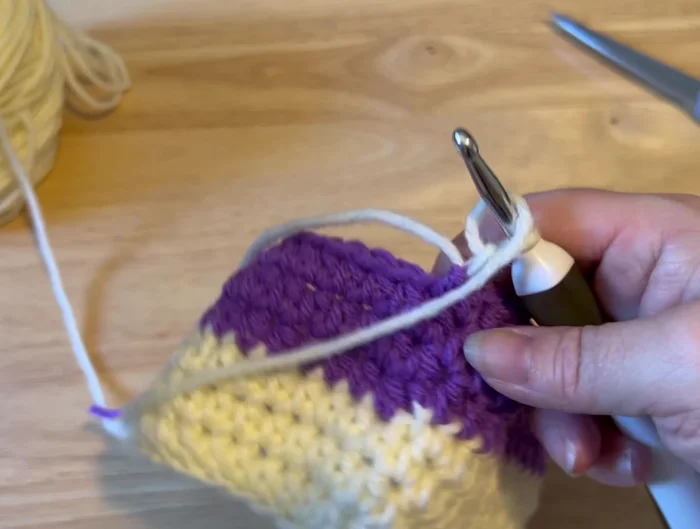
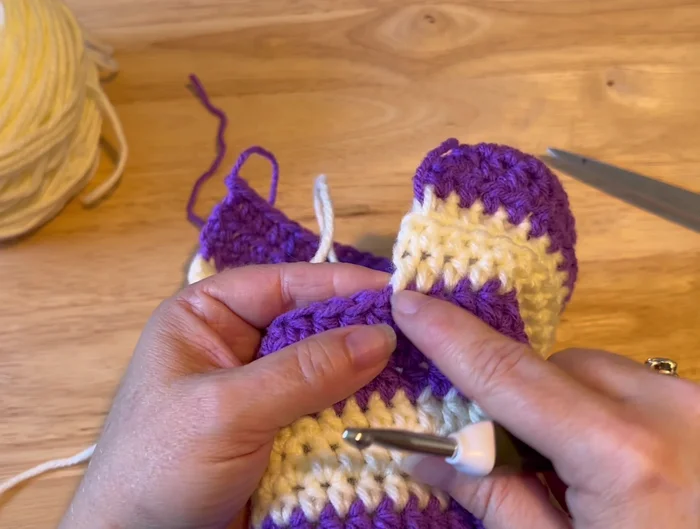
- Slip stitch; change to main color, chain 2. Pick up 30 stitches and work back and forth for 3 rows.
- Finish the last stitch with the alternating color to prevent color differentiation on the ends.
- Chain 2, turn, work 3 more rows of 30 stitches.
Forming the Neck Opening Creating the Neck
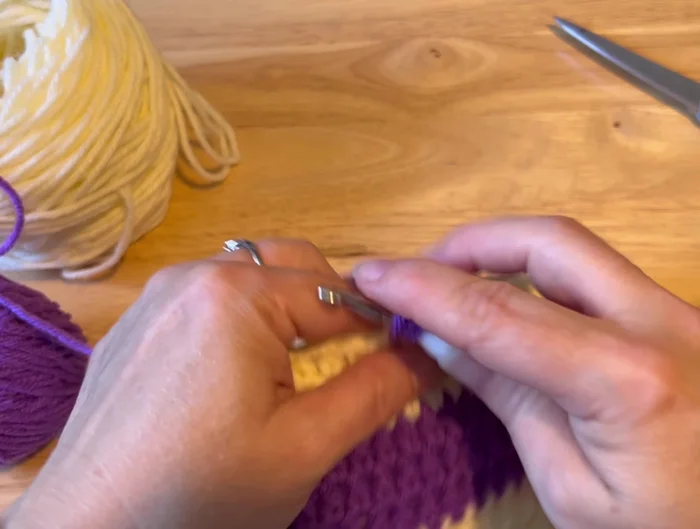
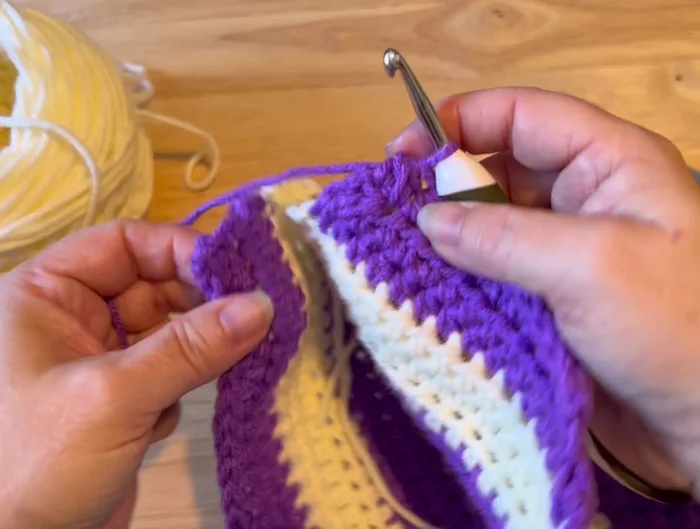
- Join the new section with the main color, chain 2. Pick up 20 half double crochets.
- Chain 2, turn. Decrease on each end of the next 3 rows (resulting in 18, 16, 14 stitches, respectively).
Creating the Neck Finishing the Neck and Sleeves
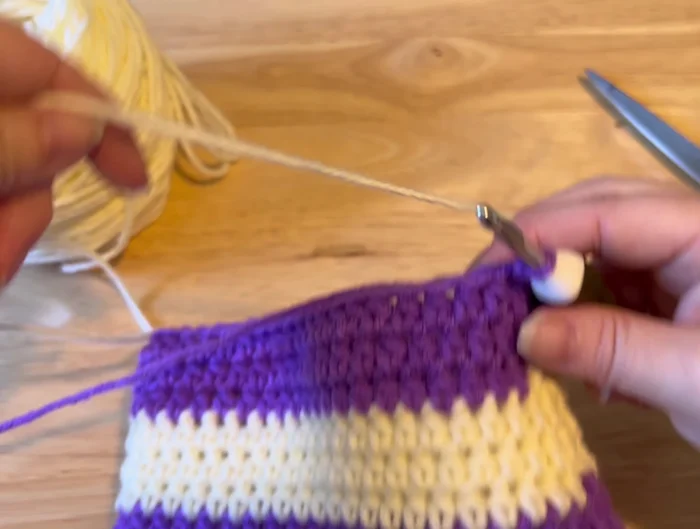
- Slip stitch and change to the alternating color. Chain 2 and work spirals, continuing until you have 3 rounds on each side.
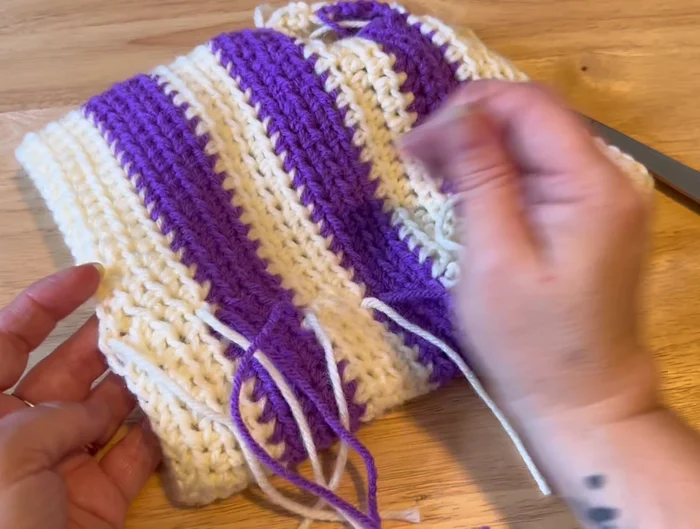
- Fasten off and weave in ends.
Finishing the Neck and Sleeves
Read more: No-Sew DIY Pet Tank Top: Easy Leggings Upcycle!
Tips
- Counting stitches is important for accuracy, even for experienced crocheters.
- To prevent color differentiation at the end of rows, finish the last stitch with the opposite color.
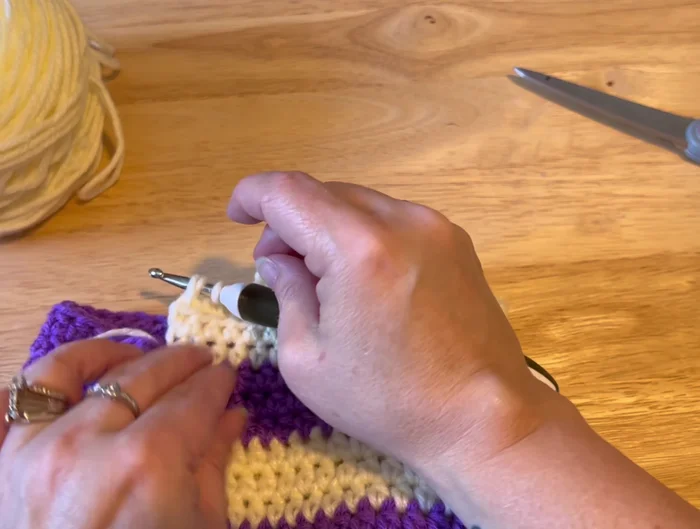
- Hold the yarn at the back when changing colors to keep it neat.
- When weaving in ends, only go through the back loop of stitches to avoid creating visible holes.