Dive into the delightful world of crochet with this easy-to-follow tutorial on creating your very own adorable goldfish! Learning to crochet can be a rewarding and relaxing hobby, and this project is the perfect starting point for beginners or a fun addition for experienced crocheters looking for a quick and charming craft. Imagine the joy of crafting a miniature, scaly friend, perfect for adding a whimsical touch to your home decor, a playful gift for a loved one, or even a charming element in a child's playroom. These little goldfish are surprisingly simple to make, using basic crochet stitches and readily available materials.
This tutorial provides a clear, step-by-step guide to crocheting your own delightful goldfish, ensuring a successful project regardless of your skill level. From the initial body to the delicate fins and expressive eyes, we'll walk you through each stage with detailed instructions and accompanying photographs. Ready to get started on your swimmingly cute creation? Let's begin!
Preparation and Safety Guidelines
- Cotton yarn
- Any color yarn
- Needle
- Scissors
- 3mm crochet hook
- Stuffing
- Always supervise young children around small crocheted items to prevent choking hazards. Goldfish toys contain small parts.
- Use only high-quality, safe yarn intended for toys. Avoid using yarns that are easily shed or that could present a choking hazard if fibers unravel.
- Ensure all yarn ends are securely fastened to prevent unraveling and ingestion.
Step-by-Step Instructions
Creating the Fish Body Base
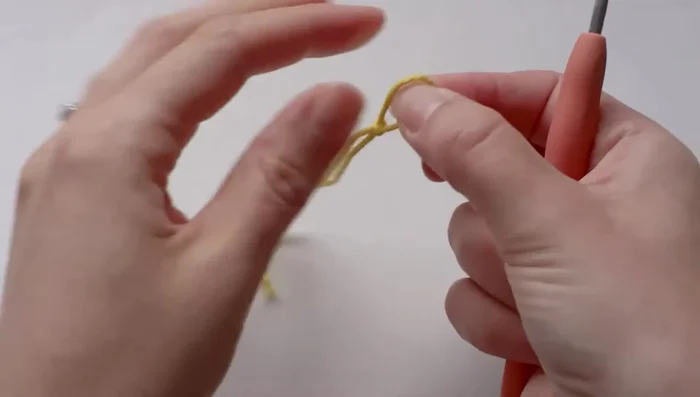
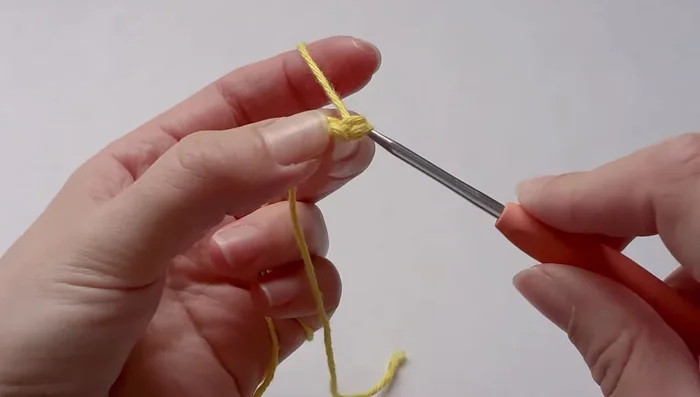
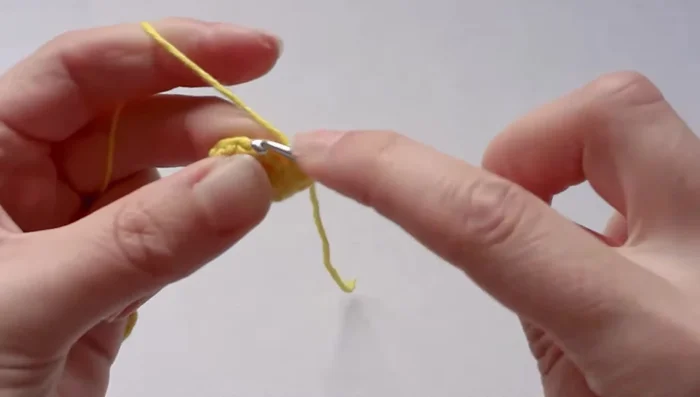
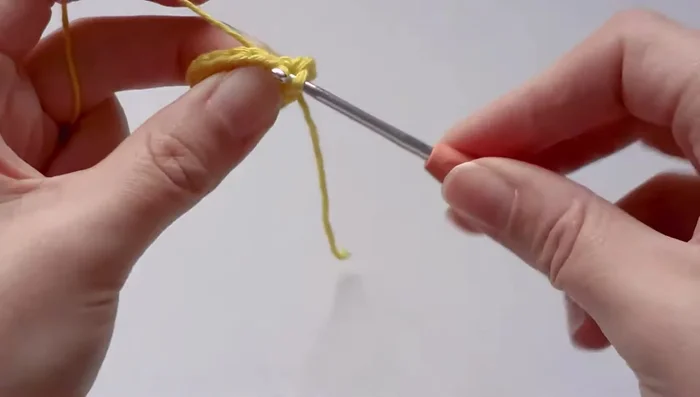
- Make a slip knot and chain 2.
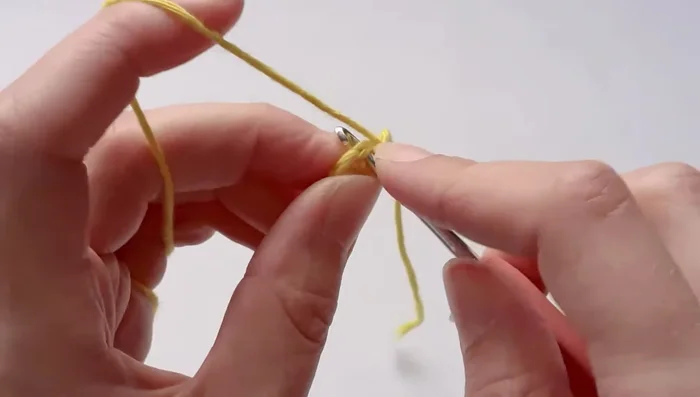
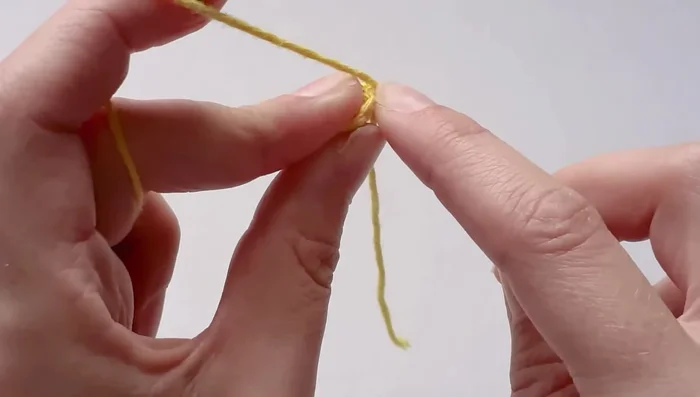
- Single crochet 6 stitches into the first chain.

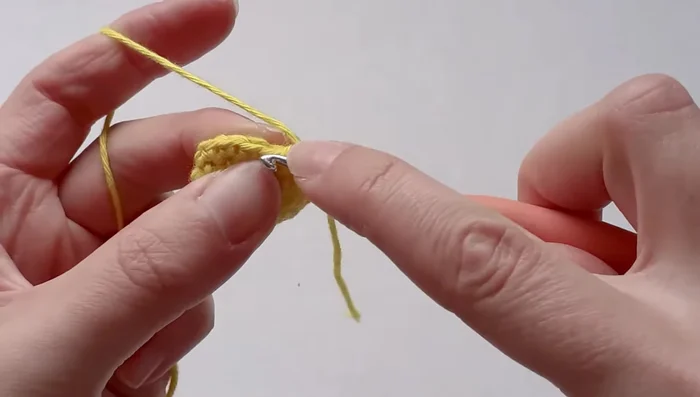
Creating the Fish Body Base Increasing the Body Size
- Increase to 12 single crochets (2 in each stitch).
- Single crochet 12 stitches around.
- Increase to 18 single crochets (1 in the first stitch, 2 in the next, repeat).
- Single crochet 18 stitches around.
Increasing the Body Size - Increase to 24 single crochets (1, 1, 2 in each set of three stitches).
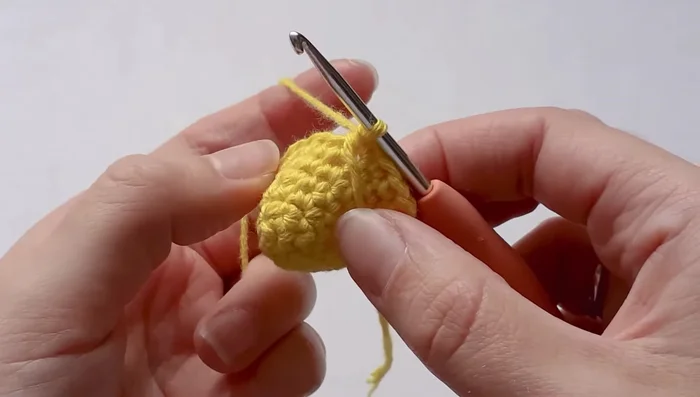
Increasing the Body Size Body Shaping (Main Rows)
- change colors).
Body Shaping (Main Rows) Decreasing and Closing the Body
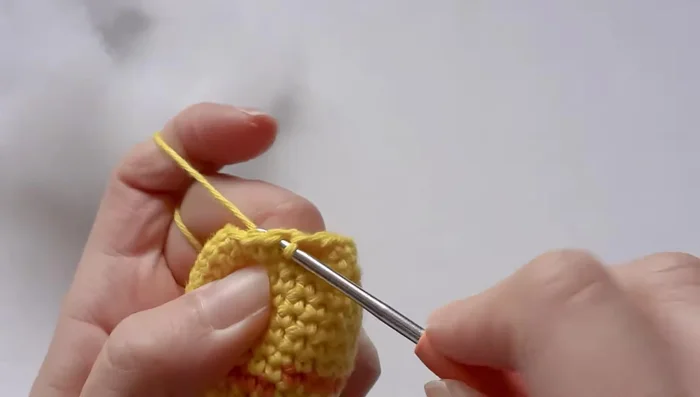
- Decrease to 18 stitches (1 single crochet, 1 decrease).
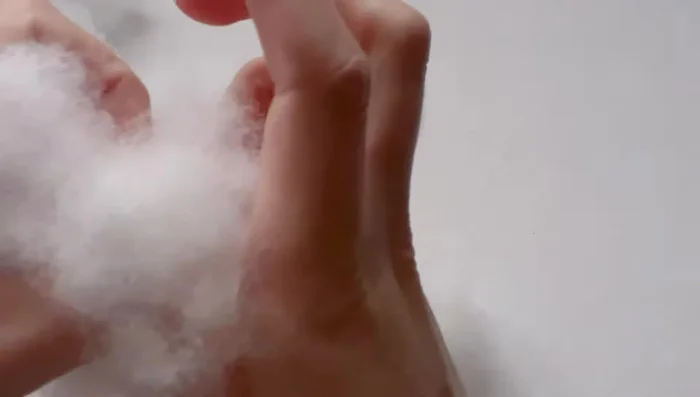
- Stuff the toy.
- Decrease to 12 stitches (1 single crochet, 1 decrease).
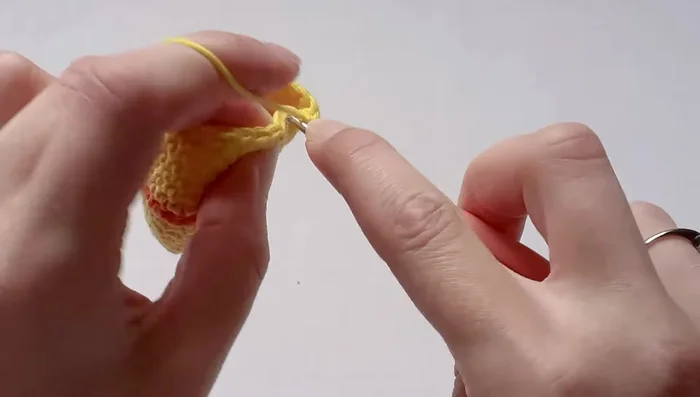
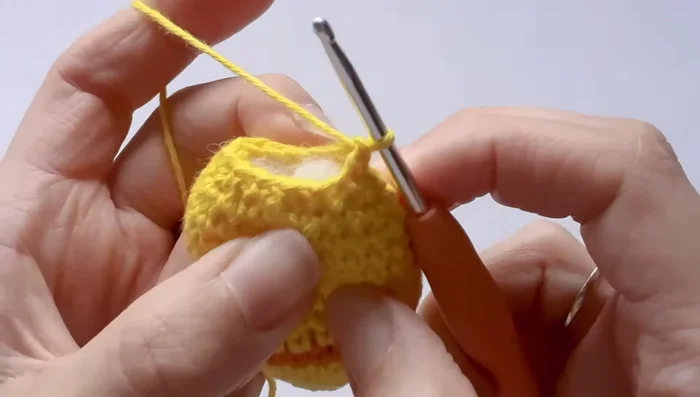
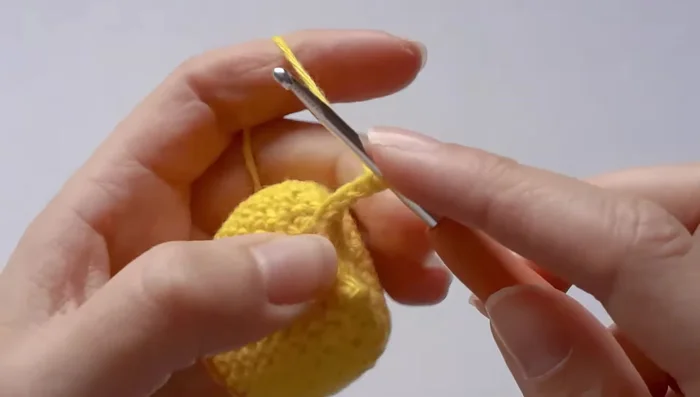
- Slip stitch across to close the opening.
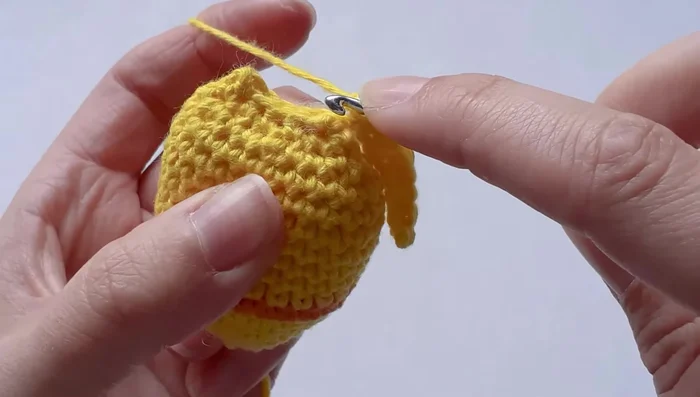
Decreasing and Closing the Body Making the Tail
- chain 10, skip the first stitch, single crochet into the remaining 9.
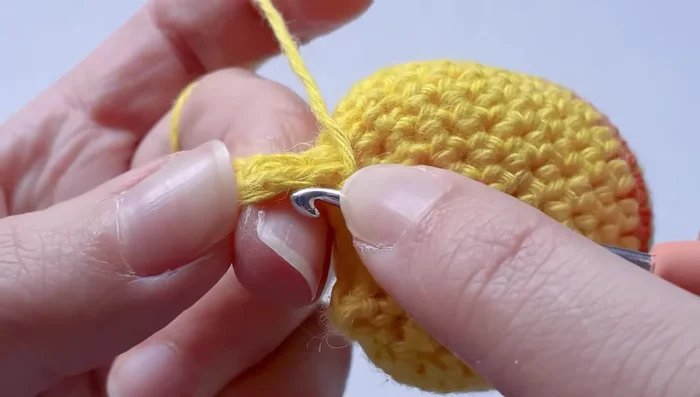
- Turn and slip stitch down the chain.
- Single crochet in back loops only for the tail's shaping.
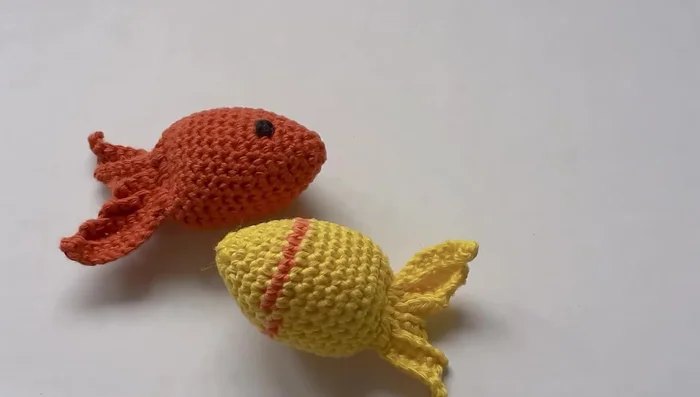
Making the Tail Adding Eyes (Optional)
- Create and attach eyes (optional).
Adding Eyes (Optional)
Read more: No-Sew Sock Cat Tutorial: Adorable DIY Project
Tips
- Change yarn colors at any point for a more visually appealing goldfish.
- Use catnip for a cat toy.
- Eyes can be made in various ways or omitted altogether.