Is your dog tired of the same old, mass-produced collar? Do you dream of a stylish, perfectly fitting accessory that reflects your pup's unique personality? Then get ready to unleash your creativity with this easy sewing tutorial! We'll guide you through creating a custom-made, adjustable dog collar that's both comfortable and incredibly stylish, all while using readily available materials. Forget expensive pet store options; you'll be surprised how simple it is to craft a one-of-a-kind collar tailored specifically to your furry friend's needs.
This DIY project is perfect for beginners, requiring only basic sewing skills and a few essential supplies. We'll cover everything from choosing the right fabric and hardware to mastering the simple stitching techniques needed to construct a durable and adjustable collar. Ready to get started on this fun and rewarding project? Let's dive into the step-by-step instructions!
Preparation and Safety Guidelines
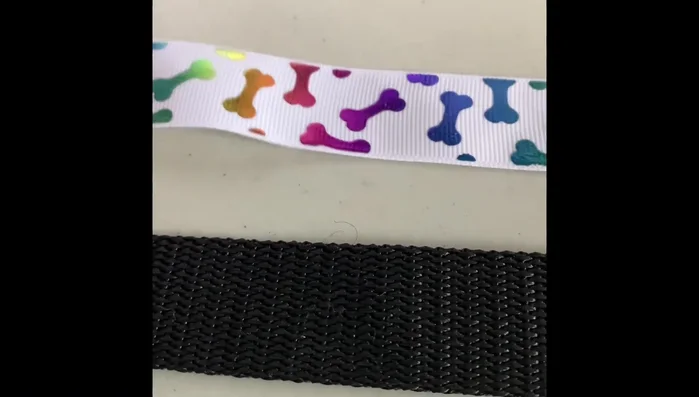
- 1-inch wide ribbon
- 1-inch wide polypropylene webbing
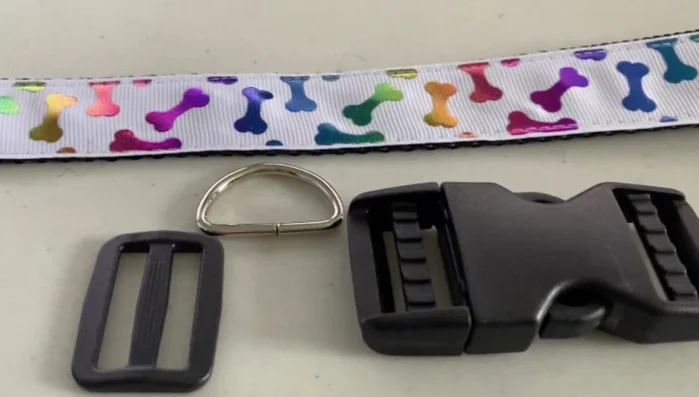
- clasp
- D-ring
- slider
- sewing machine
- lighter
- Always supervise your dog while wearing the collar. Check regularly for wear and tear and replace if necessary to prevent strangulation or injury.
- Ensure the collar's buckle and slider are securely fastened and function correctly. A poorly functioning closure could allow your dog to escape or become trapped.
- Use strong, durable fabrics and thread appropriate for the strength of your dog. Avoid using materials that could easily fray or break, posing a choking hazard.
Step-by-Step Instructions
Measure and Cut
- Measure your dog's neck circumference and add 8 inches for adjustability.

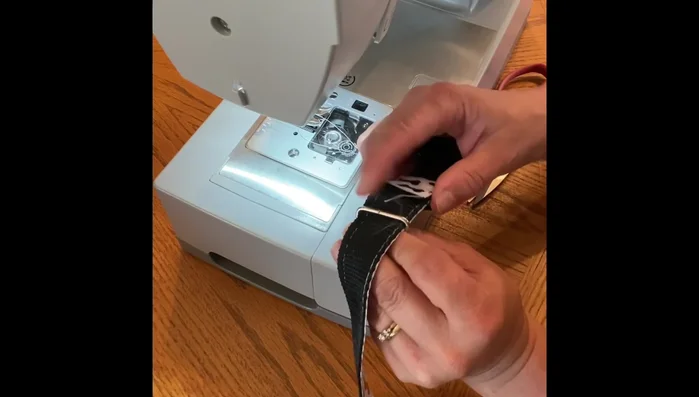
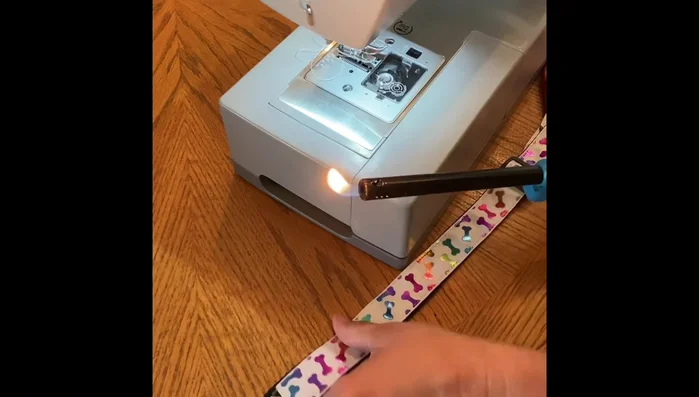
Measure and Cut Attach Ribbon to Webbing
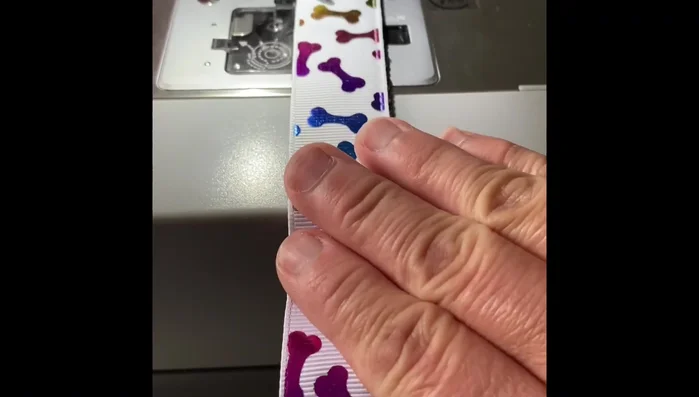
- Line up the ribbon on top of the webbing and sew along the outer edge.
- Stitch along the other edge, securing the ribbon to the webbing.
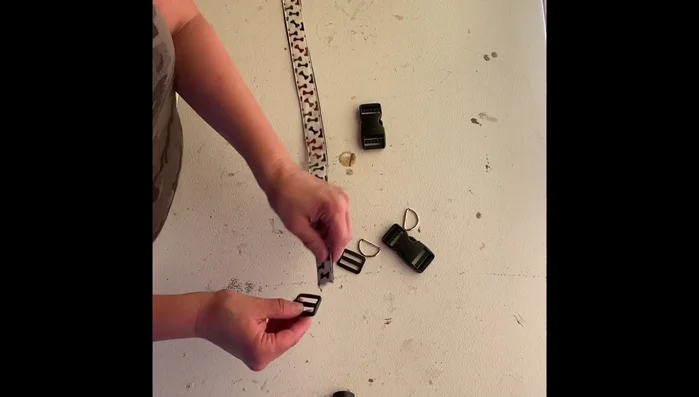
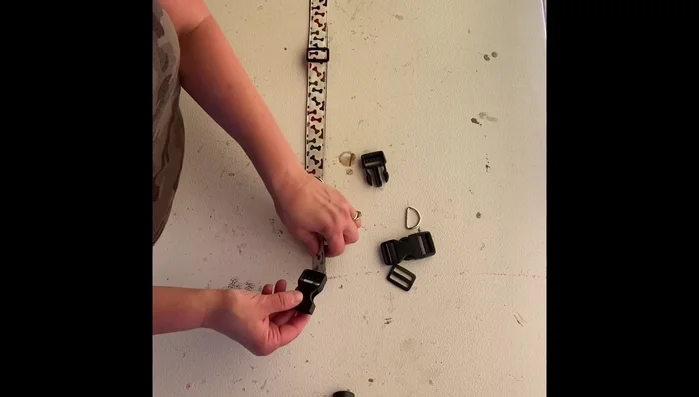
Attach Ribbon to Webbing Attach Slider and D-ring
- Attach the slider to one end of the webbing and ribbon.
- Add the D-ring.
- Stitch the D-ring to the collar, reinforcing it as well.
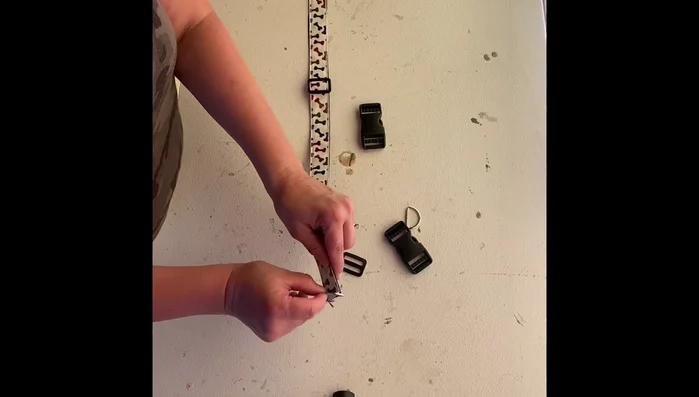
Attach Slider and D-ring Attach Clasp
- Attach the female end of the clasp to the collar, leaving a 1.5-2 inch tail.
- Stitch along the side of the clasp, reinforcing it by stitching back and forth multiple times.
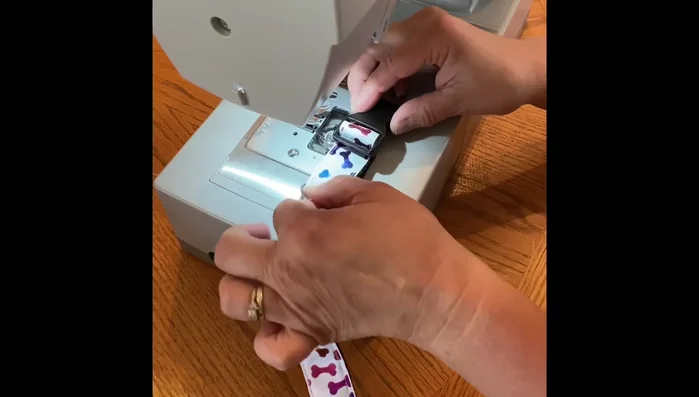
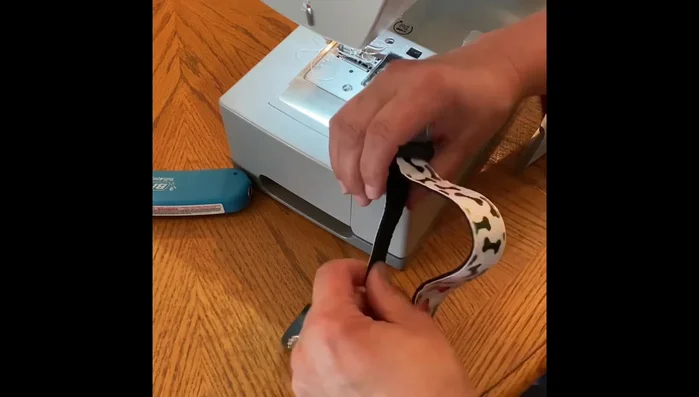
Attach Clasp Seal and Secure Ends
- Lightly singe the end of the webbing with a lighter to seal it.
- Feed the end of the collar through the male slider, then back through the inner side of the slider.
- Secure the tail of the collar to the bottom of the collar, reinforcing the stitching.
Seal and Secure Ends

Read more: DIY Studded Dog Collar with Reflective Piping: A Comprehensive Guide
Tips
- Reinforce all stitching, especially around the clasp and D-ring, by stitching back and forth multiple times for durability.
- Singeing the end of the webbing helps to prevent fraying and makes the slider attachment easier.
- Attach the collar tail to the *bottom* part of the collar to ensure the slider functions correctly.