Halloween is just around the corner, and the pressure to find the perfect costume is on! Forget expensive, generic store-bought options; this year, unleash your creativity and craft a truly unique and personalized Halloween look with a DIY customizable animal hood. This fun project allows you to transform yourself into any creature you desire – from a fierce lion to a playful bunny, the possibilities are endless! With just a few simple materials and some basic crafting skills, you can create a comfortable and captivating hood that will make you the envy of every Halloween party.
This easy-to-follow tutorial will guide you through each step of the process, from selecting your favorite animal to adding the finishing touches. Get ready to be amazed at how easily you can bring your animalistic vision to life. Let's dive in and discover how to make your very own adorable, and terrifyingly awesome, customizable animal hood, perfect for a memorable Halloween night!
Preparation and Safety Guidelines
- outer and lining fabric
- pens
- velcro
- thread
- cutting tools
- tape
- pattern
- stuffing
- sewing machine
- iron
- Adult supervision is required, especially for children using sharp objects like scissors or hot glue guns.
- Ensure all materials are securely attached to prevent them from obstructing vision or causing tripping hazards. Test the fit and visibility before wearing.
- Use non-toxic, child-safe materials, particularly if the hood will be worn by young children. Avoid small parts that could be choking hazards.
Step-by-Step Instructions
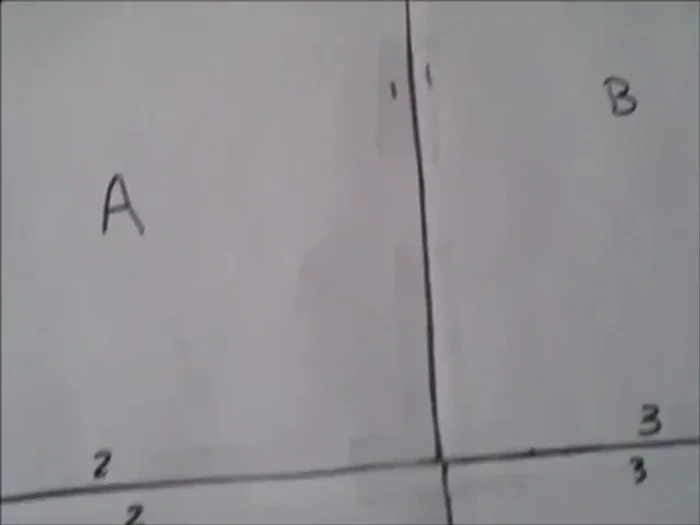
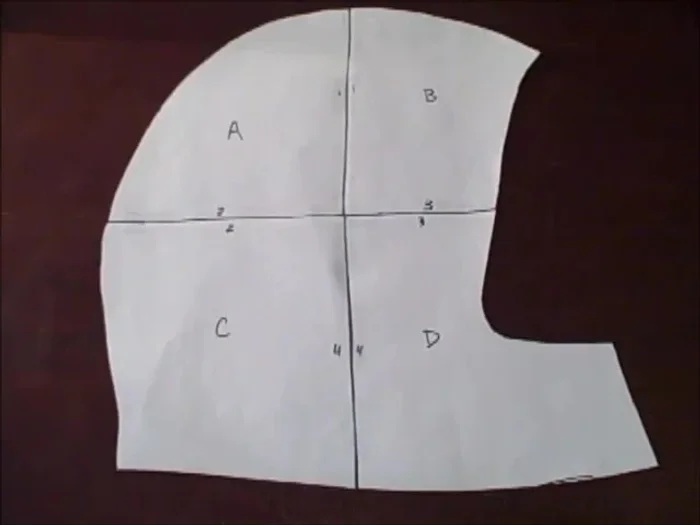
Prepare the Pattern
- Download and print the pattern. Match up the numbers and tape the pattern pieces together.

Prepare the Pattern Cut Fabric Pieces
- Fold your fabric right sides together and place the pattern on top. Cut around the pattern, repeating with the lining fabric.
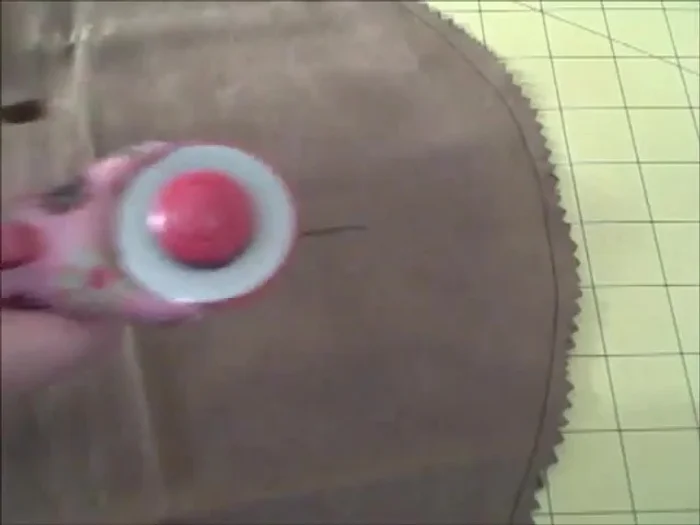
Cut Fabric Pieces Sew and Shape the Hood
- Sew along the back curve. Clip the curve or trim with pinking shears.
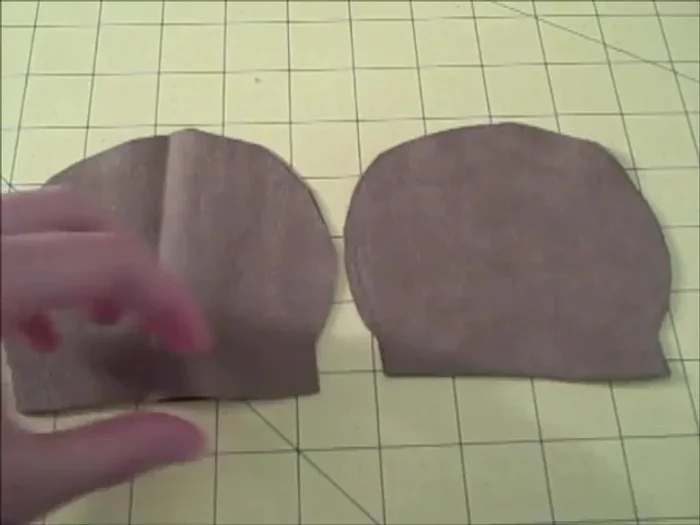
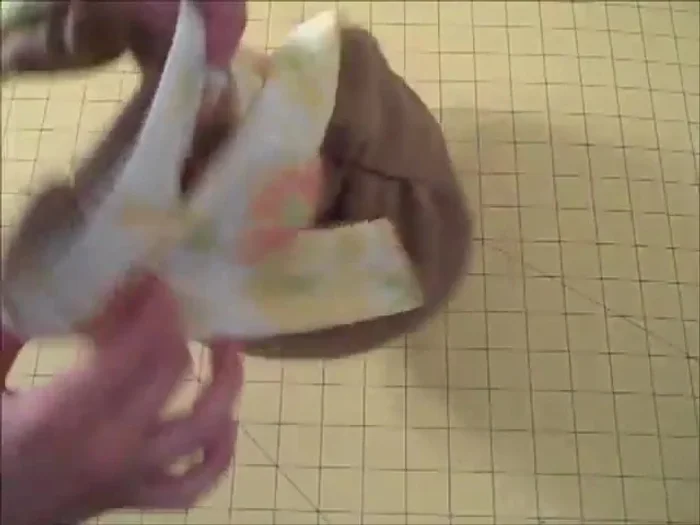
Create and Attach Ears
- Cut out two pairs of ears (or dragon spikes). Sew along the outer edge, turn right side out, and iron. Sew a similar shape inside and stuff the outer ear.
- Try the hood on and mark where you want the ears to go. Fold the hood in half and carefully cut through both layers.
- Line up the bottom of the ear with the opening, pen, and sew to attach the ears.
Create and Attach Ears Sew Hood Together
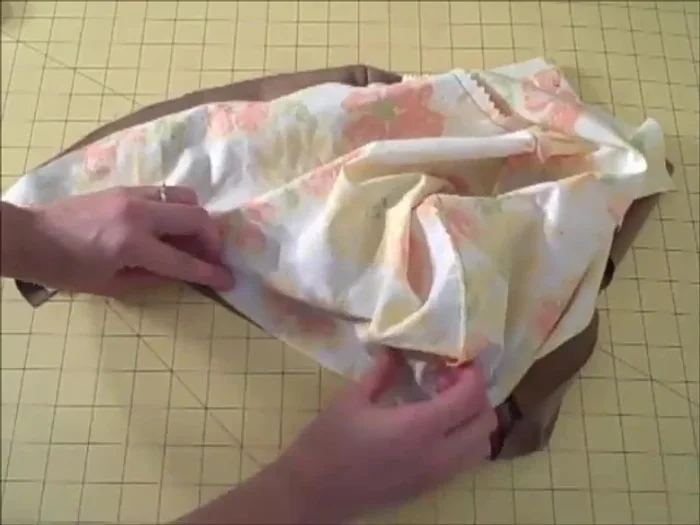
- Place the outer and lining right sides together and sew all the way around, leaving a 5-inch opening in the bottom. Clip or trim the seam allowances and turn right side out through the opening.
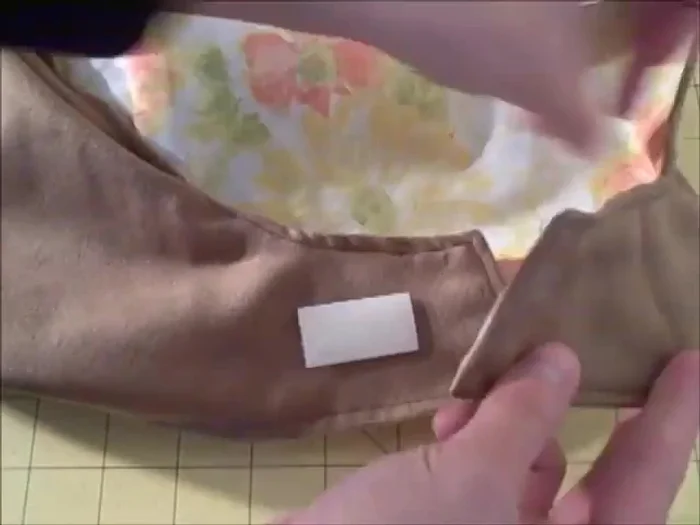
Sew Hood Together Finish the Hood
- Turn the ends of the opening inward, sew it closed, and top stitch all the way around.
- Decide where your Velcro needs to be and sew or stick it on.
Finish the Hood

Read more: No-Sew DIY Pet Tank Top: Easy Leggings Upcycle!
Tips
- This project is customizable; you can create your own pattern or use the one provided on the blogger's website.
- The difficulty level is rated as a 2 out of 5.