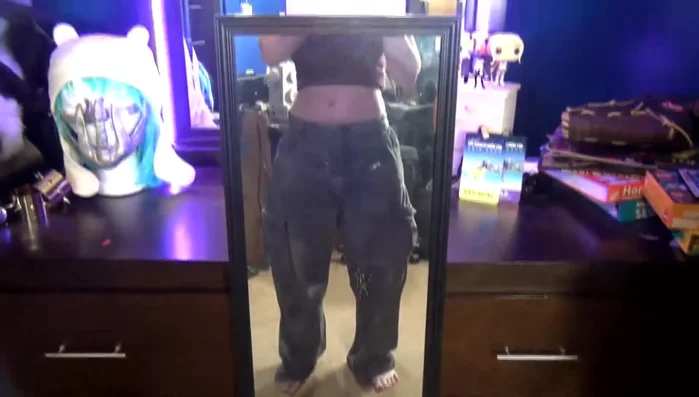
Finding the perfect pair of trousers for a costume can be a frustrating quest. Store-bought options often fall short, leaving you with ill-fitting fabrics, awkward lengths, or a style that just doesn't quite capture the essence of your character. Why settle for less than spectacular when achieving a truly authentic look is within your reach? This guide empowers you to transform ordinary baggy trousers into custom-fitted costume pants, ensuring your outfit is as unique and captivating as your chosen role. Forget the limitations of off-the-rack clothing and embrace the creative control that DIY tailoring offers.
This empowering DIY project allows you to conquer the challenges of ill-fitting trousers, turning potential frustration into a satisfying creative process. Whether you need to slim down overly-wide legs, shorten an excessively long inseam, or simply tailor the waist to perfection, this article provides a step-by-step guide to transforming your baggy trousers into the perfect costume pants. Let's get started!
Preparation and Safety Guidelines
- Elastic
- Sewing Pins
- Craft Scissors
- Sewing Machine
- Always use sharp scissors and pins to avoid accidents. Handle fabric shears with care and keep them away from children.
- Measure twice, cut once. Accurate measurements are crucial for a good fit. Take your time and double-check before cutting any fabric.
- If using a sewing machine, be mindful of your fingers and always use the appropriate needle for your fabric type to prevent breakage or injury.
Step-by-Step Instructions
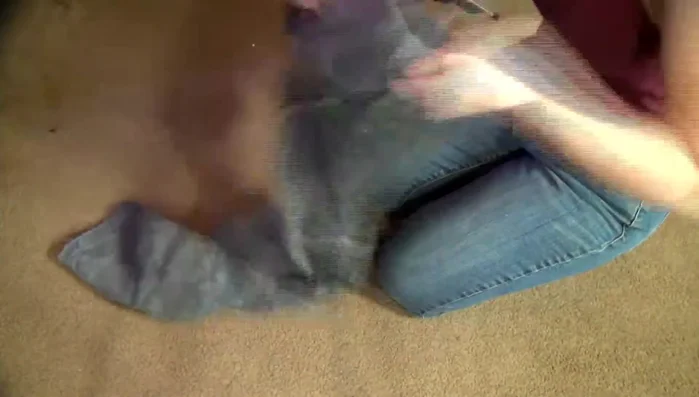
Prepare Pants for Alteration
- Turn pants inside out, button them, and line up the inseam seams. This is your guideline for sewing.

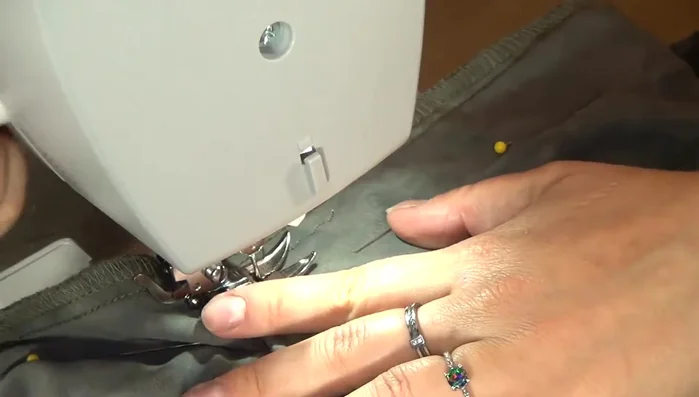
Prepare Pants for Alteration Take in Inseam
- Starting at the crotch, pin along the inseam, approximately 1 inch in from the existing seam. Keep pins straight, creating a guideline for sewing.
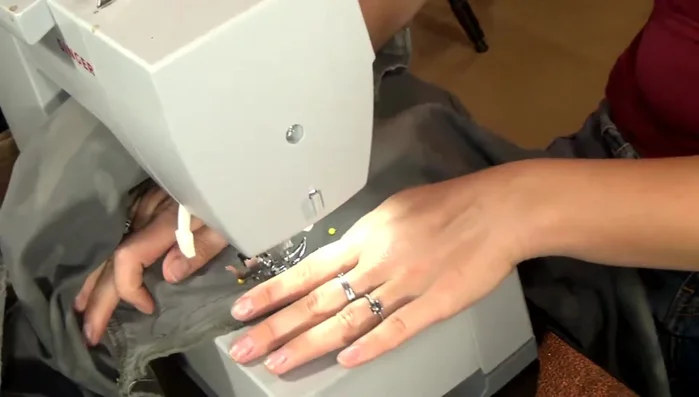
- Sew along the pinned line, starting at the crotch. Backstitch at the beginning and end to secure the seams. Let the sewing machine feed the fabric; don't push it.
- Flip the pants over and repeat the process on the other leg.
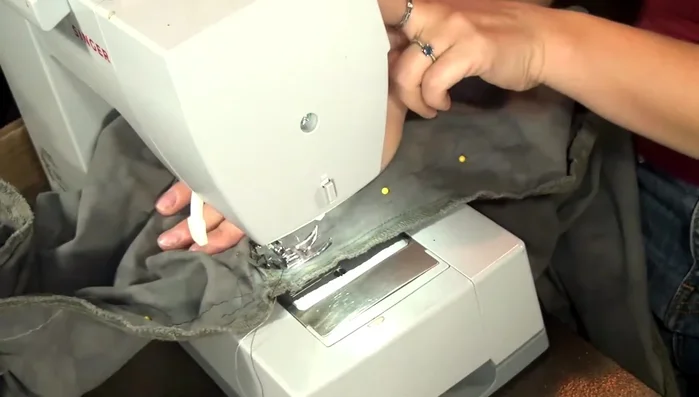
Take in Inseam Take in Outer Seams
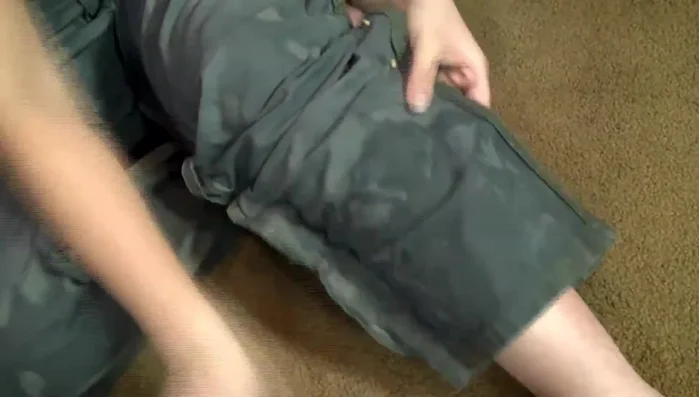
- Pin the outer leg seams from the knee to the ankle, approximately 1 inch in from the original seam. Ensure pins are straight.
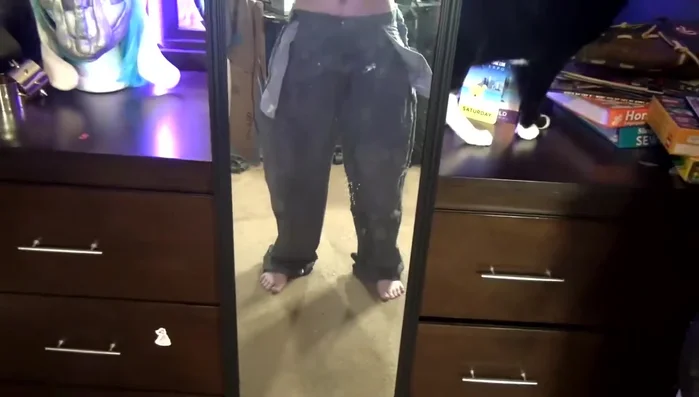
- Try on the pants inside out and make any necessary adjustments by pinning while wearing. This ensures a comfortable fit.
- Repeat the sewing process as before, following the pinned line. Backstitch at the beginning and end for secure seams.
Take in Outer Seams Add Ankle Elastic
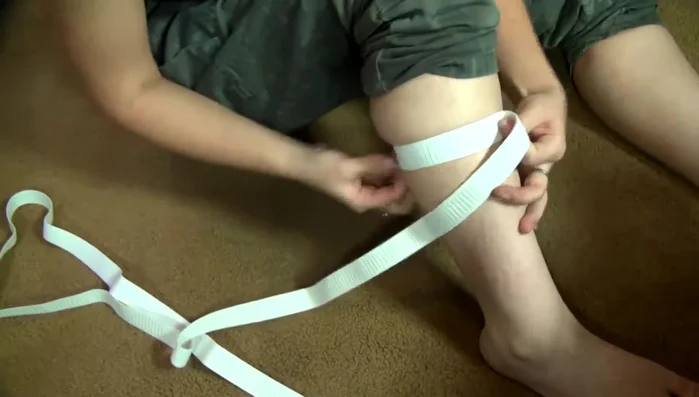
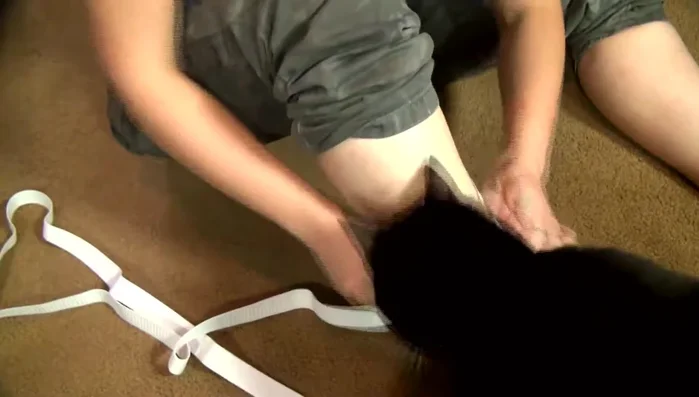
- Measure your calf to determine the needed elastic length. Cut and prepare the elastic.
- Pin the elastic to the inside seam of the ankle cuffs, then to the inseam. Stitch vertically, ensuring it's snug but not too tight. The video suggests redoing this step horizontally to improve the elastic’s placement for better fit.
Add Ankle Elastic Final Adjustments and Finishing
- Remove pins, trim excess threads, and try on the pants. Make any necessary final adjustments.
Final Adjustments and Finishing
Read more: No-Sew DIY Pet Tank Top: Easy Leggings Upcycle!
Tips
- Use a sewing machine for best results. Hand-sewing is possible but more time-consuming.
- Always work with the pants inside out when altering seams.
- Backstitch at the beginning and end of every seam to prevent unraveling.
- Try on the pants frequently during the process to ensure a good fit.
- Pinning while wearing the pants ensures the most accurate fit, especially when altering the outer seams.