Give your furry friend the gift of a unique and stylish collar with this comprehensive guide to DIY beaded dog collars! Tired of mass-produced pet accessories that lack personality and durability? Then prepare to unleash your creativity and craft a one-of-a-kind collar that perfectly reflects your dog's spirit and your own artistic flair. We'll explore a variety of beading techniques, from simple stringing to more intricate patterns, ensuring there's a project perfect for every skill level, from beginner to experienced crafter. You'll discover how to choose the right materials for both style and safety, guaranteeing a collar that's as beautiful as it is strong and comfortable for your canine companion.
This guide offers a delightful blend of practicality and aesthetic appeal, providing clear instructions and helpful tips along the way. Forget expensive, generic collars; learn to create durable, adorable, and entirely personalized masterpieces. Ready to get started on your beaded dog collar adventure? Let's dive into the step-by-step process!
Preparation and Safety Guidelines
- Flexible measuring tape
- Stainless steel vinyl coated wire rope (1/16 inch inner wire, 3/16 inch total)
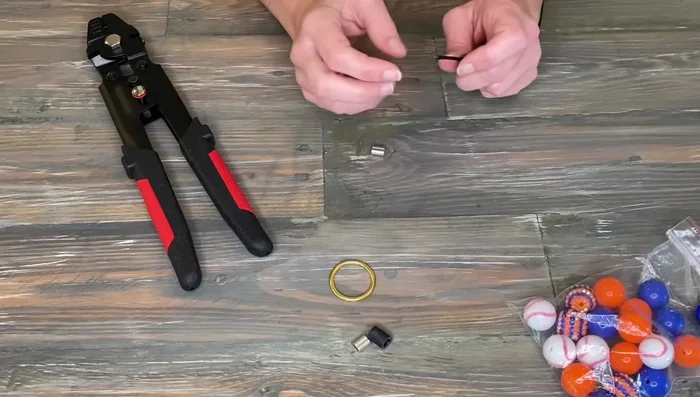
- 1-inch O-rings
- 6mm x 9mm rubber tubing
- 7mm aluminum crimp sleeves
- Crimping tool
- 20mm bubble gum beads
- Always supervise your dog while wearing a beaded collar. Beaded collars, while strong, can break or have beads detach, posing a choking hazard.
- Ensure the beads are securely fastened and the string/cord is strong enough to withstand your dog's pulling. Avoid using small beads that could easily be swallowed.
- Check the collar regularly for wear and tear. Replace it immediately if any damage is found to prevent injury.
Step-by-Step Instructions
Measure and Prepare
- Measure your dog's head circumference at the widest point where the collar will slip over.
- Cut two pieces of rubber tubing slightly longer than the crimp sleeves.

Measure and Prepare Assemble First End
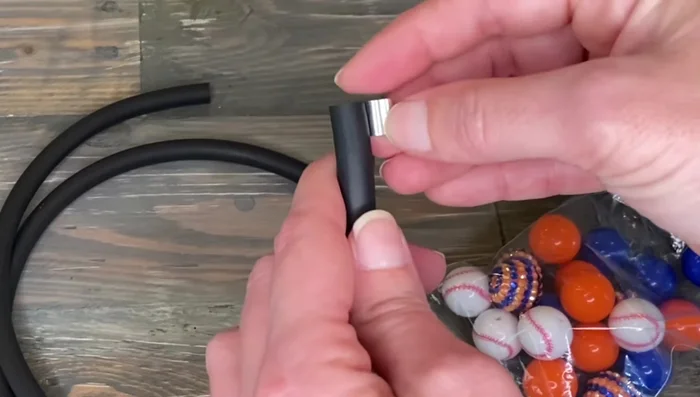
- Slip one rubber tube onto the wire rope, insert one end into a crimp sleeve, add an O-ring, loop the wire rope through the O-ring, and insert the other end into the crimp sleeve. Ensure the ends are flush.
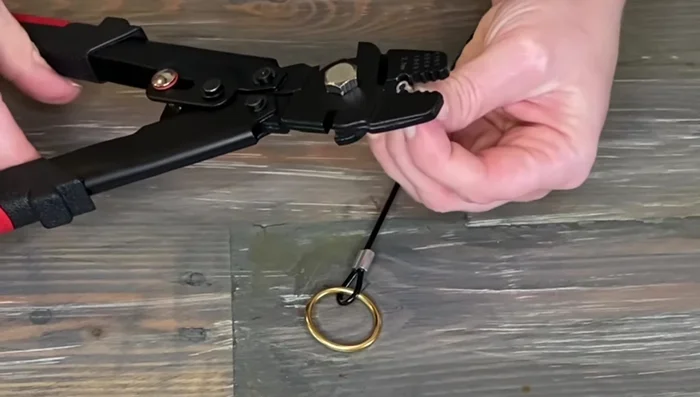
- Crimp the sleeve using the crimping tool, ensuring a secure fit.
- Slide the rubber tubing over the crimp to conceal it.
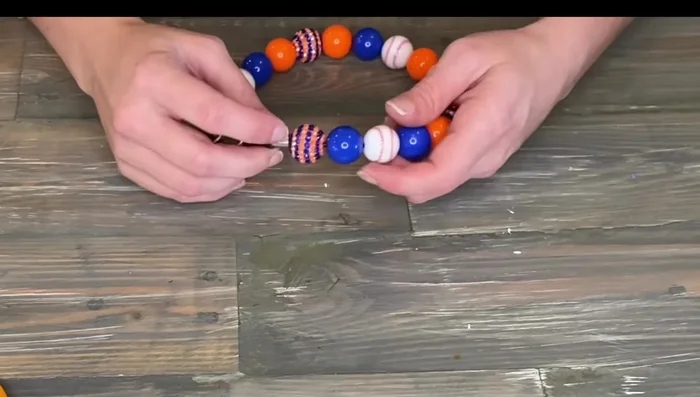
Assemble First End Add Beads and Measure
- Add beads to the desired length (remember to account for the collar's curvature).
- Cut the wire rope to the desired length, ensuring it's the correct inside length when the collar is curled.
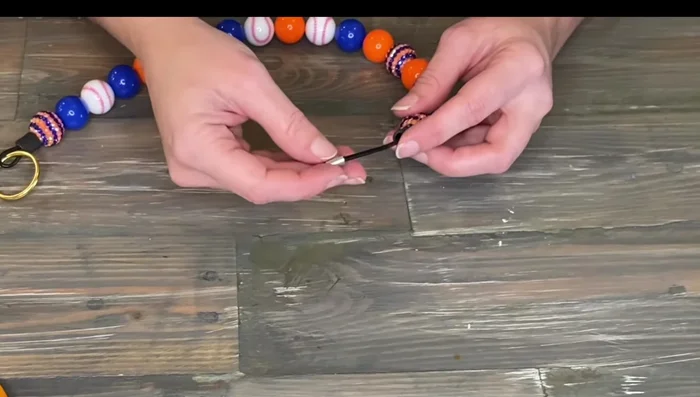
Add Beads and Measure Assemble Second End
- For the second end, attach a crimp sleeve, then the rubber tubing, then the O-ring. Insert the wire rope through the O-ring and into the crimp sleeve.
- Crimp the sleeve securely, then slide the rubber tubing over the crimp.
Assemble Second End


Read more: DIY Studded Dog Collar with Reflective Piping: A Comprehensive Guide
Tips
- Some bead holes might be small; you may need to enlarge them.
- Ensure the rubber tubing fits tightly to prevent sliding.
- When measuring for length, consider the collar's curvature; the final length should be the inside measurement.
- Apply firm pressure when crimping to ensure a secure hold.