Unleash your child's creativity with this fun and surprisingly easy craft project: DIY bottle cap animals! Transform ordinary bottle caps into adorable, miniature creatures, perfect for imaginative play or charming decorations. This engaging activity is not only a fantastic way to recycle and reduce waste, but also provides a valuable opportunity for kids to develop their fine motor skills, problem-solving abilities, and artistic expression. They'll be amazed at what they can create from these humble materials.
Prepare for hours of crafting fun as you explore the boundless possibilities of bottle cap artistry. With just a few simple supplies, you can transform these seemingly insignificant lids into a menagerie of charming animals. From playful penguins to sassy squirrels and everything in between, the only limit is your imagination! Ready to get started? Let's dive into the step-by-step instructions to create your very own bottle cap animal masterpieces.
Preparation and Safety Guidelines
- Bottle caps
- Paint
- Paper
- Scissors
- Glue
- Adult supervision is required at all times. Bottle caps can be small and pose a choking hazard for young children.
- Ensure all bottle caps are thoroughly cleaned before crafting to remove any potential residue or bacteria.
- Use age-appropriate craft glue and avoid sharp tools. Always supervise the use of scissors or other potentially dangerous tools.
Step-by-Step Instructions
Gather Materials
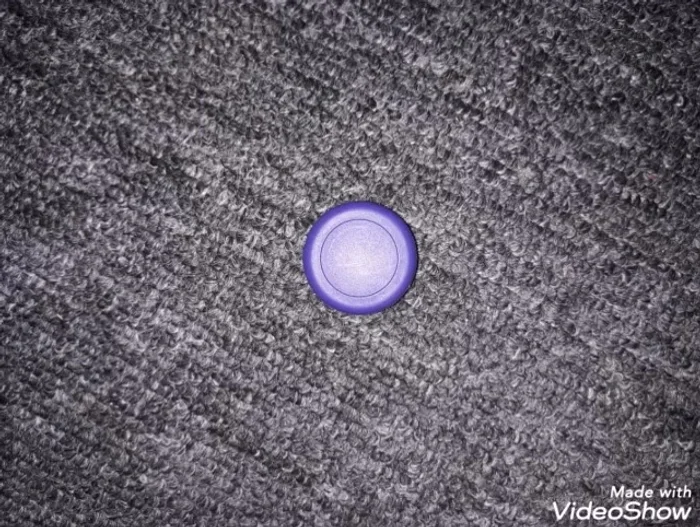
Prepare the Bottle Caps
Create Ladybug
- Paint a red bottle cap black on top, add polka dots underneath, and two white dots with black pupils for eyes.

Create Ladybug Create Bunny
- Use a white bottle cap as the base. Create ears from paper, optionally adding pink details, and glue them onto the cap. Add a simple face.
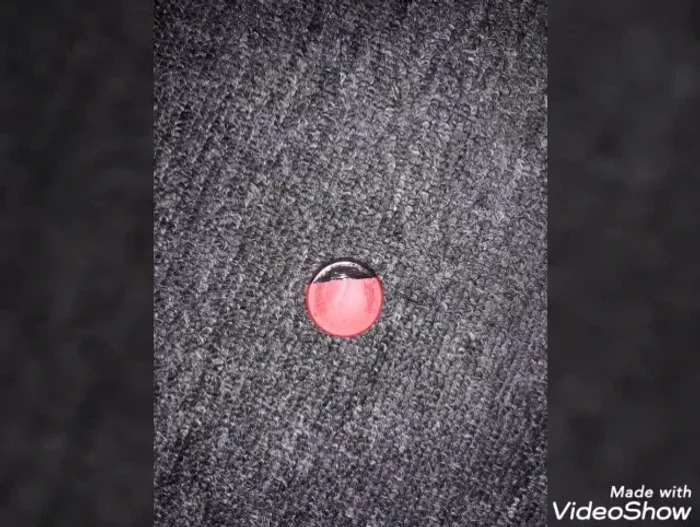
Create Bunny Create Fish
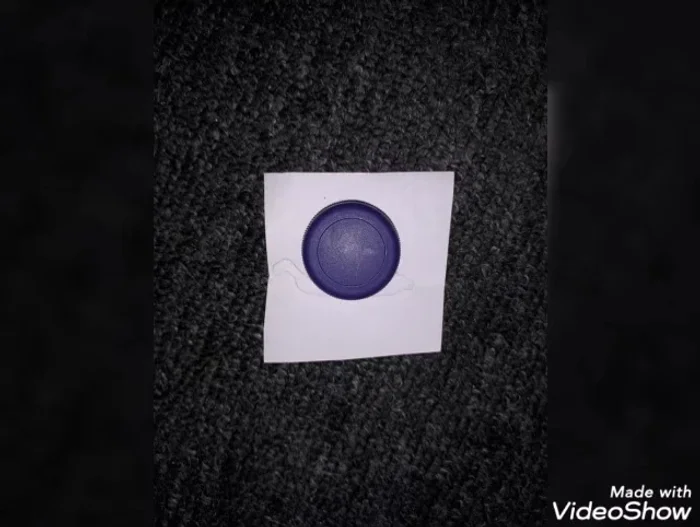
- Choose a colorful bottle cap (purple is used in the example). Add a black dot for the eye and a paper triangle for the tail.
Create Fish Create Elephant
- Use a purple bottle cap, add black dots for eyes, and create ears and a trunk from paper.
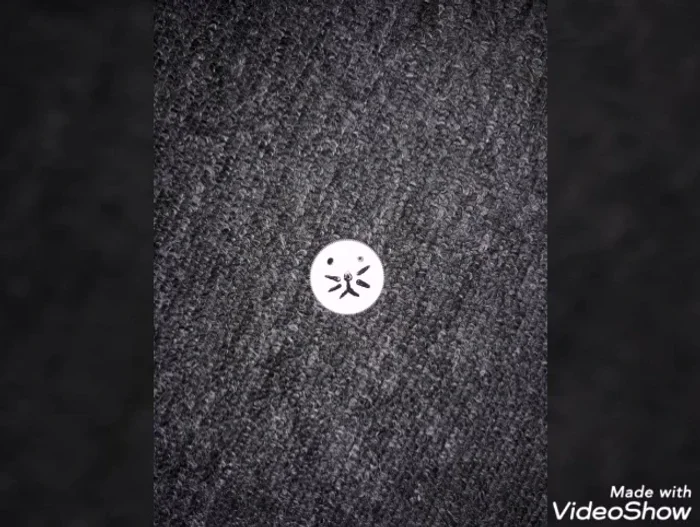
Create Elephant Create Cat
- Use a purple bottle cap, cut out paper ears and whiskers, and add eyes.
Create Cat Create Dog
- Similar to the cat, use a bottle cap and create different shaped ears.
Create Dog Create Snail
- Use a purple bottle cap and create a snail shape from paper, sticking it onto the cap.
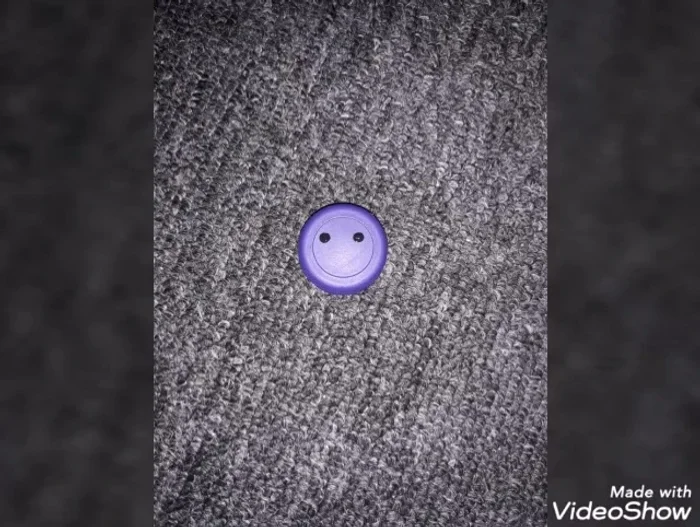
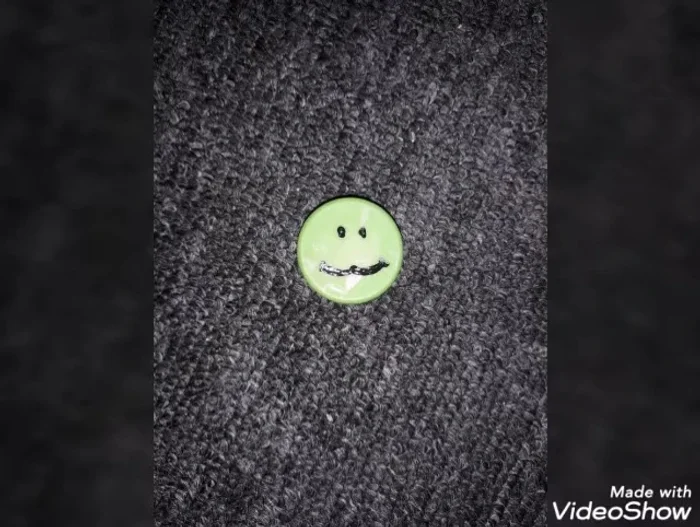
Create Snail Create Frog
- Use a green bottle cap. Add two dots for the eyes, a 'w' for the smile, and two small circles for the eyes.
Create Frog


Read more: How to Make a Tiny Loom Band Animal Toy (Rainbow Dog Tutorial)
Tips
- Get creative with designs! You're not limited to animals.
- Use different colored bottle caps and paper to make your animals unique.