Ever wished you could conjure up bouncy balls whenever the mood strikes? Well, now you can! Forget store-bought toys – unleash your inner inventor with our fantastic DIY bouncy ball making kit. This fun and easy craft project is perfect for kids and adults alike, offering a rewarding experience from start to finish. You'll be amazed at how simple it is to create your own personalized, vibrant bouncy balls, and the possibilities for customization are endless! Experiment with colors, add glitter, or even incorporate small, safe trinkets for a truly unique creation. It's a fantastic way to spend a rainy afternoon, or a fun activity for a birthday party.
Get ready to bounce into a world of creative fun because in the following steps, we'll guide you through the simple process of transforming everyday ingredients into your own personalized bouncy balls. From gathering supplies to the satisfying moment you hold your perfectly bouncy creation, this project is packed with excitement and a touch of scientific wonder. So grab your kit and let's get started!
Preparation and Safety Guidelines
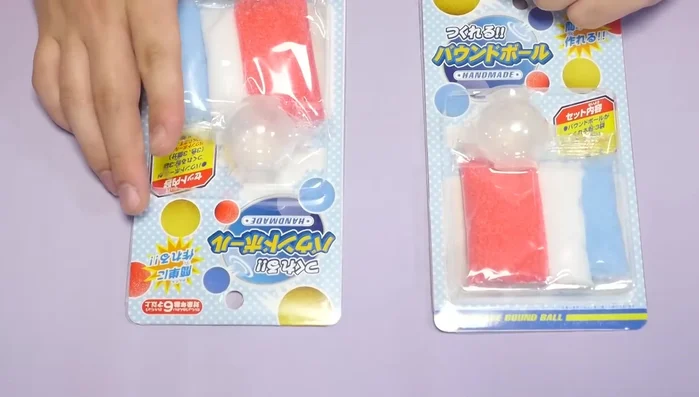
- Bouncy ball making kit (containing colored sand, acrylic, and a mold)
- Adult supervision is required at all times, especially when handling borax and boiling water.
- Avoid contact with eyes and skin. Wash hands thoroughly after handling materials.
- Do not ingest any of the ingredients. Keep the bouncy balls away from small children who may put them in their mouths.
Step-by-Step Instructions
Prepare the Kit and Materials
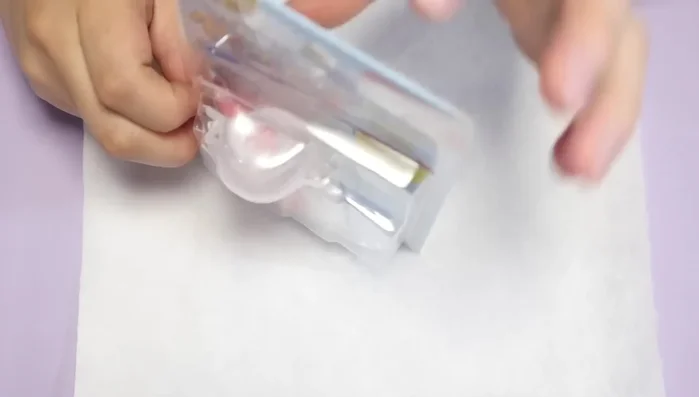
- Open the bouncy ball making kit.
- Mix your desired colors of sand and acrylic.

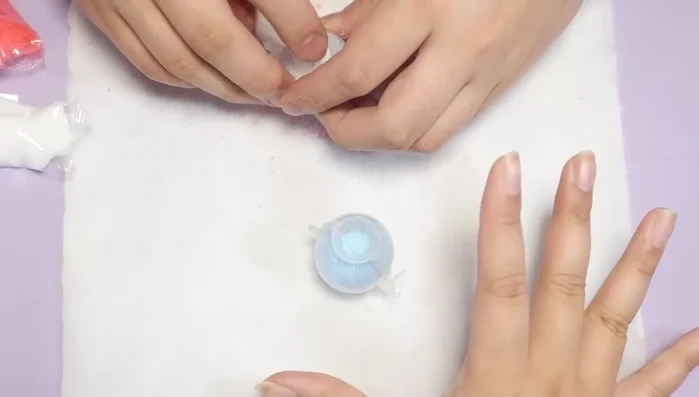
Prepare the Kit and Materials Fill and Submerge the Mold
- Fill the mold with the mixed material.
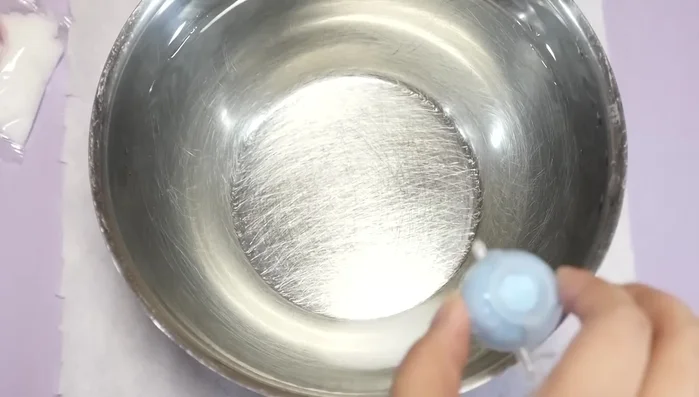
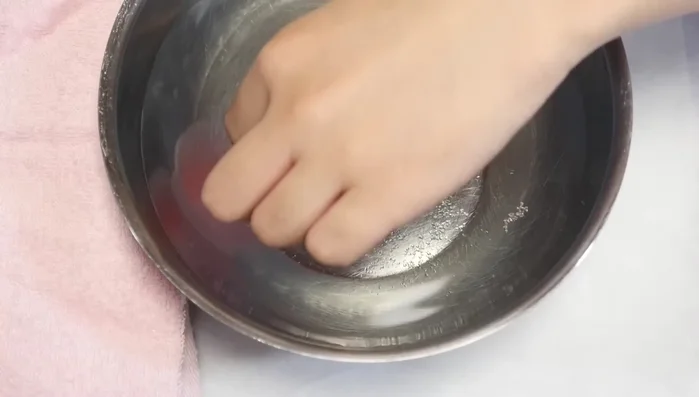
- Submerge the mold in water and hold it down for 30 seconds.
Fill and Submerge the Mold Set and Remove
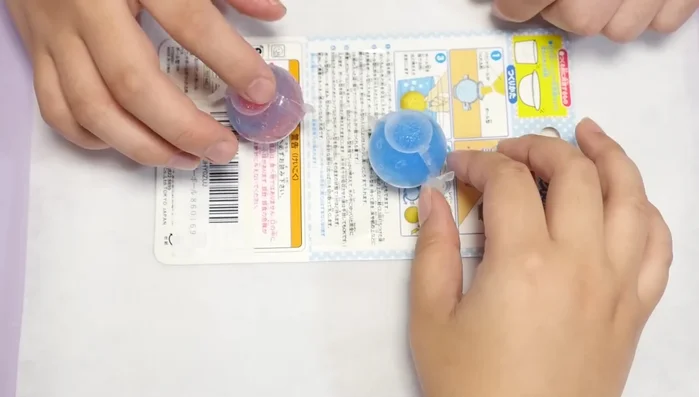
- Let it sit for approximately one minute.
- Remove the bouncy ball from the mold.
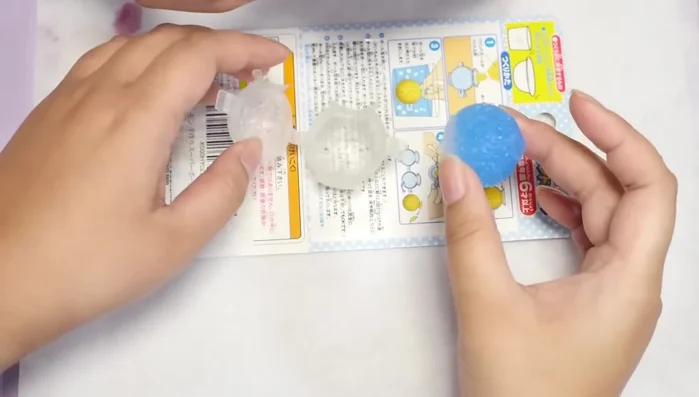
Set and Remove Dry and Finish
- it may remain slightly sticky even after drying.
Dry and Finish
Read more: No-Sew Sock Cat Tutorial: Adorable DIY Project
Tips
- Be careful with the red dye, as it can stain clothing.
- The process is simple and fast.