Does your feline friend deserve a little extra flair? Tired of ill-fitting, expensive cat clothes that cause more stress than style? Then you've come to the right place! This easy-to-follow tutorial will guide you through creating a comfortable and adorable DIY cat shirt, perfect for showcasing your cat's unique personality without the fuss and frustration of complicated patterns or expensive materials. We'll use simple techniques and readily available fabrics to ensure a purr-fectly fitting garment your cat will actually enjoy wearing.
Forget those complicated instructions and pricey pet boutiques! This no-stress project utilizes basic sewing skills and requires minimal time and effort. Whether you're a seasoned sewer or a complete beginner, you'll be surprised at how quickly you can whip up a custom cat shirt. Ready to unleash your inner fashion designer and create a stylish outfit for your beloved companion? Let's dive into the step-by-step process and start sewing!
Preparation and Safety Guidelines
- Knit fabric
- Scissors
- Sewing machine
- Pins
- Measuring tape (optional)
- Always supervise your cat while wearing the shirt. Remove immediately if they show signs of stress (excessive licking, scratching, panting).
- Use soft, breathable fabric to avoid skin irritation. Avoid fabrics with loose threads or embellishments that could be ingested.
- Ensure the shirt fits comfortably without restricting movement or breathing. It should be easy to put on and take off.
Step-by-Step Instructions
Measure and Calculate
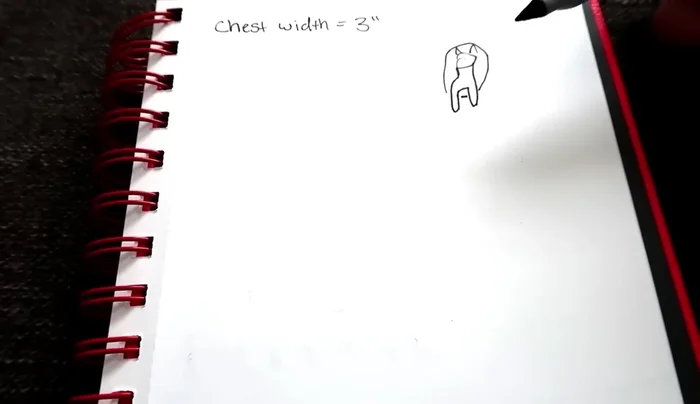
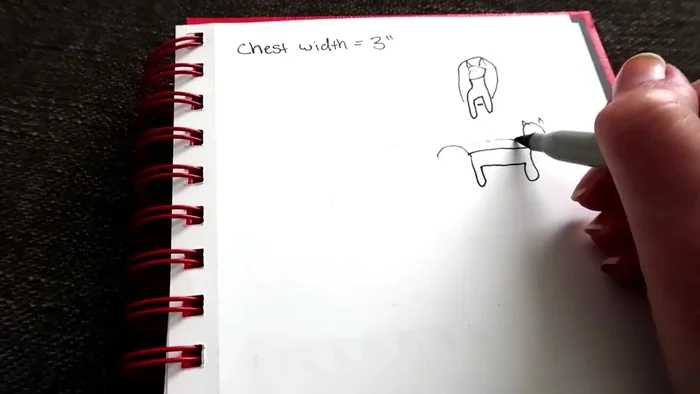
- Measure your cat's chest.
- Estimate the circumference around your cat's body.
- Determine the desired shirt length.

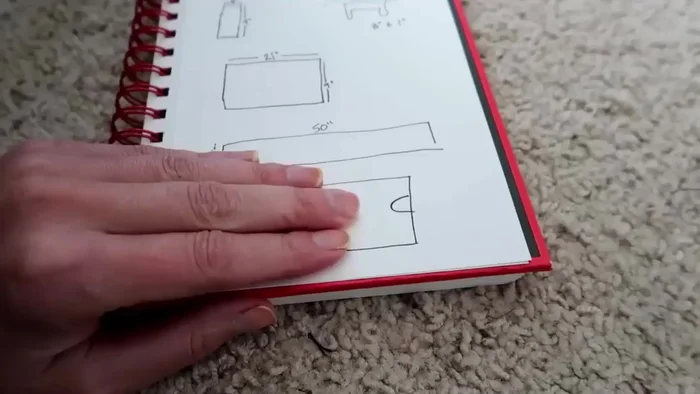
Measure and Calculate Cut Fabric Pieces
- One long and skinny for the back (chest width + 1 inch x desired length + 1 inch), one larger rectangle for the belly (circumference + 1 inch x desired length + 1 inch), and several 3-inch wide strips for cuffing (estimate length needed).
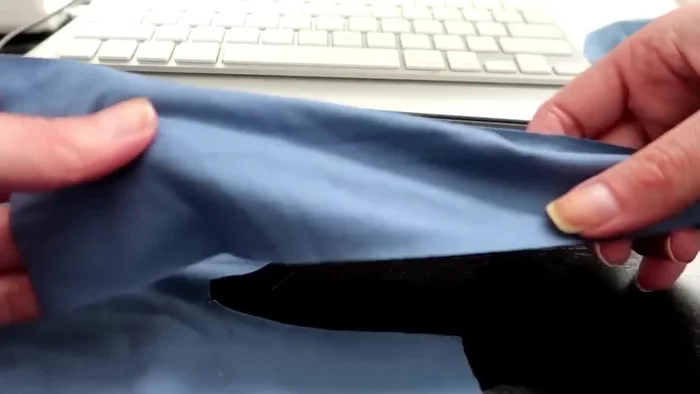
Cut Fabric Pieces Create Armholes
- Cut armholes into the back piece (3 inches down from the top, 1.5 inches long, and extending 2 inches into the garment).
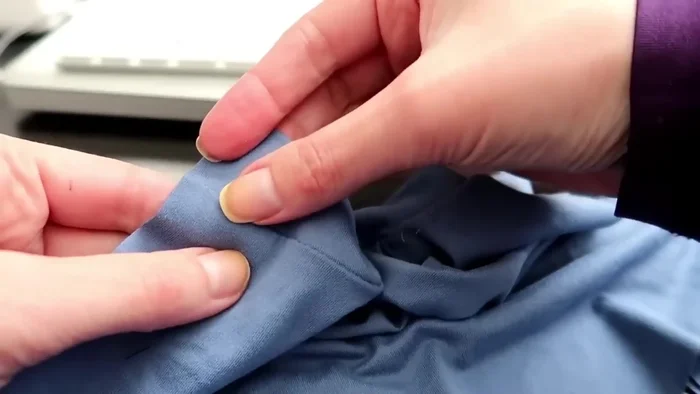
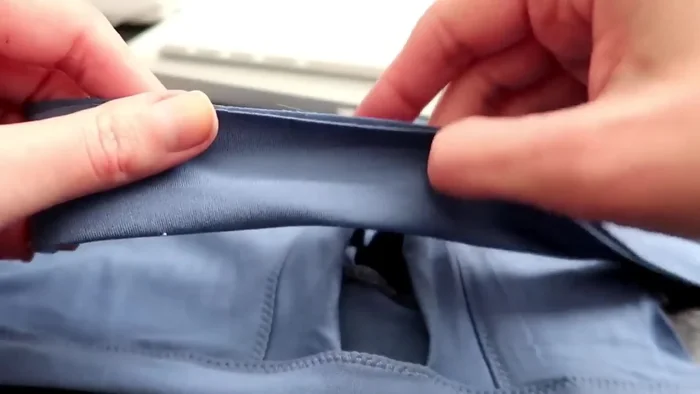
Create Armholes Attach Armhole Cuffs
- Fold cuffing strips in half (wrong sides together), pin to armhole curves (right side of shirt facing out), and sew with a zigzag stitch.
- Turn cuffing to the inside and topstitch next to the original seam with a zigzag stitch.
Attach Armhole Cuffs Attach Belly Piece
- Pin the belly piece to the back piece, starting from the bottom and working up to the armholes, ensuring a slight gap at the armholes for the cat's movement. Sew with a zigzag stitch, and then serge or topstitch the seam allowance.
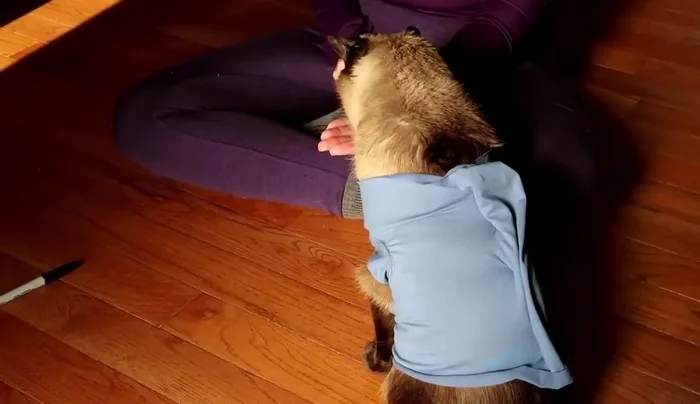
Attach Belly Piece First Fitting and Adjustments
- Use safety pins to adjust the fit, making sure the cat has full range of motion. Mark where adjustments are needed.
- Sew the marked adjustments, and then serge off the excess material.
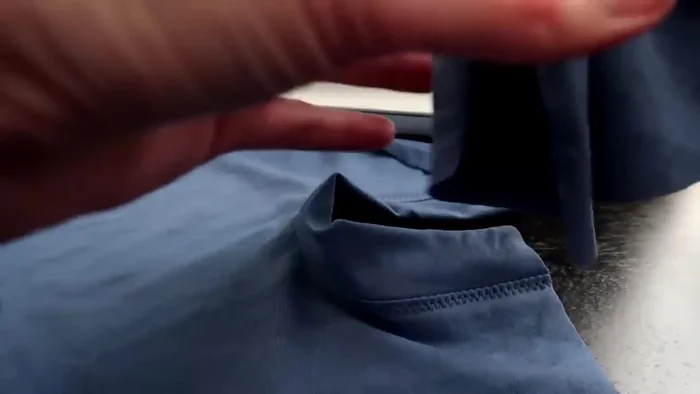
First Fitting and Adjustments Attach Neck and Belly Cuffs
- Fold cuffing strips in half (wrong sides together), sew ends together, pin to the shirt edges, sew and topstitch.
Attach Neck and Belly Cuffs

Read more: No-Sew DIY Pet Tank Top: Easy Leggings Upcycle!
Tips
- It's easier to make the shirt larger and adjust the fit than to try to get exact measurements from a wiggly cat.
- Use safety pins initially to adjust the fit and allow your cat to move around comfortably before sewing.
- After making your first cat shirt, use it as a template for future shirts to avoid constantly fitting on your cat.