Does your feline friend deserve a stylish, personalized wardrobe upgrade? Then look no further! This guide will show you how to easily create a custom cat shirt using the simplest stenciling method imaginable. Forget expensive, complicated designs; we're focusing on a quick, fun, and affordable way to add a unique touch to your cat's attire. Whether you're aiming for a playful paw print or a sophisticated monogram, this technique is perfect for crafting a one-of-a-kind garment your cat will (hopefully) love. We'll be using readily available materials and minimal crafting skills to achieve a truly adorable result.
This project is perfect for beginners, requiring only basic supplies and a little patience. Prepare to unleash your creativity and transform a plain shirt into a purr-fectly personalized piece of clothing. Ready to get started? Let's dive into the step-by-step process of creating your DIY cat shirt using our easy stenciling method.
Preparation and Safety Guidelines
- White shirt
- Fabric paint
- Brush
- Cardboard
- Paper
- Scissors
- Cat image
- Always supervise your cat during the entire process. Cats can be sensitive to smells and textures, and the fabric dye may be irritating if ingested.
- Use fabric paint specifically designed for use on clothing and that is non-toxic to pets. Thoroughly wash the shirt before allowing your cat to wear it to remove any lingering paint odors or residue.
- Choose a stencil and paint design that is simple and won't restrict your cat's movement. Avoid areas near the neck or legs to ensure comfort and prevent chafing.
Step-by-Step Instructions
Prepare the Shirt
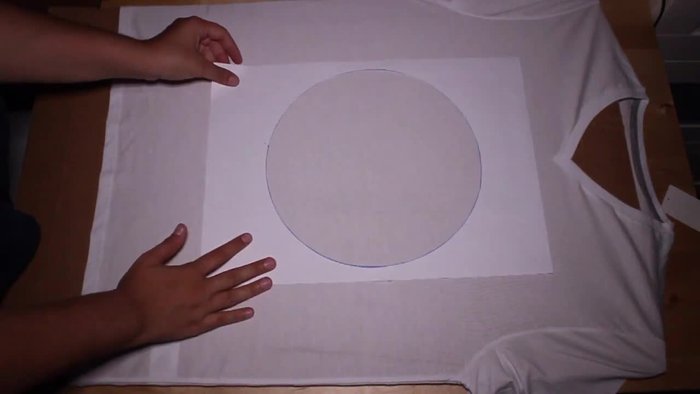
- Insert cardboard inside the shirt to keep it flat and protect the back.

Prepare the Shirt Create the Cat Stencil
- Create a paper stencil of a cat. (Avoid using contact paper as it's difficult to work with).
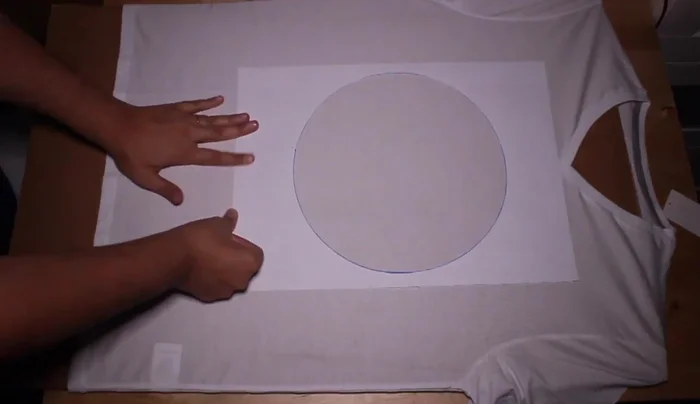
Create the Cat Stencil Position the Stencil
- Position the stencil onto the shirt.
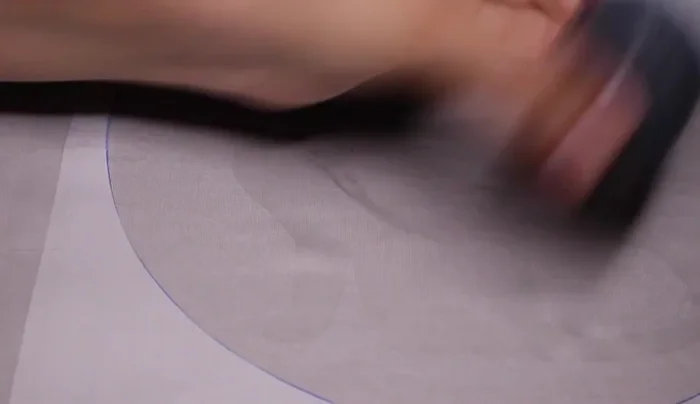
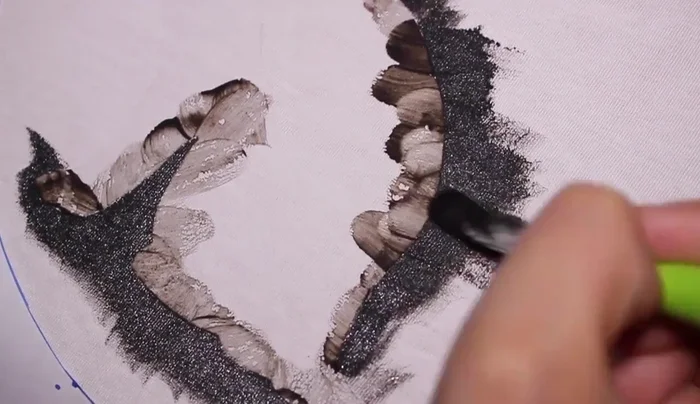
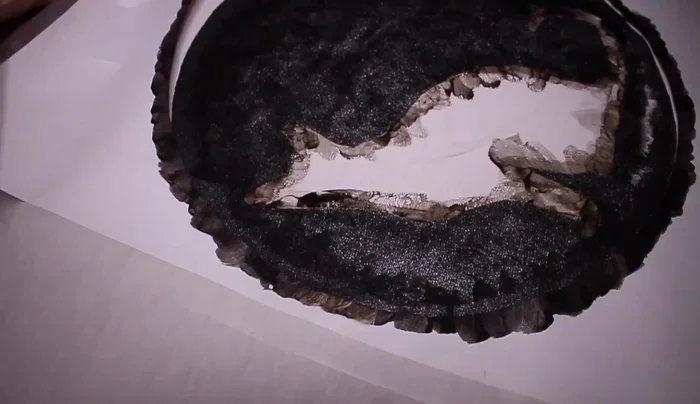
Position the Stencil Paint the Design
- Paint the shirt, working outwards from the stencil to avoid smudges.
- Apply several coats of paint.
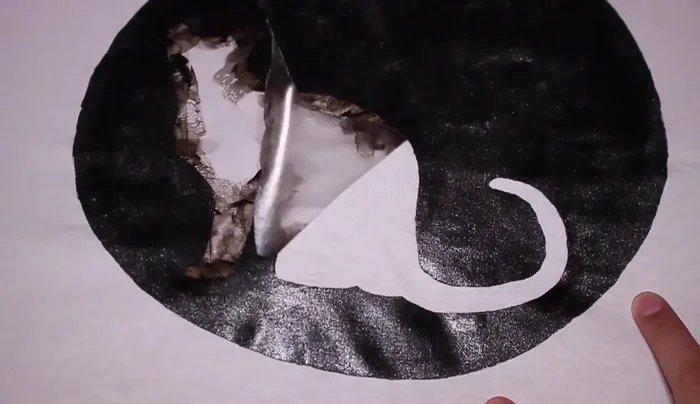
Paint the Design Remove Stencil and Dry
- Remove the stencil once the paint is dry.
- Let the shirt dry completely.
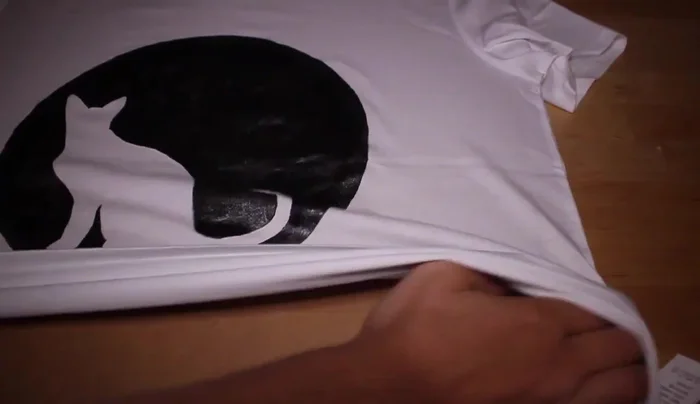
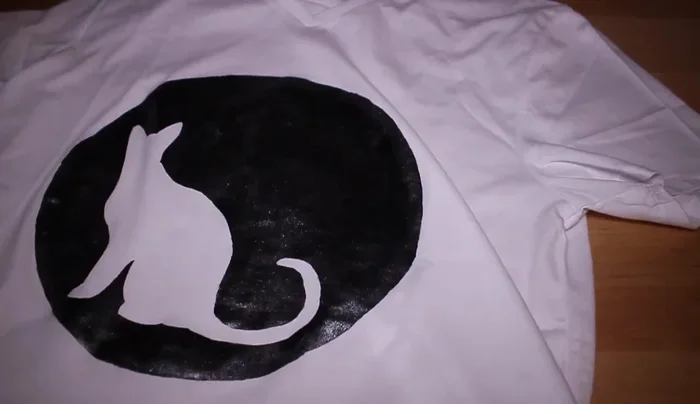
Remove Stencil and Dry Final Steps
- Wash the shirt before wearing.
Final Steps
Read more: No-Sew DIY Pet Tank Top: Easy Leggings Upcycle!
Tips
- Use cardboard to create a flat surface for painting.
- Paper stencils are easier to use than contact paper.
- Paint outwards from the stencil to prevent smudges.
- Apply multiple coats of paint for better coverage.
- Wash the shirt after painting to remove excess paint and chemicals.