Keeping your kitten entertained and stimulated is crucial for their development and well-being, and what better way to do so than with fun, safe, and affordable toys? Forget expensive store-bought options; this guide will show you how to create engaging, durable cat toys using readily available materials – rope! We'll explore two methods: a quick no-sew option perfect for beginners and a slightly more advanced sew-in-the-middle design for those who prefer a sturdier toy. These braided rope toys are not only easy to make but also incredibly enticing to kittens, who love the texture and the satisfying feel of batting them around.
Whether your kitten is a playful pouncer or a gentle chaser, these DIY rope toys offer endless fun. The simple techniques allow for customization, letting you adjust the size, thickness, and even add enticing scents or textures. Ready to unleash your inner crafter and create the purrfect playtime companion for your feline friend? Let's dive into the step-by-step instructions and begin crafting these adorable, easy-to-make braided rope cat toys.
Safety Guidelines
- Always supervise your kitten when playing with any toy, especially those made from rope. Ingested rope can cause serious internal injuries.
- Choose strong, natural fibers like cotton or sisal rope. Avoid synthetic ropes that might fray easily and present a choking hazard.
- Regularly inspect the toy for wear and tear. Discard the toy immediately if any significant fraying or damage occurs to prevent ingestion of small pieces.
Methods: No-Sew T-Shirt Cat Toy
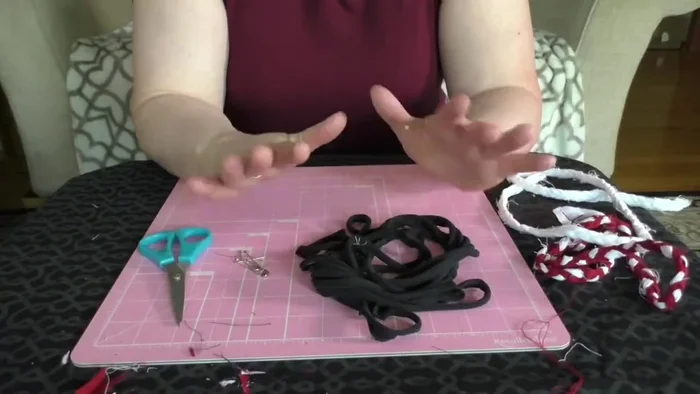
Tools Needed
- Old t-shirt
- Scissors or rotary cutter
Step-by-Step Instructions
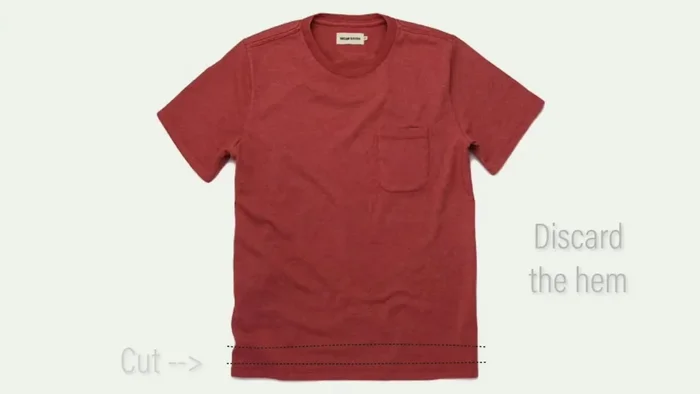
Prepare the T-shirt
- Cut off the hem from the bottom of the t-shirt (about 1 inch).
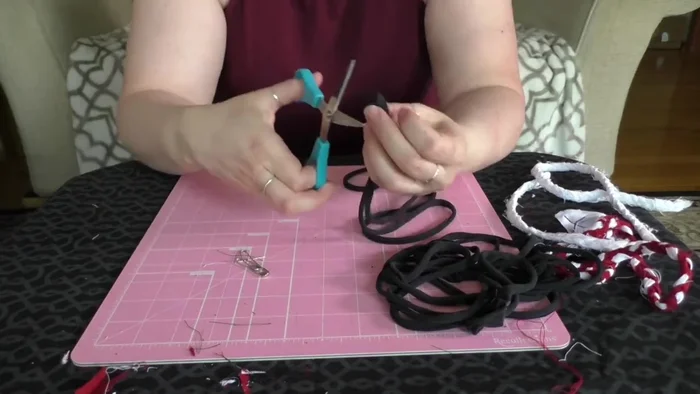
- Cut three strips, about an inch apart, across the width of the t-shirt.
- Cut off any seams to create long continuous strips.

Prepare the T-shirt Knot and Secure
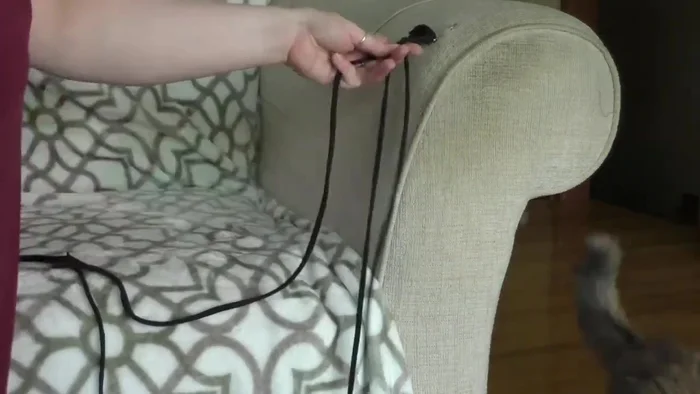
- Tie a knot at one end of the three strips together.
- Attach the knotted end to something heavy (like a couch arm) to keep it in place.
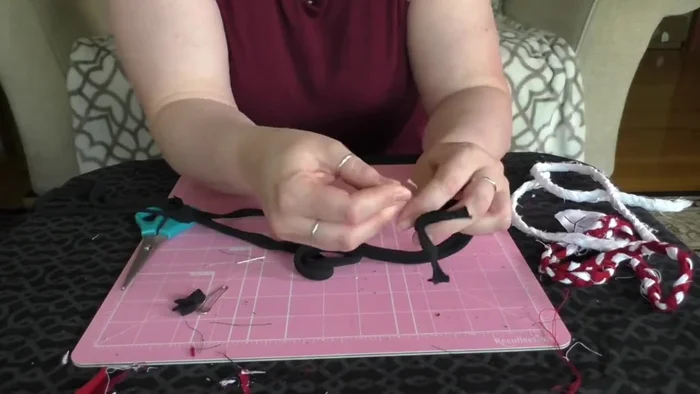
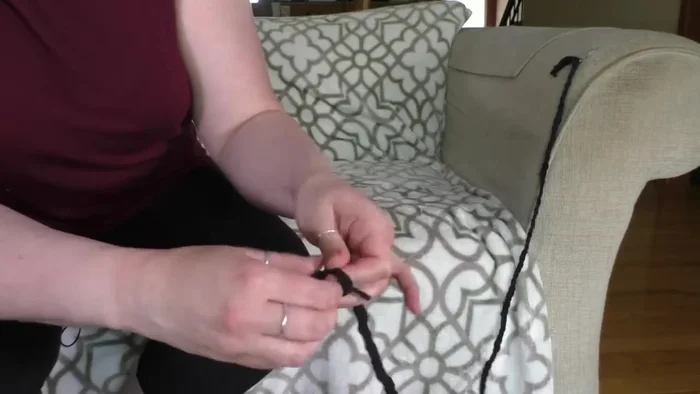
Knot and Secure Braid the Strips
- Braid the three strips together.
Braid the Strips Finish the Braid
- Tie another knot at the end of the braid.
Finish the Braid

Tips
- Stretch the strips as much as possible before braiding.
- Braiding makes the toy sturdier and more durable for the cat to play with.
Methods: Sewn Fabric Scrap Cat Toy
Tools Needed
- Fabric scraps (3 strips, 3/4 inch to 1 inch wide)
- Needle and thread or sewing machine
- Pins
Step-by-Step Instructions
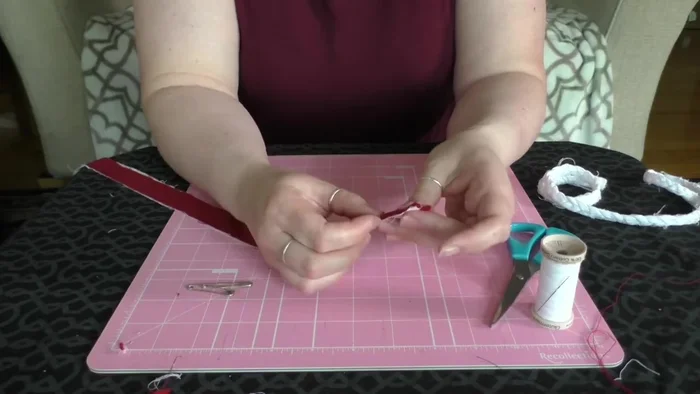
Prepare Fabric Strips
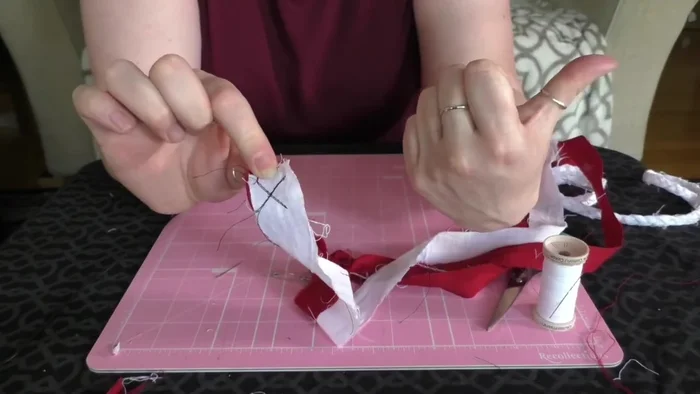
- Gather three fabric strips and pin them together about an inch from the top.
Prepare Fabric Strips Sew Fabric Strips Together
- Sew across the pinned section to secure the strips (using a sewing machine or hand-stitching).
Sew Fabric Strips Together Braid the Fabric
- Braid the three strips together.
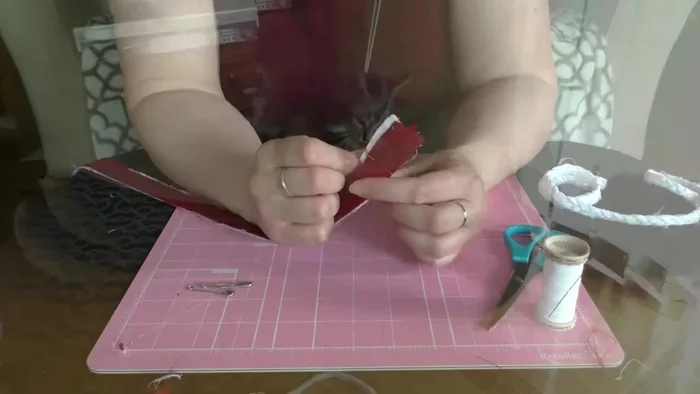
Braid the Fabric Secure Braid End
- Pin the end of the braid to hold it in place.
- Sew across the end of the braid to secure it (using a sewing machine or hand-stitching).
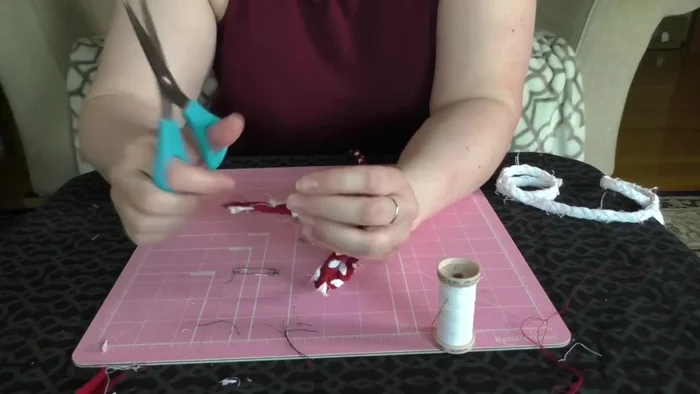
Secure Braid End Finish the Toy
- Trim excess threads.
Finish the Toy

Tips
- Use contrasting thread for better visibility during sewing.
- Anchor the end of the braid while braiding to prevent it from moving.
- Cotton fabric is washable.
Read more: DIY Braided Tug Toys for Squirrels: Easy Step-by-Step Guide