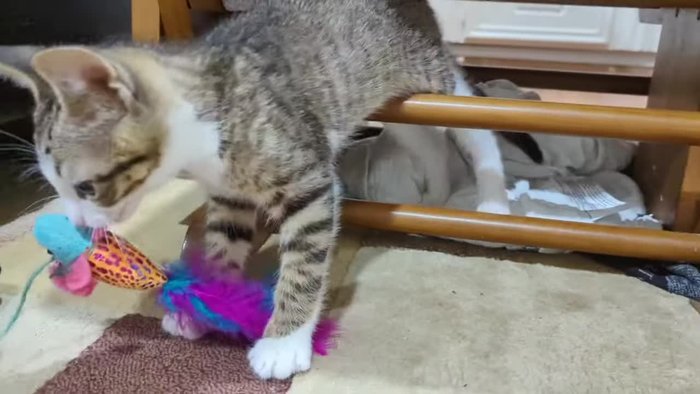
Cats, with their inherent agility and love for high vantage points, often crave a dedicated space to climb, scratch, and survey their kingdom. Commercial cat trees can be expensive, and often lack the customization options to perfectly suit your cat's preferences and your home's aesthetic. Why not build your own? Creating a DIY cat tree is a rewarding project that allows you to tailor the design, materials, and size to your feline friend's specific needs, resulting in a truly unique and personalized climbing paradise.
This project requires minimal carpentry skills and utilizes readily available materials, making it accessible to even novice DIY enthusiasts. From selecting sturdy materials to adding the finishing touches, this step-by-step guide will walk you through the entire process of building a fantastic cat tree your cat will adore. Let's get started and create a cozy haven for your beloved companion!
Preparation and Safety Guidelines
- Scrap wood
- 2" x 4' foot dowel
- Indoor/outdoor carpet
- Natural fiber rope
- Circular saw
- Miter saw
- Jigsaw
- Sandpaper
- Screws
- Wood glue
- Heavy-duty stapler
- Hinges
- Use only non-toxic materials. Cats often lick and chew on surfaces, so avoid paints, stains, and fabrics containing harmful chemicals.
- Ensure stability. A wobbly cat tree is dangerous. Securely fasten all parts and consider using wall anchors for extra stability, especially for taller structures.
- Avoid small, detachable parts that could be swallowed. Cats are curious and may try to ingest anything they can reach. Choose materials and designs that minimize choking hazards.
Step-by-Step Instructions
Planning and Preparation
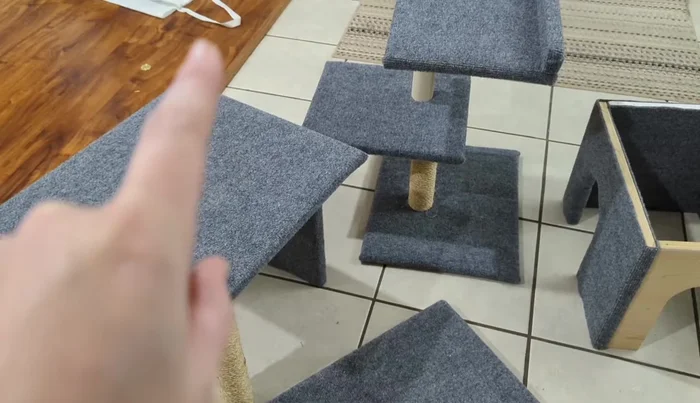
- Sketch out your cat tree design, considering dimensions and features like platforms, houses, and ramps.
- Collect scrap wood, a dowel for posts, carpet, rope, and other necessary supplies.

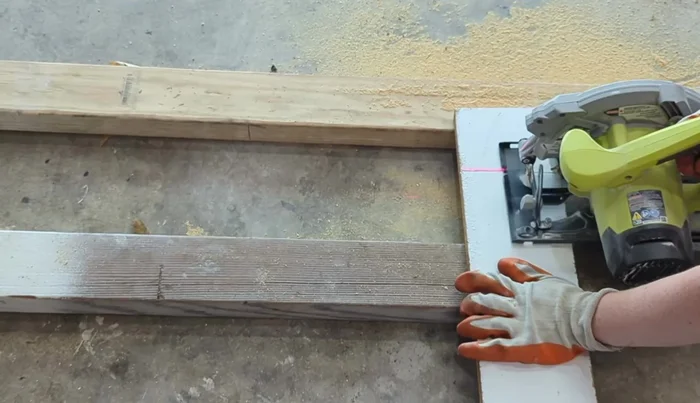
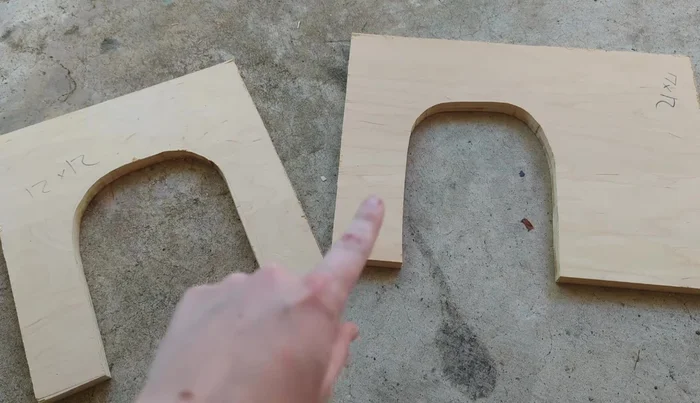
Planning and Preparation Cutting and Shaping Wood
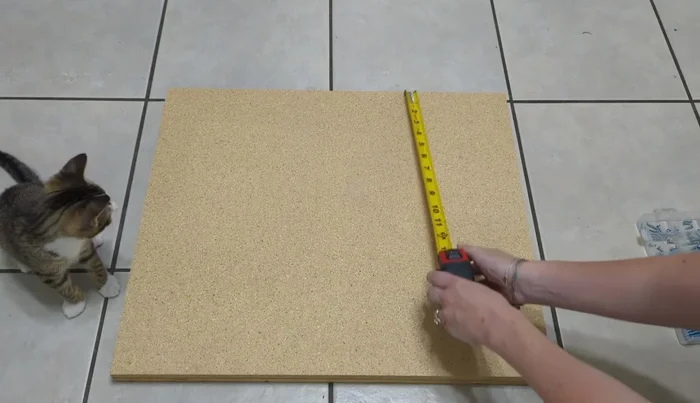
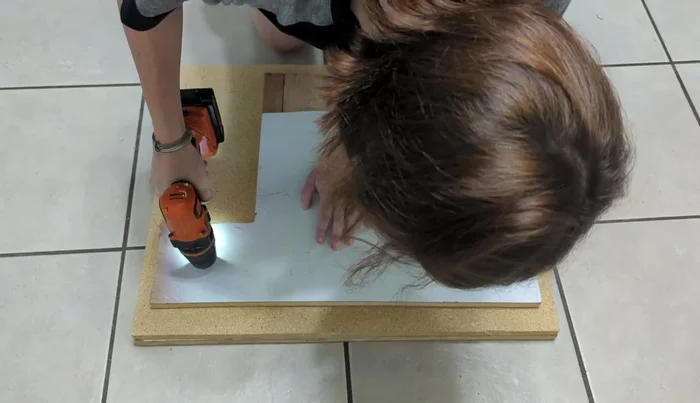
- Using a circular saw and miter saw, cut the wood to the dimensions specified in your plan.
- Cut rounded openings for doors in the designated wood pieces. Sand all cut edges for smoothness.
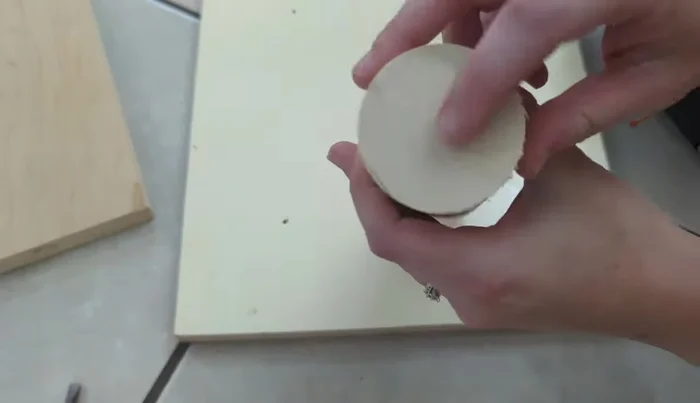
Cutting and Shaping Wood Constructing the Lofts
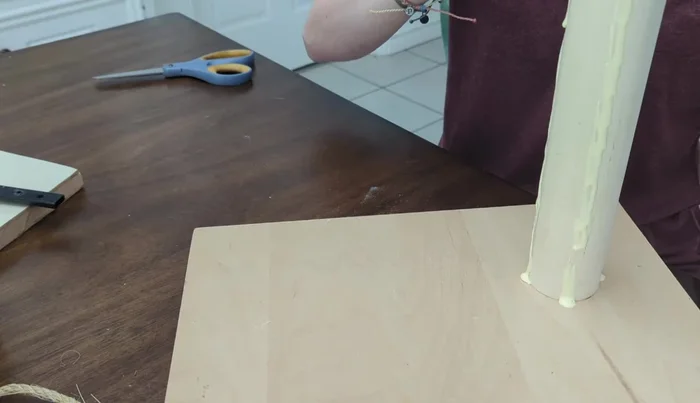
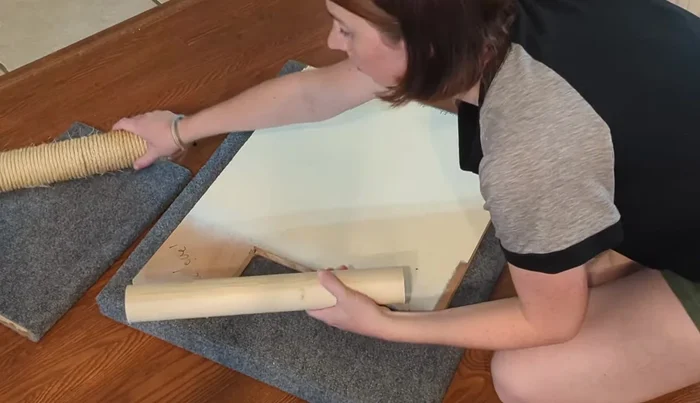
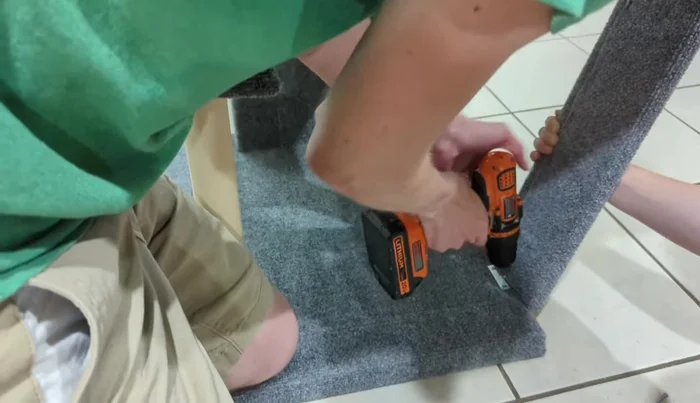
- Pre-drill holes, then assemble the lofts, attaching smaller posts offset from the center for a stepped effect.
- Securely wrap posts with rope, using wood glue to adhere it. Clamp and let dry.
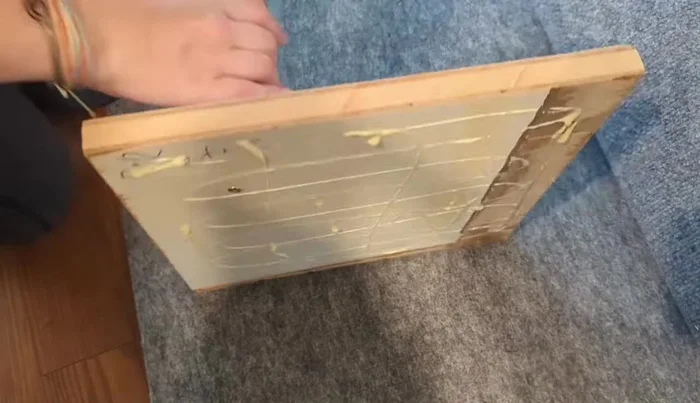
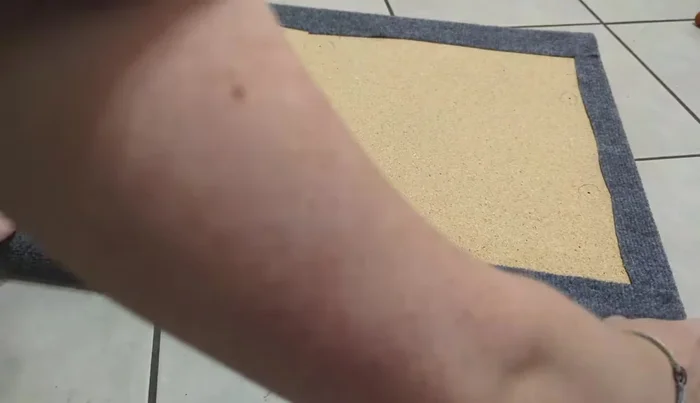
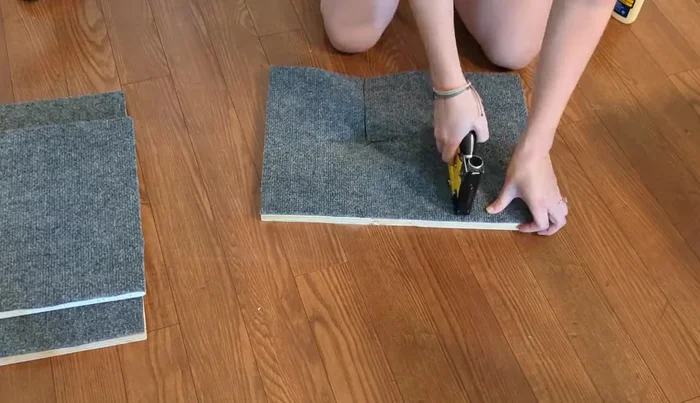
- Apply wood glue to the underside of the loft platforms, position them upside down on the carpet, cut out, and staple the carpet to the platforms securely.
- Attach the carpeted lofts to each other using screws and pre-drilled pilot holes.
Constructing the Lofts Building the Base
- Create a double-layered base using wood glue and screws for added stability and weight.
- Pre-drill holes in both platform and base supports to ensure proper alignment. Attach supports to the base using screws.
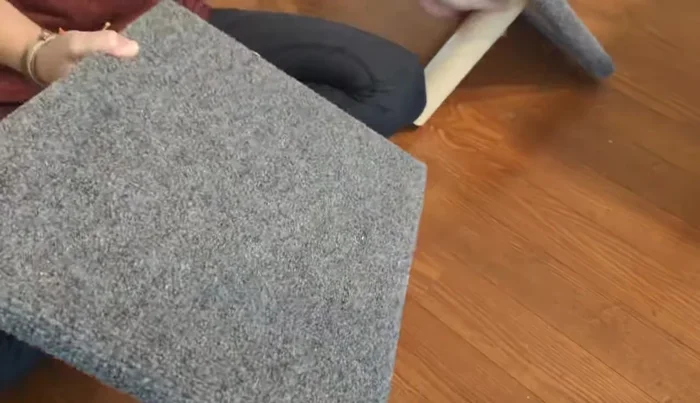
- Cover the base and platform with carpet, stapling securely to create a flush fit.
Building the Base Assembling the Cat House
- Apply carpet to the inside and outside of the cat house, ensuring full coverage. Attach to the platform.
Assembling the Cat House Final Assembly
- Securely attach the platform to the base using screws.
- Attach the assembled lofts to the platform and the base.
- Using hinges, attach the ramp to the platform.
Final Assembly

Read more: No-Sew Sock Cat Tutorial: Adorable DIY Project
Tips
- Use pre-drilled pilot holes to ensure accurate alignment and prevent wood splitting when assembling.
- Use a double-layered base for added stability and weight.
- Use a heavy-duty stapler for secure carpet attachment.
- Use hinges to make the ramp adjustable and easy to attach.