Indoor cats often face a lack of stimulation, leading to boredom and behavioral issues. Providing enriching activities is crucial for their physical and mental well-being, and a DIY cat wall offers a fantastic solution. This vertical playground, built to your cat's specific preferences, transforms a dull wall into an exciting adventure zone. Imagine your feline friend joyfully navigating a maze of shelves, scratching posts, and cozy resting places, all designed with their natural instincts in mind. It's a project that not only benefits your cat's health but also adds a unique and charming element to your home décor.
This comprehensive guide will take you through each step, from planning the design and gathering materials to the final construction and decorating. Get ready to unleash your inner DIY enthusiast and create the ultimate cat enrichment project – a customized cat wall your furry companion will adore. We’ll cover everything you need to know to build a purr-fect climbing paradise.
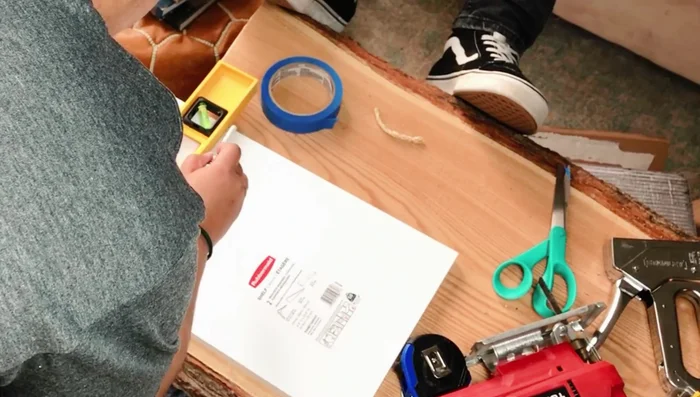
Preparation and Safety Guidelines
- Long wooden board
- Green grass carpet
- Wood screws
- Drywall screws and anchors
- Wall shelf brackets
- Drill gun
- Jute rope
- Drill bits
- Measuring tape
- Jigsaw
- Painter's tape
- Staple gun
- Craft paper
- Primer
- Paint
- Wall decals
- Faux plants
- Cat scratch post
- Cat toys
- Securely fasten all components to the wall. A falling wall structure could injure your cat or damage your home.
- Use non-toxic materials and paints. Cats may lick or chew on the wall, so avoid anything harmful.
- Ensure the wall structure is sturdy and can support your cat's weight and activity. Avoid using materials that could easily break or become unstable.
Step-by-Step Instructions
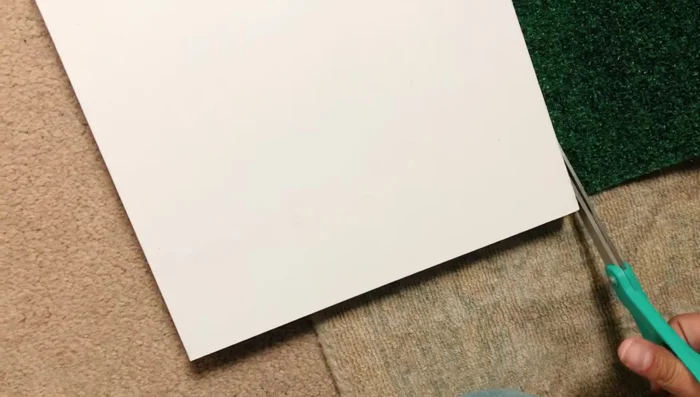
Prepare the Shelves
- Cut shelves in half for the bottom two steps.
- Cut and staple green grass carpet onto shelves.

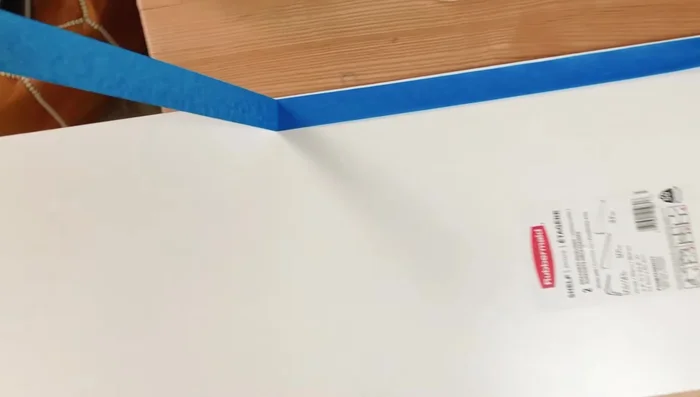
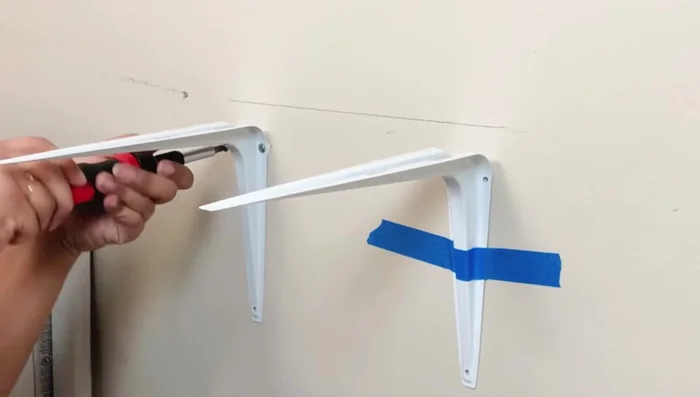
Prepare the Shelves Plan and Install Shelves
- Use painter's tape as a measuring template to plan shelf placement.
- Install wall brackets, utilizing studs for extra security.
- Attach shelves to brackets using screws.
Plan and Install Shelves Wall Preparation
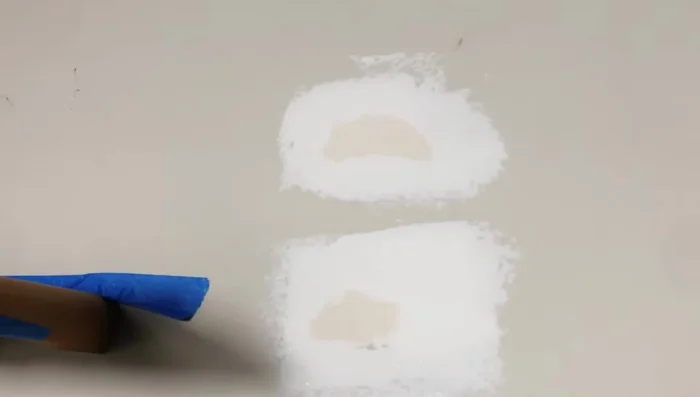
- Prep damaged wall areas with craft paper, primer, and paint.
Wall Preparation Create Cat Scratching Post
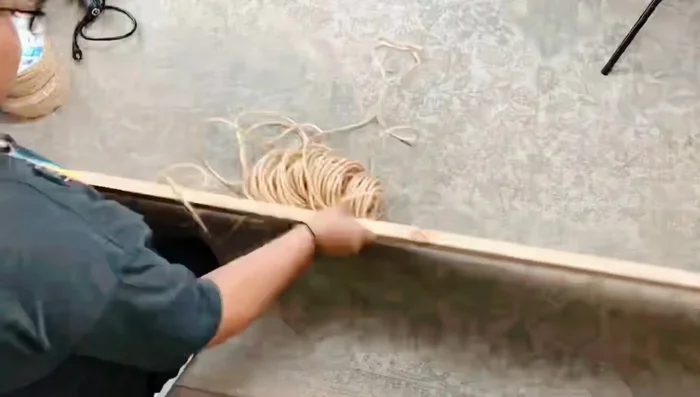
- Wrap jute rope around the wooden board to create the cat scratching post.
Create Cat Scratching Post Install Cat Scratching Post
- Mount the cat scratching post directly onto the shelves for better cat engagement.
Install Cat Scratching Post Decorate the Cat Wall
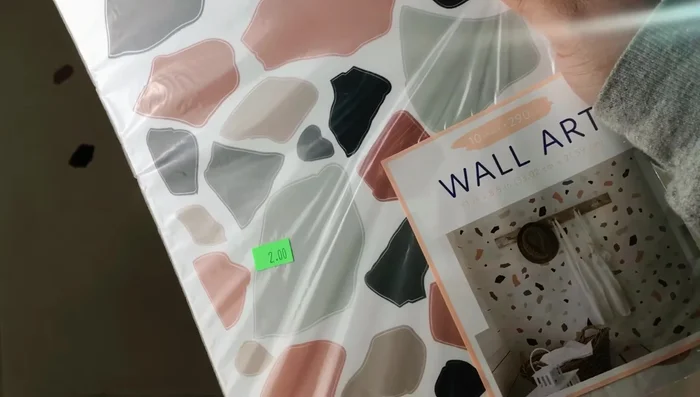
- Add wall decals for decoration.
- Add plants (real or faux) for visual appeal.
Decorate the Cat Wall

Read more: No-Sew Sock Cat Tutorial: Adorable DIY Project
Tips
- Do the jigsaw cutting outdoors to avoid mess.
- Using a staggered stepping design for the shelves makes it easier for the cat to climb.
- Mounting the scratching post directly to the shelves provides better grip and engagement for the cat.
- Use cat-friendly, pet-safe plants.