Is your feline friend showing signs of boredom or lacking engaging playtime? Tired of expensive store-bought cat toys that get destroyed in minutes? Then prepare to unleash a wave of feline fun with this ultimate guide to creating your own DIY catnip toys! From simple, no-sew projects perfect for beginners to more intricate creations for the crafty cat owner, we'll explore a variety of options that are sure to keep your kitty entertained for hours. Forget the pricey pet store aisles; you'll be amazed at how easily you can transform everyday household items into irresistible catnip-infused treasures.
This guide is packed with creative ideas and detailed instructions for making a wide range of stimulating toys, tailored to different skill levels and your cat's unique preferences. Ready to start crafting? Let's dive into the step-by-step instructions and unleash your inner DIY expert to create the purrfect toys your cat will adore.
Preparation and Safety Guidelines
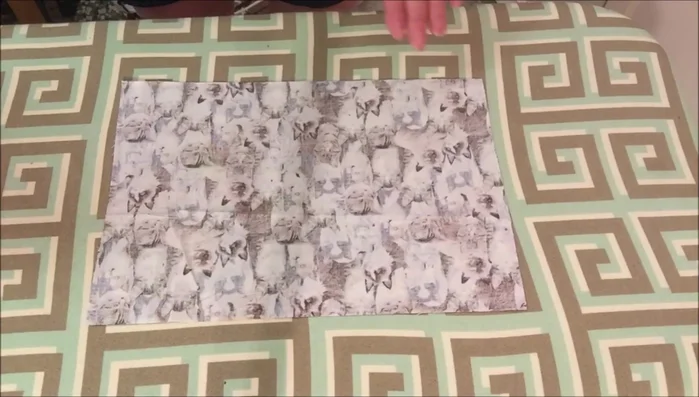
- Fabric
- Stuffing (polyester fill)
- Catnip
- Sewing machine
- Iron
- Ironing board
- Pins
- Always supervise your cat when playing with homemade catnip toys. Ingested fabric or stuffing can be a choking hazard or cause internal blockage.
- Only use 100% natural, organic catnip. Avoid essential oils or other additives that could be toxic to your cat if ingested.
- Ensure all seams are securely sewn and there are no loose threads or small parts that your cat could pull off and swallow.
Step-by-Step Instructions
Prepare Fabric
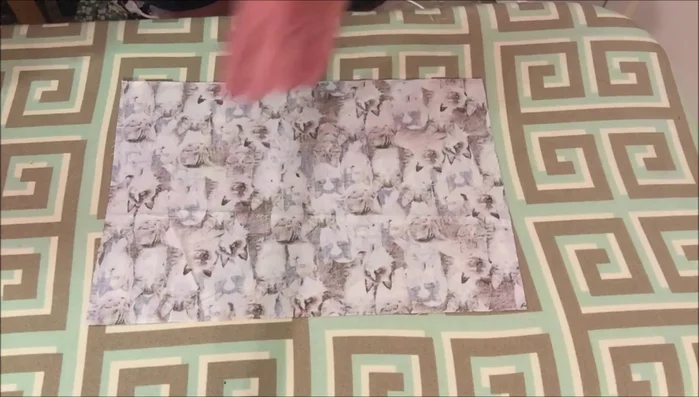
- Cut fabric to desired size for the catnip roll.
- Press the short ends of the fabric to the wrong side by a half inch.
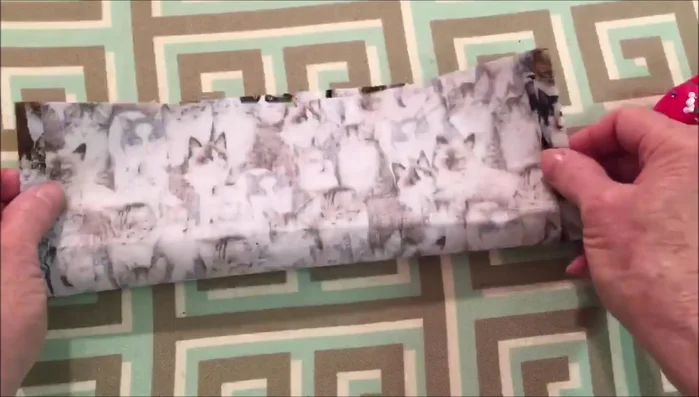
- Fold the fabric lengthwise with pretty sides together and pin it in place.

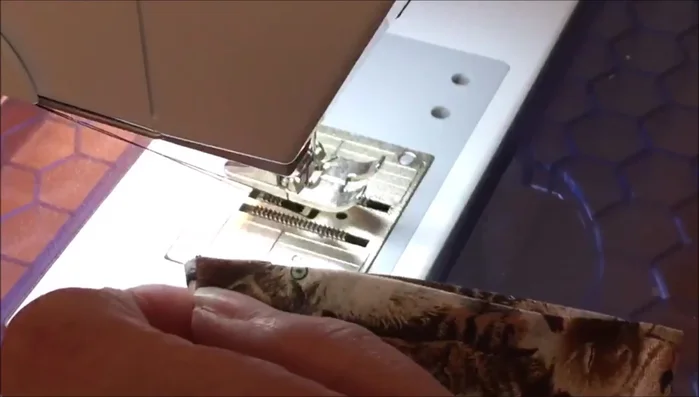
Prepare Fabric Sew the Tube
- Sew the long side together using a half inch seam allowance, back tacking at the beginning and end.
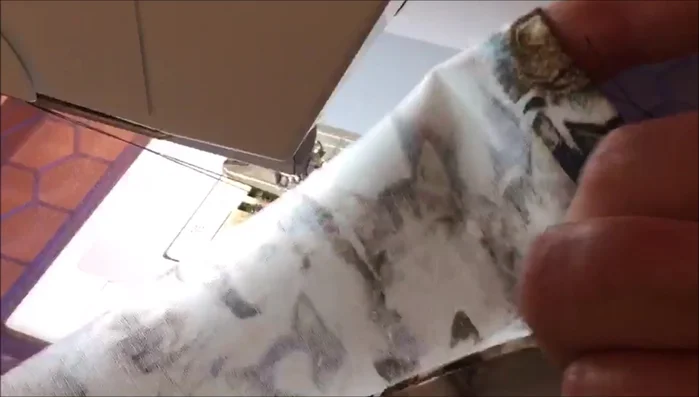
Sew the Tube Turn and Close One End
- Turn the tube right side out.
- Line up one short end, pin it in place, and edge stitch close to the end, back tacking at the beginning. Sew this end closed.
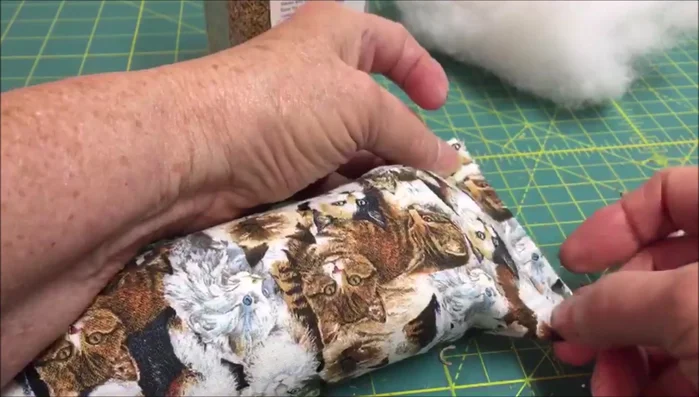
Turn and Close One End Stuff and Fill with Catnip
- Stuff the fabric tube with about one inch of stuffing, then add catnip (about two tablespoons). Add more stuffing and catnip in sections (the video suggests three). Leave some room at the end for sewing.
Stuff and Fill with Catnip Close the Final End
- Edge stitch the remaining end closed. Optionally, add a row of straight stitches across the other end for added security.
Close the Final End


Read more: No-Sew Sock Cat Tutorial: Adorable DIY Project
Tips
- Use about two tablespoons of catnip per roll.
- The video suggests three sections of catnip, but you can adjust to your liking.
- Leave enough room at the end of the stuffing process to allow for sewing the end shut.