Cats are undeniably captivating creatures, and their mesmerizing eyes often inspire artistic expression. Today, we're channeling that feline allure into a fun and surprisingly simple craft project: creating DIY cat's eye pom-poms! These charming little ornaments are perfect for adding a touch of playful elegance to hats, scarves, keychains, or even just as decorative pieces around your home. Forget expensive store-bought decorations; with just a few readily available materials and a bit of patience, you can craft a whole collection of these captivating pom-poms.
Their unique design, mimicking the captivating glint of a cat's eye, makes them truly special. From vibrant greens and golds to deep blues and ambers, the color possibilities are endless, allowing you to tailor your creations to your personal style. Ready to unleash your inner crafter and create these adorable accessories? Let's dive into the step-by-step guide below, showing you exactly how to make your very own DIY cat's eye pom-poms.
Preparation and Safety Guidelines
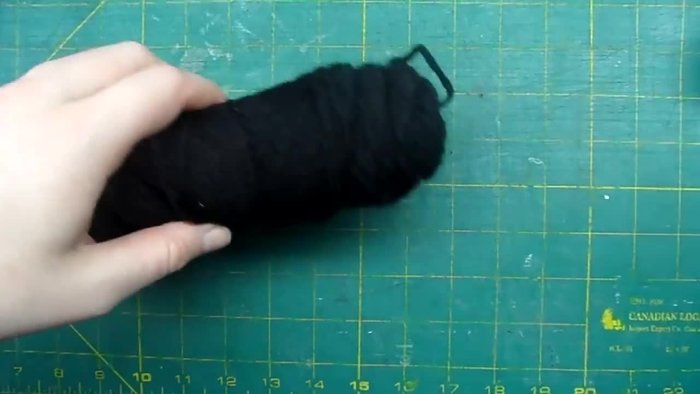
- Cardboard pom-pom makers
- Yarn (3 colors)
- Scissors
- Adult supervision is required, especially when working with sharp scissors or hot glue.
- Keep yarn and small pom-pom parts away from young children and pets to prevent choking hazards.
- Ensure proper ventilation when using hot glue to avoid inhaling fumes.
Step-by-Step Instructions
Prepare Materials
- Prepare your cardboard pom-pom makers and yarn. Decide on your three colors (e.g., black, green, and a lighter color).

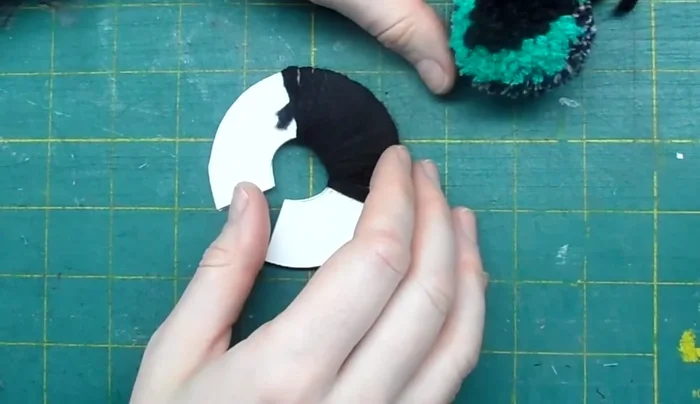
Prepare Materials Create Black Core
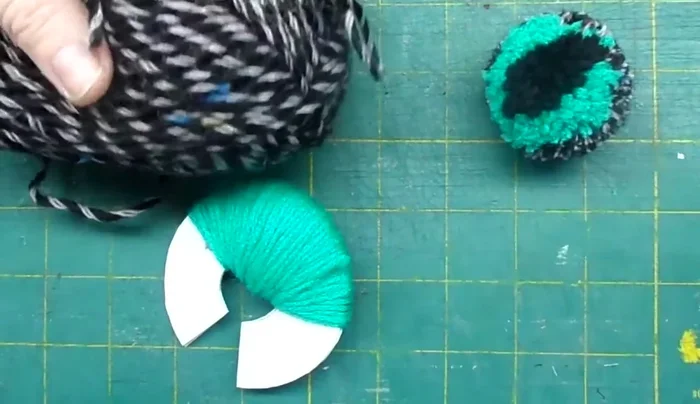
- Wrap the black yarn around the cardboard, starting with a single row. Gradually increase density towards the center to create a diamond shape.
- Tie off the black yarn securely.
Create Black Core Create Iris Layer
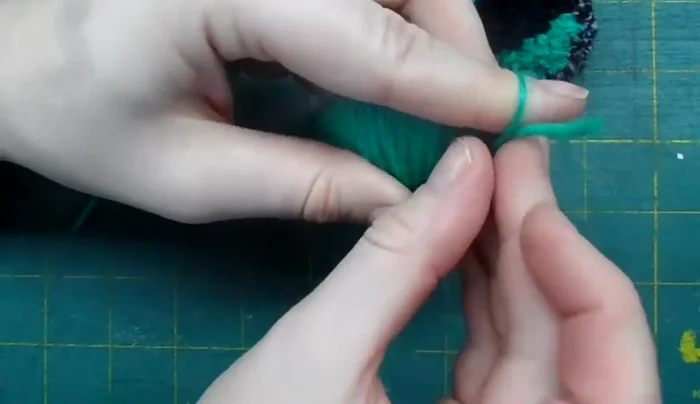
- Wrap the chosen iris color (e.g., green) around the black core, overlapping it on the sides. Make this layer thicker on the sides than the top and bottom.
- Tie off the iris color yarn.
Create Iris Layer Create Outer Layer
- Wrap the outer color (e.g., light beige) around the entire pom-pom, ensuring complete coverage. Wrap thoroughly to create a dense, even layer.
- Tie off the outer color yarn.
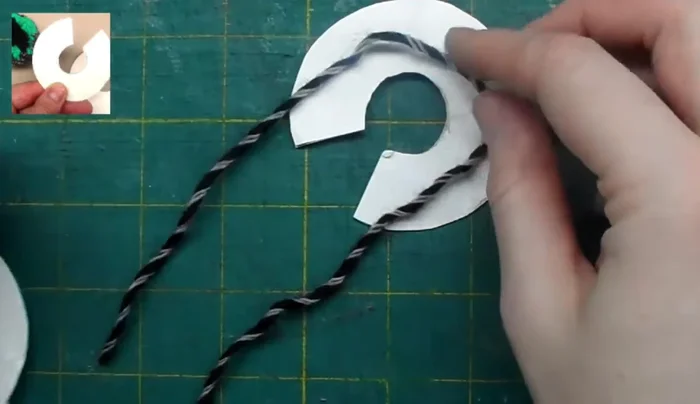
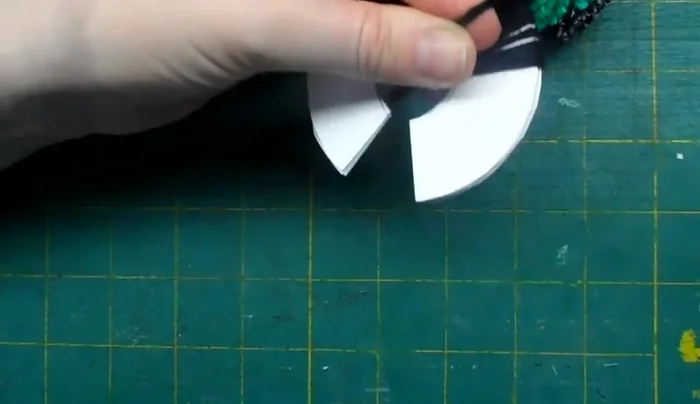
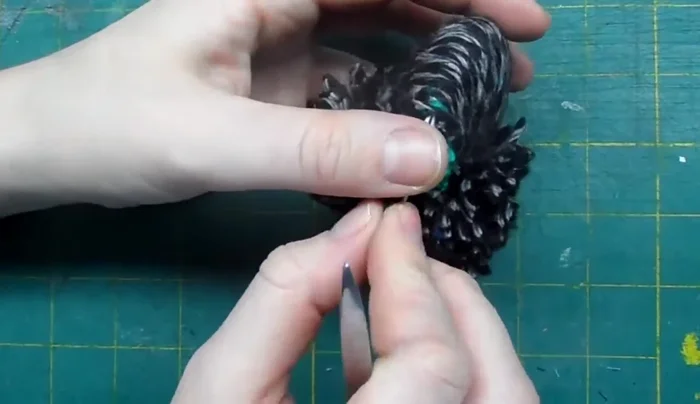
Create Outer Layer Remove Cardboard & Initial Shaping
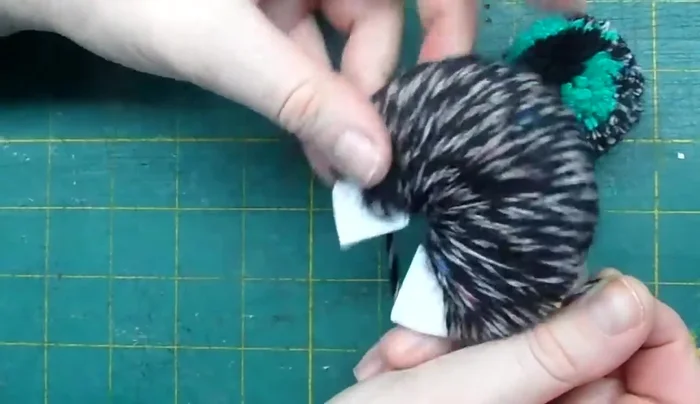
- Separate the cardboard pieces. Pull the initial tie strings to loosen the yarn.
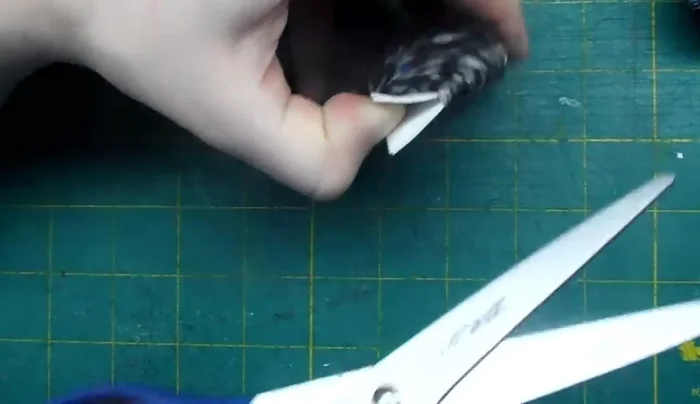
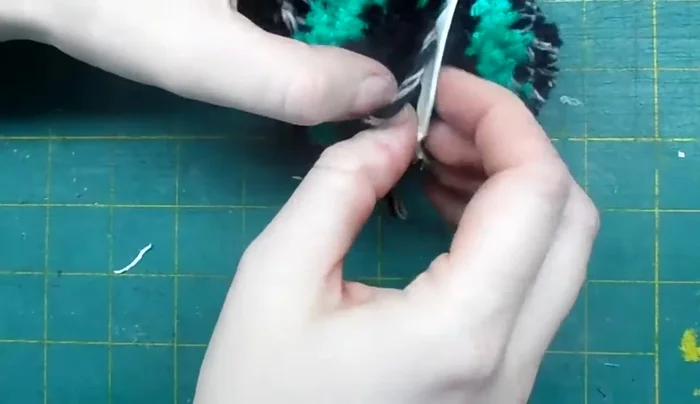
- Using sharp scissors, carefully cut the loops of yarn between the cardboard.
- Remove the cardboard. Tighten the initial tie and trim the excess string.
Remove Cardboard & Initial Shaping Final Trimming & Shaping
- Trim the pom-pom to achieve a smooth, rounded shape, revealing the cat's eye design.
Final Trimming & Shaping

Read more: No-Sew Sock Cat Tutorial: Adorable DIY Project
Tips
- Use a sufficient amount of yarn for each layer to achieve a full and dense pom-pom.
- Use very sharp scissors for cutting the loops to prevent fraying and ensure a clean finish.
- Pull the initial tie strings tightly after removing the cardboard to create a firm, well-shaped pom-pom.