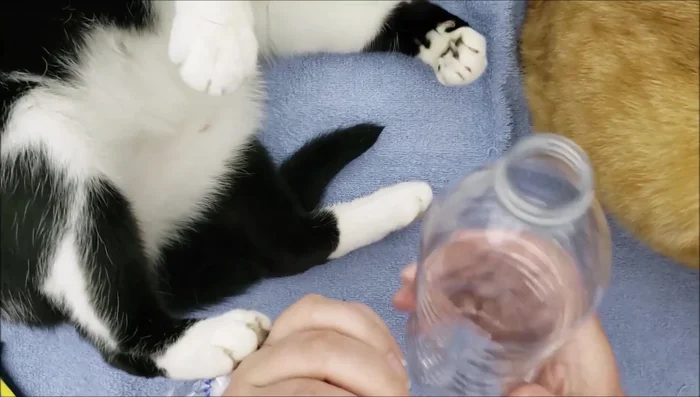
Christmas is a time for joy, giving, and of course, spoiling our beloved feline friends! This year, ditch the expensive store-bought cat toys and unleash your inner crafter with this fun and easy DIY project. We'll be transforming humble recycled water bottles into exciting, stimulating, and completely cat-approved Christmas gifts. Not only is this a fantastic way to reuse plastic and reduce waste, but it also allows for creative customization, letting you tailor the toy perfectly to your cat's unique preferences. Imagine the purrs of delight as your cat bats, chases, and pounces on their new, eco-friendly toy!
This festive project uses readily available materials, making it perfect for all skill levels. You'll be amazed at how much fun you and your cat can have with something so simple. Get ready to unleash your creativity and bond with your furry companion while contributing to a more sustainable holiday season. Ready to get started? Let's dive into the step-by-step instructions below!
Preparation and Safety Guidelines
- Empty plastic water bottle
- Nail
- Pliers or lighter
- Catnip
- Jingle bells
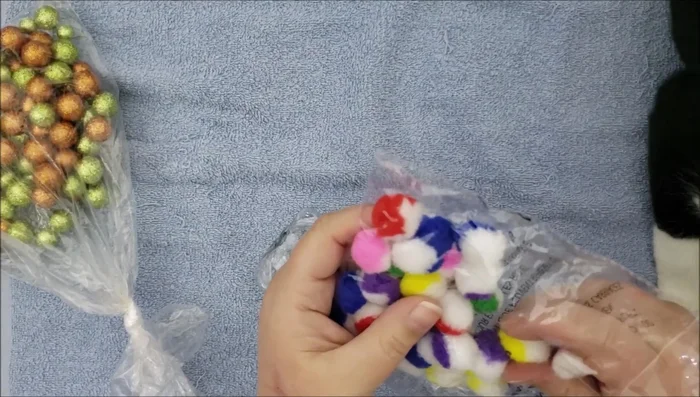
- Pom-poms
- Ribbons
- Feathers
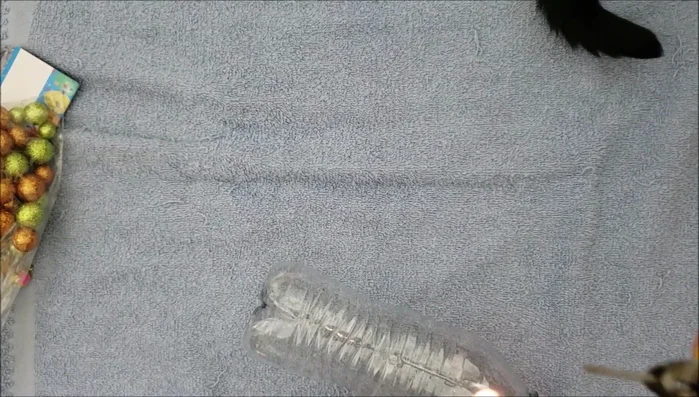
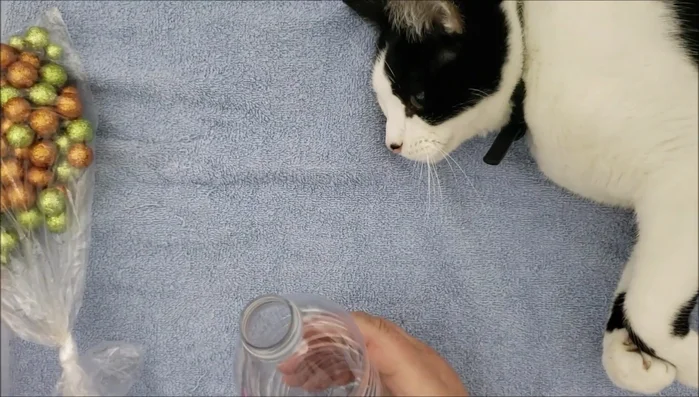
- Optional: Vase filler
- Always supervise your cat while playing with the toy. Remove the toy if it becomes damaged or parts break off to prevent ingestion.
- Ensure all edges are smooth and there are no sharp plastic pieces. Thoroughly wash and dry the recycled bottle before crafting.
- Avoid using bottles that contained toxic substances. Only use clean, food-safe plastic bottles.
Step-by-Step Instructions
Prepare the Bottle
- Dry out an empty plastic water bottle completely and keep the cap.

Prepare the Bottle Create Air Holes
- Carefully poke several holes in the bottle using a heated nail and pliers. (Alternatively, you can melt holes using a lighter). Avoid letting children do this step without adult supervision.
Create Air Holes Add Catnip (Optional)
- Put catnip inside the bottle through the holes. This step is optional but enhances the toy's appeal to cats.
Add Catnip (Optional) Add Rattling Items
- Place items that will make noise inside the bottle (e.g., jingle bells).
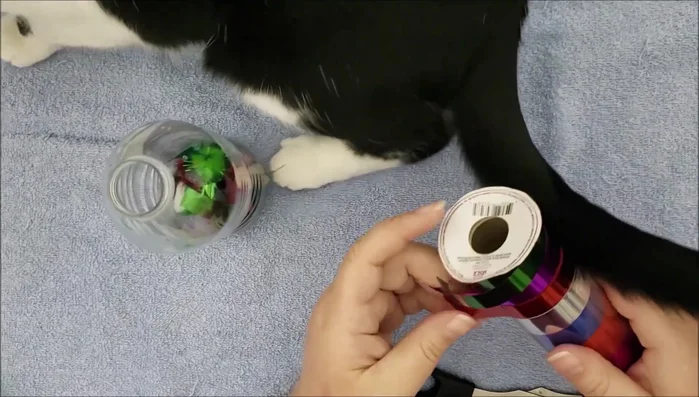
Add Rattling Items Add Decorations
- Add various items like pom-poms, feathers, and small pieces of ribbon for visual stimulation and texture. Consider using festive colors for Christmas.
Add Decorations Prepare Ribbons (Optional)
- If using ribbons, curl them using scissors to add visual interest.
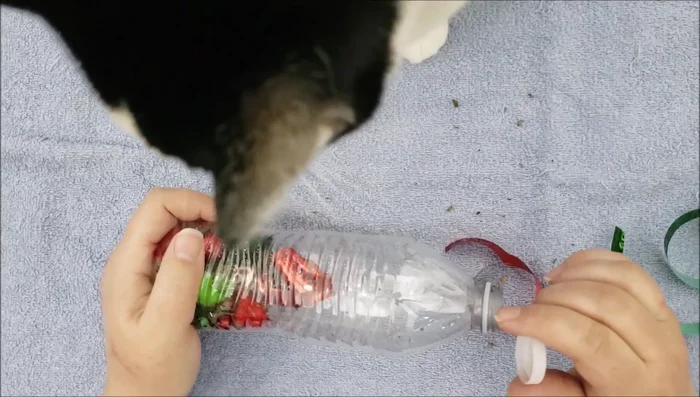
Prepare Ribbons (Optional) Add Ribbons and Remaining Items
- Put in the curled ribbons and any other chosen items into the bottle.
Add Ribbons and Remaining Items Secure the Toy
- Place the cap back on the bottle. Optionally, use glue to secure the cap to prevent the cat from opening it.
Secure the Toy

Read more: No-Sew Sock Cat Tutorial: Adorable DIY Project
Tips
- Don't overfill the bottle: Leave enough space for the items to move around inside.
- Use a variety of textures and sizes: This increases the toy's appeal and play value.
- Consider using recycled materials: Repurpose old cat toy parts to give them new life.
- Adjust materials for sound preferences: For a quieter toy, omit noisy items like jingle bells.